¶ Preparing the fuselage
¶ Tools required
- UHU Por glue
- spatula
- cutter/knife
- soldering iron
¶ Parts required
- carbon rods
- both fuselage parts
- v-tails
- 4 x press-in nuts for motor mount
- 3D printed motor mount
¶ Installing carbon fuselage rods
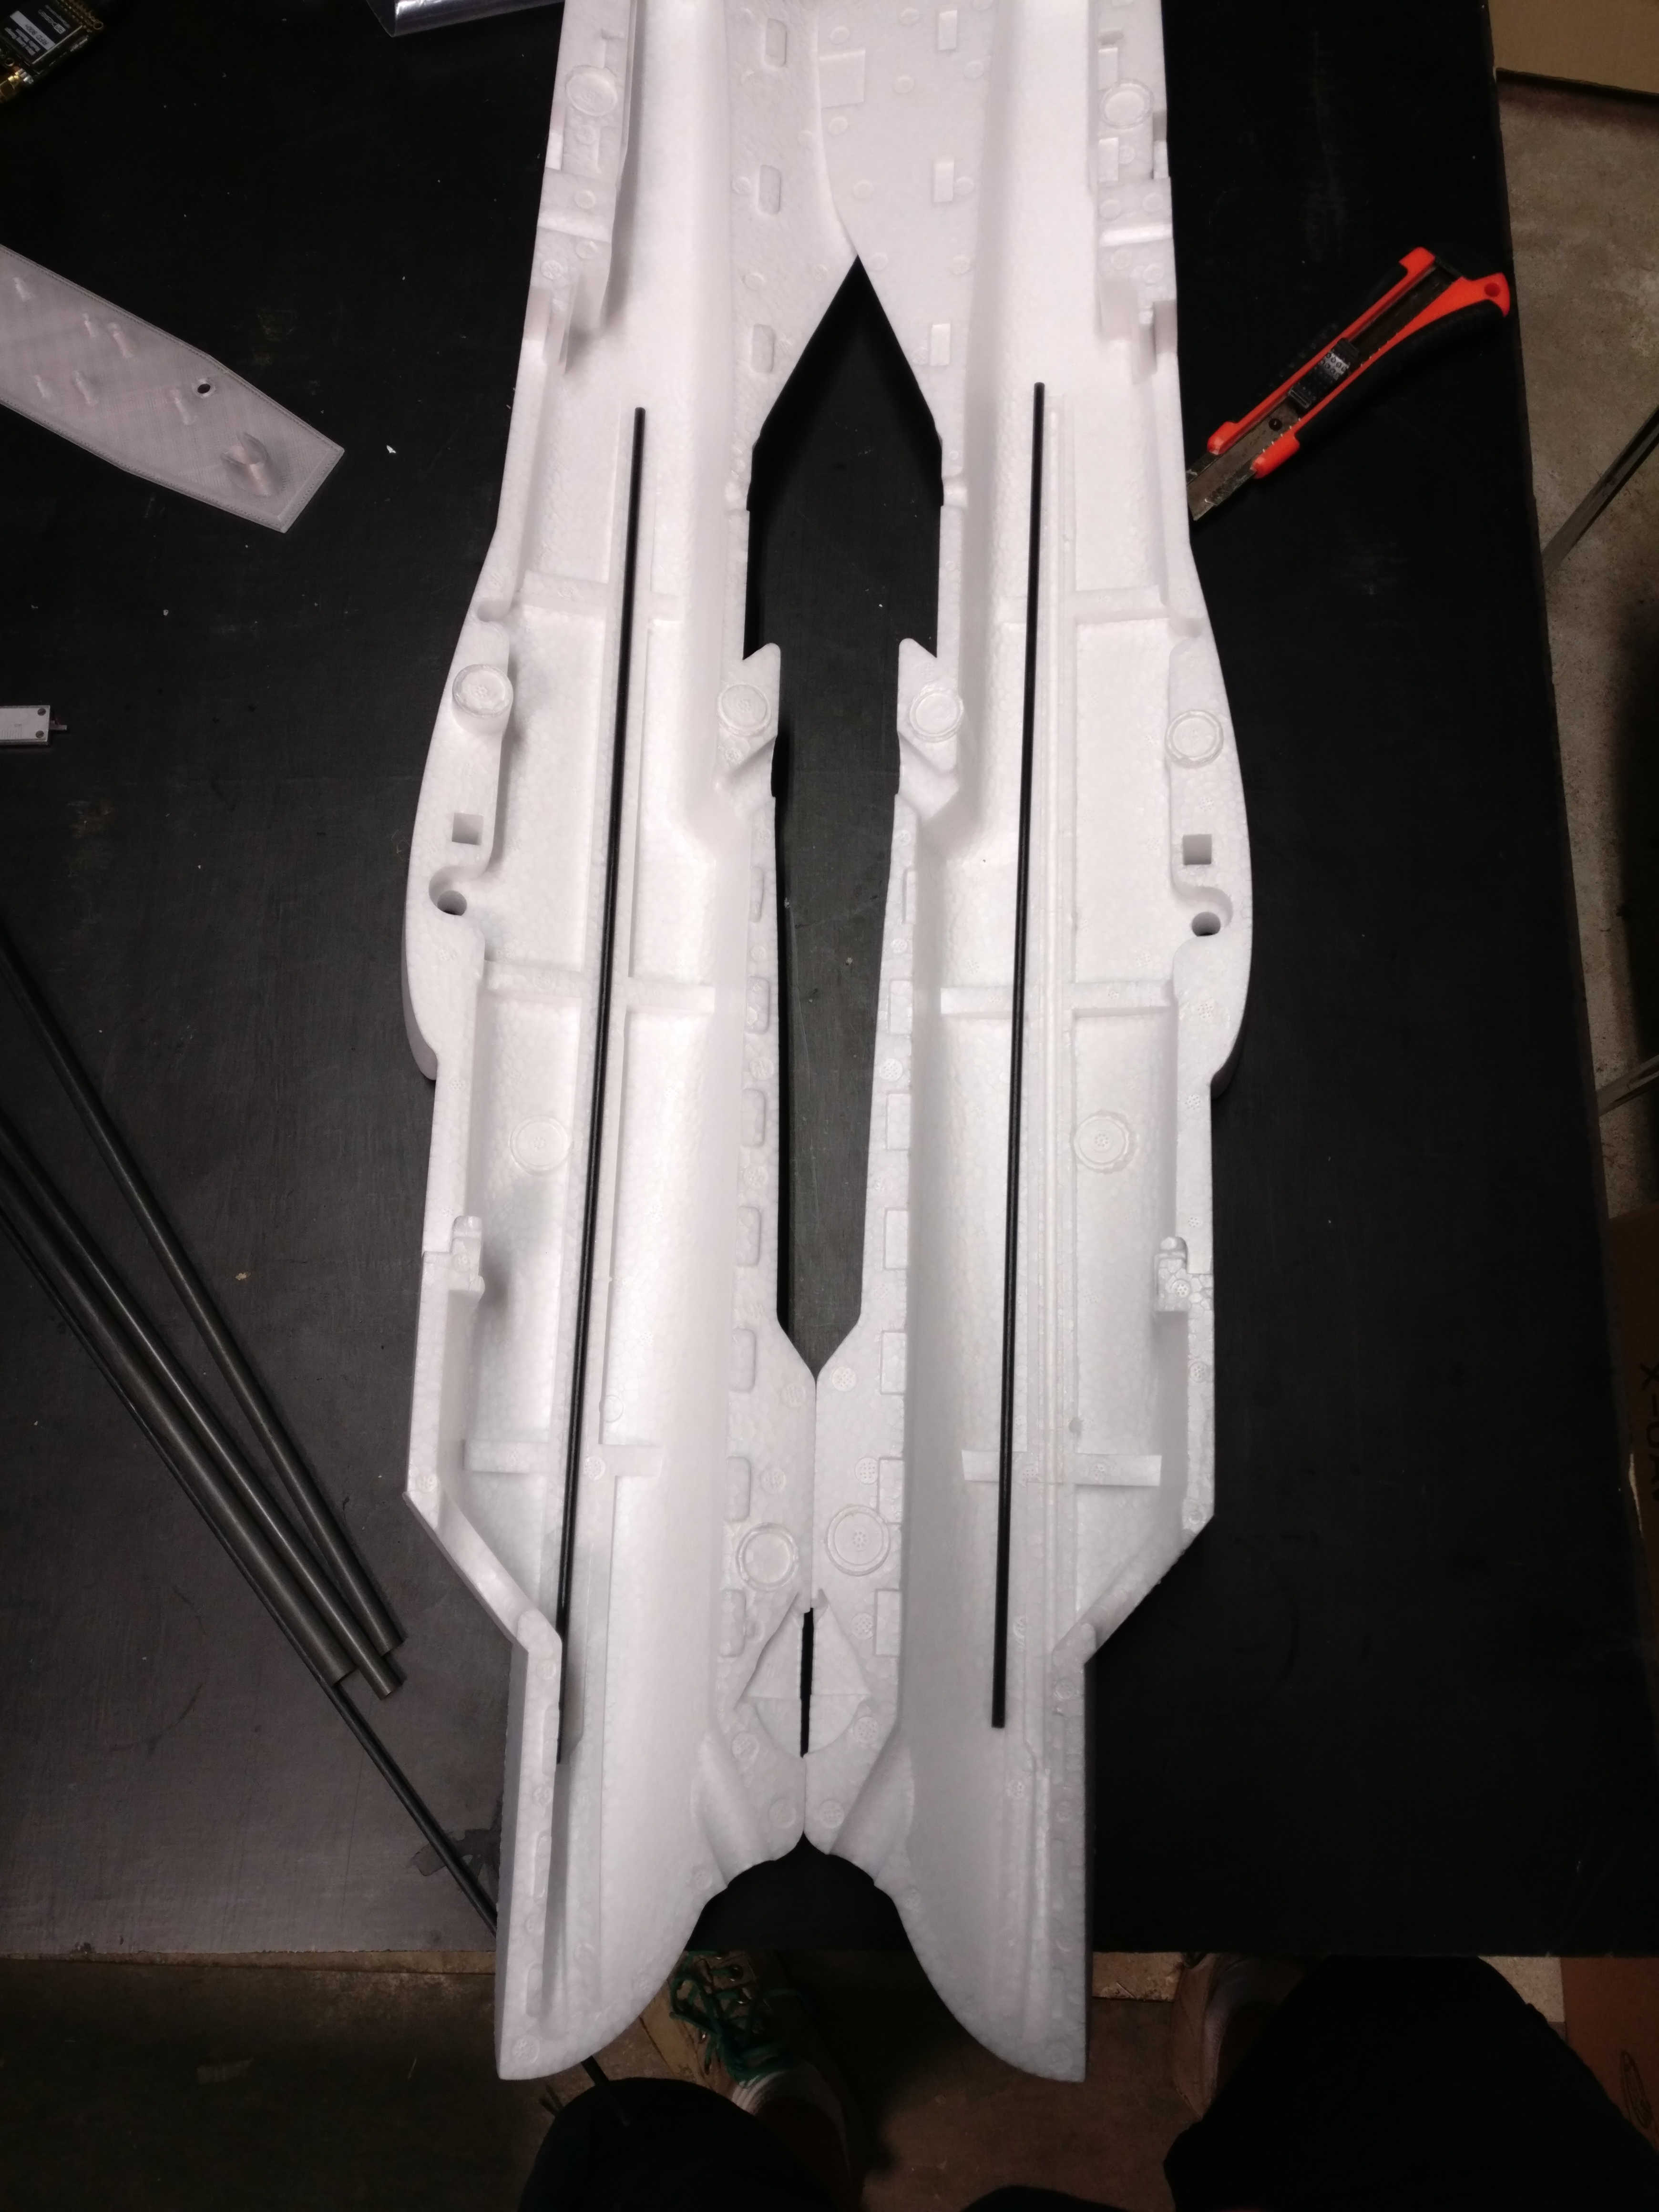
The UHU Por has to dry for 10 minutes before fitting the parts together. So apply UHU por glue to the carbon rods and the fuselage part where the rods are inserted. Wait 10 minutes. Press then with high force the rods into the slots in the fuselage.
Do the same for the V-tail rods.
¶ Installing carbon V-Tail rods
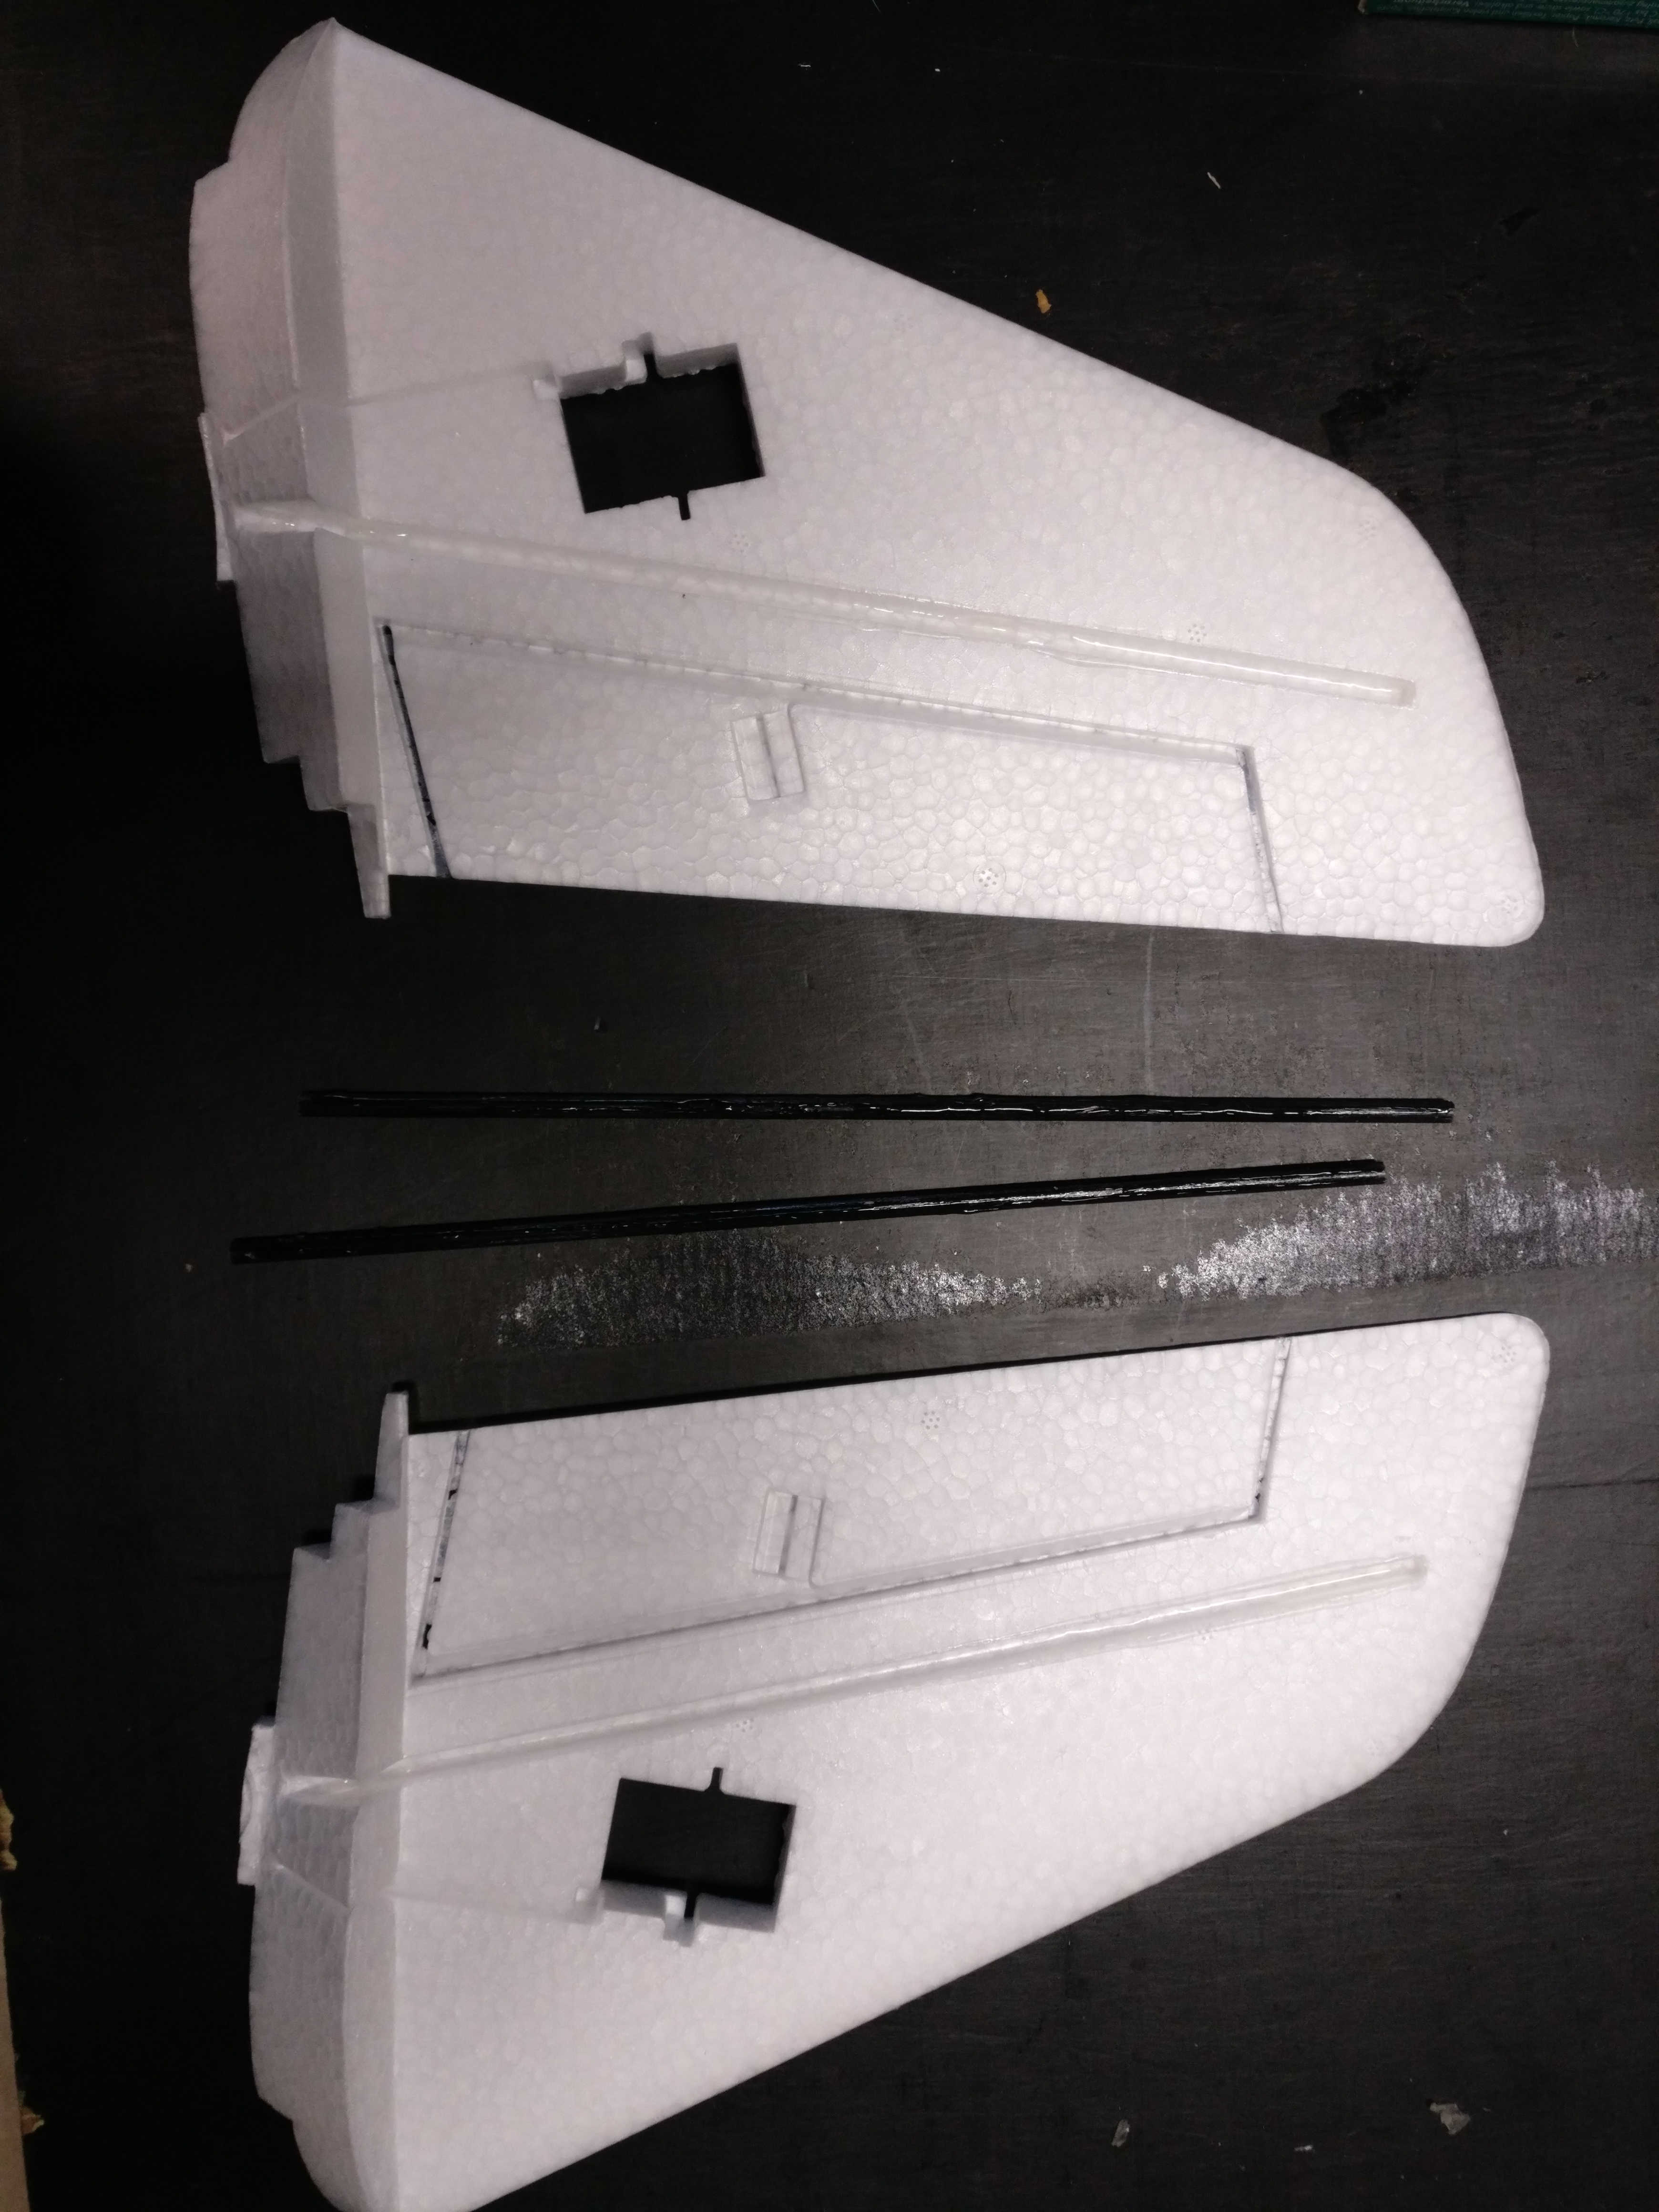
Put glue on the carbon rod and the corresponding place in the vtail. Wait 10 minutes and push the rod into the corresponding place.
¶ Installing carbon in wings
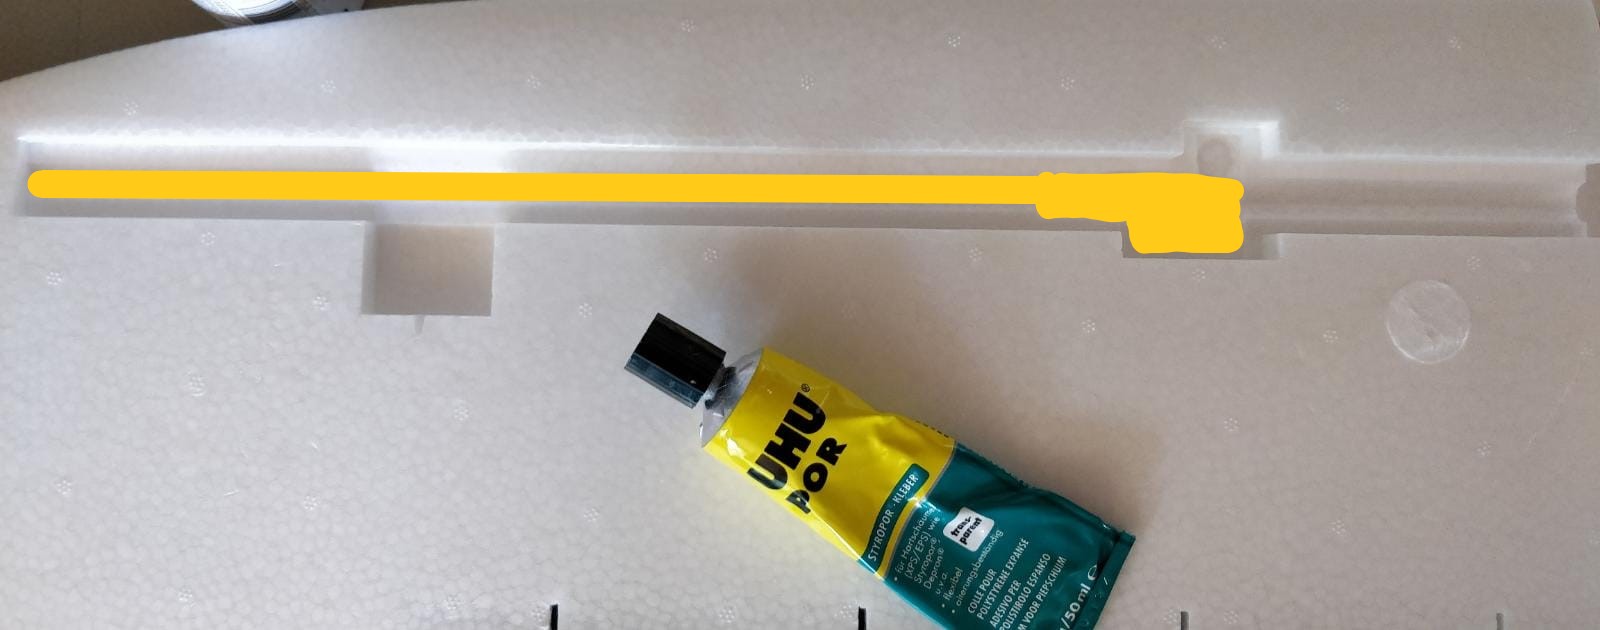
Put the carbon wing pipe into the glue and remove it again so that the glue gets to the contact dry. Wait about 10 minutes.
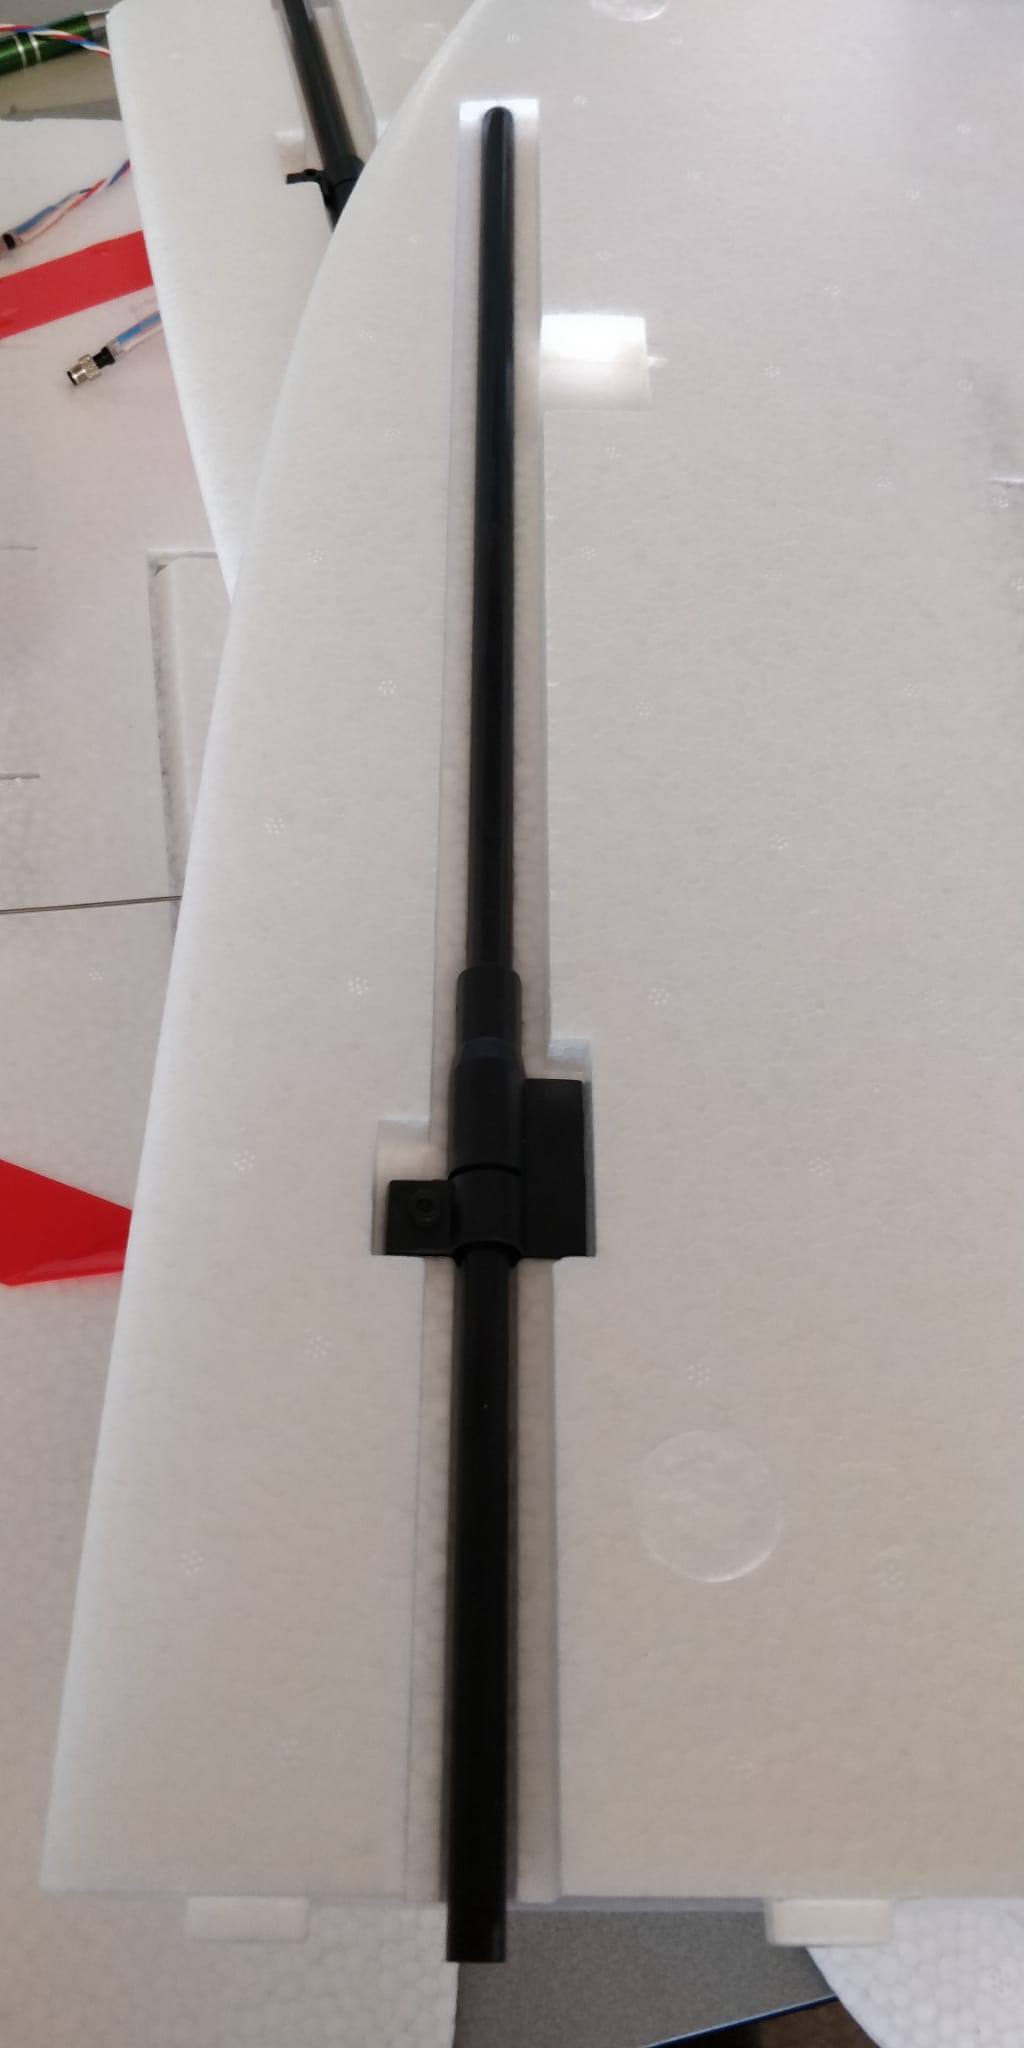
When putting back the carbon parts apply high force to get a better stabillity.
¶ Installing the motor mount
- Use a solder iron at roughtly 160 °C to insert the press-in nut like this:
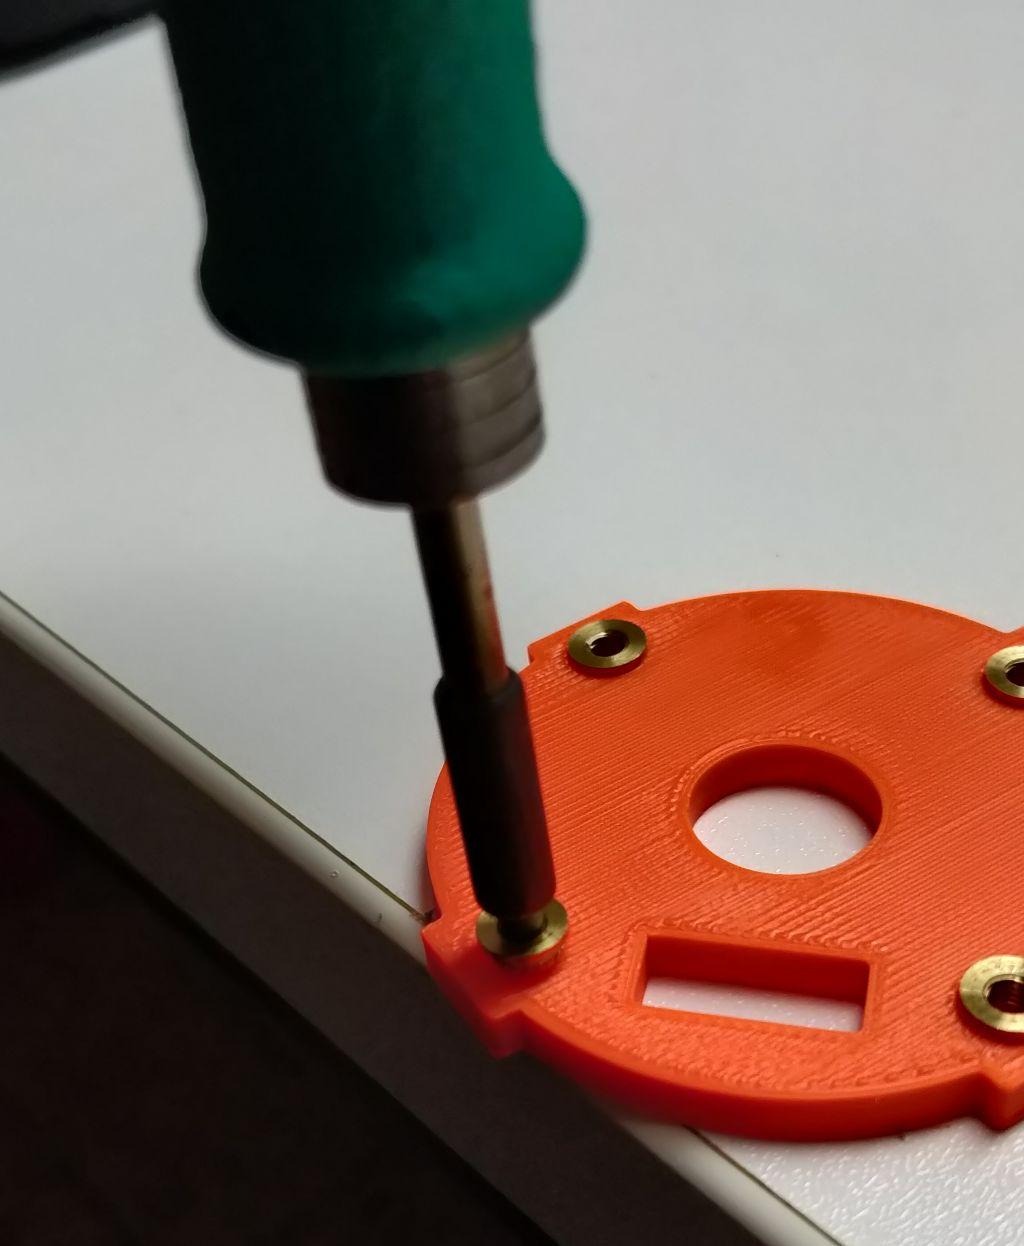
-
Make sure screws fit both the motor cross as well as the press-in nuts.
-
Apply UHU Por glue to the first half of the fuselage:
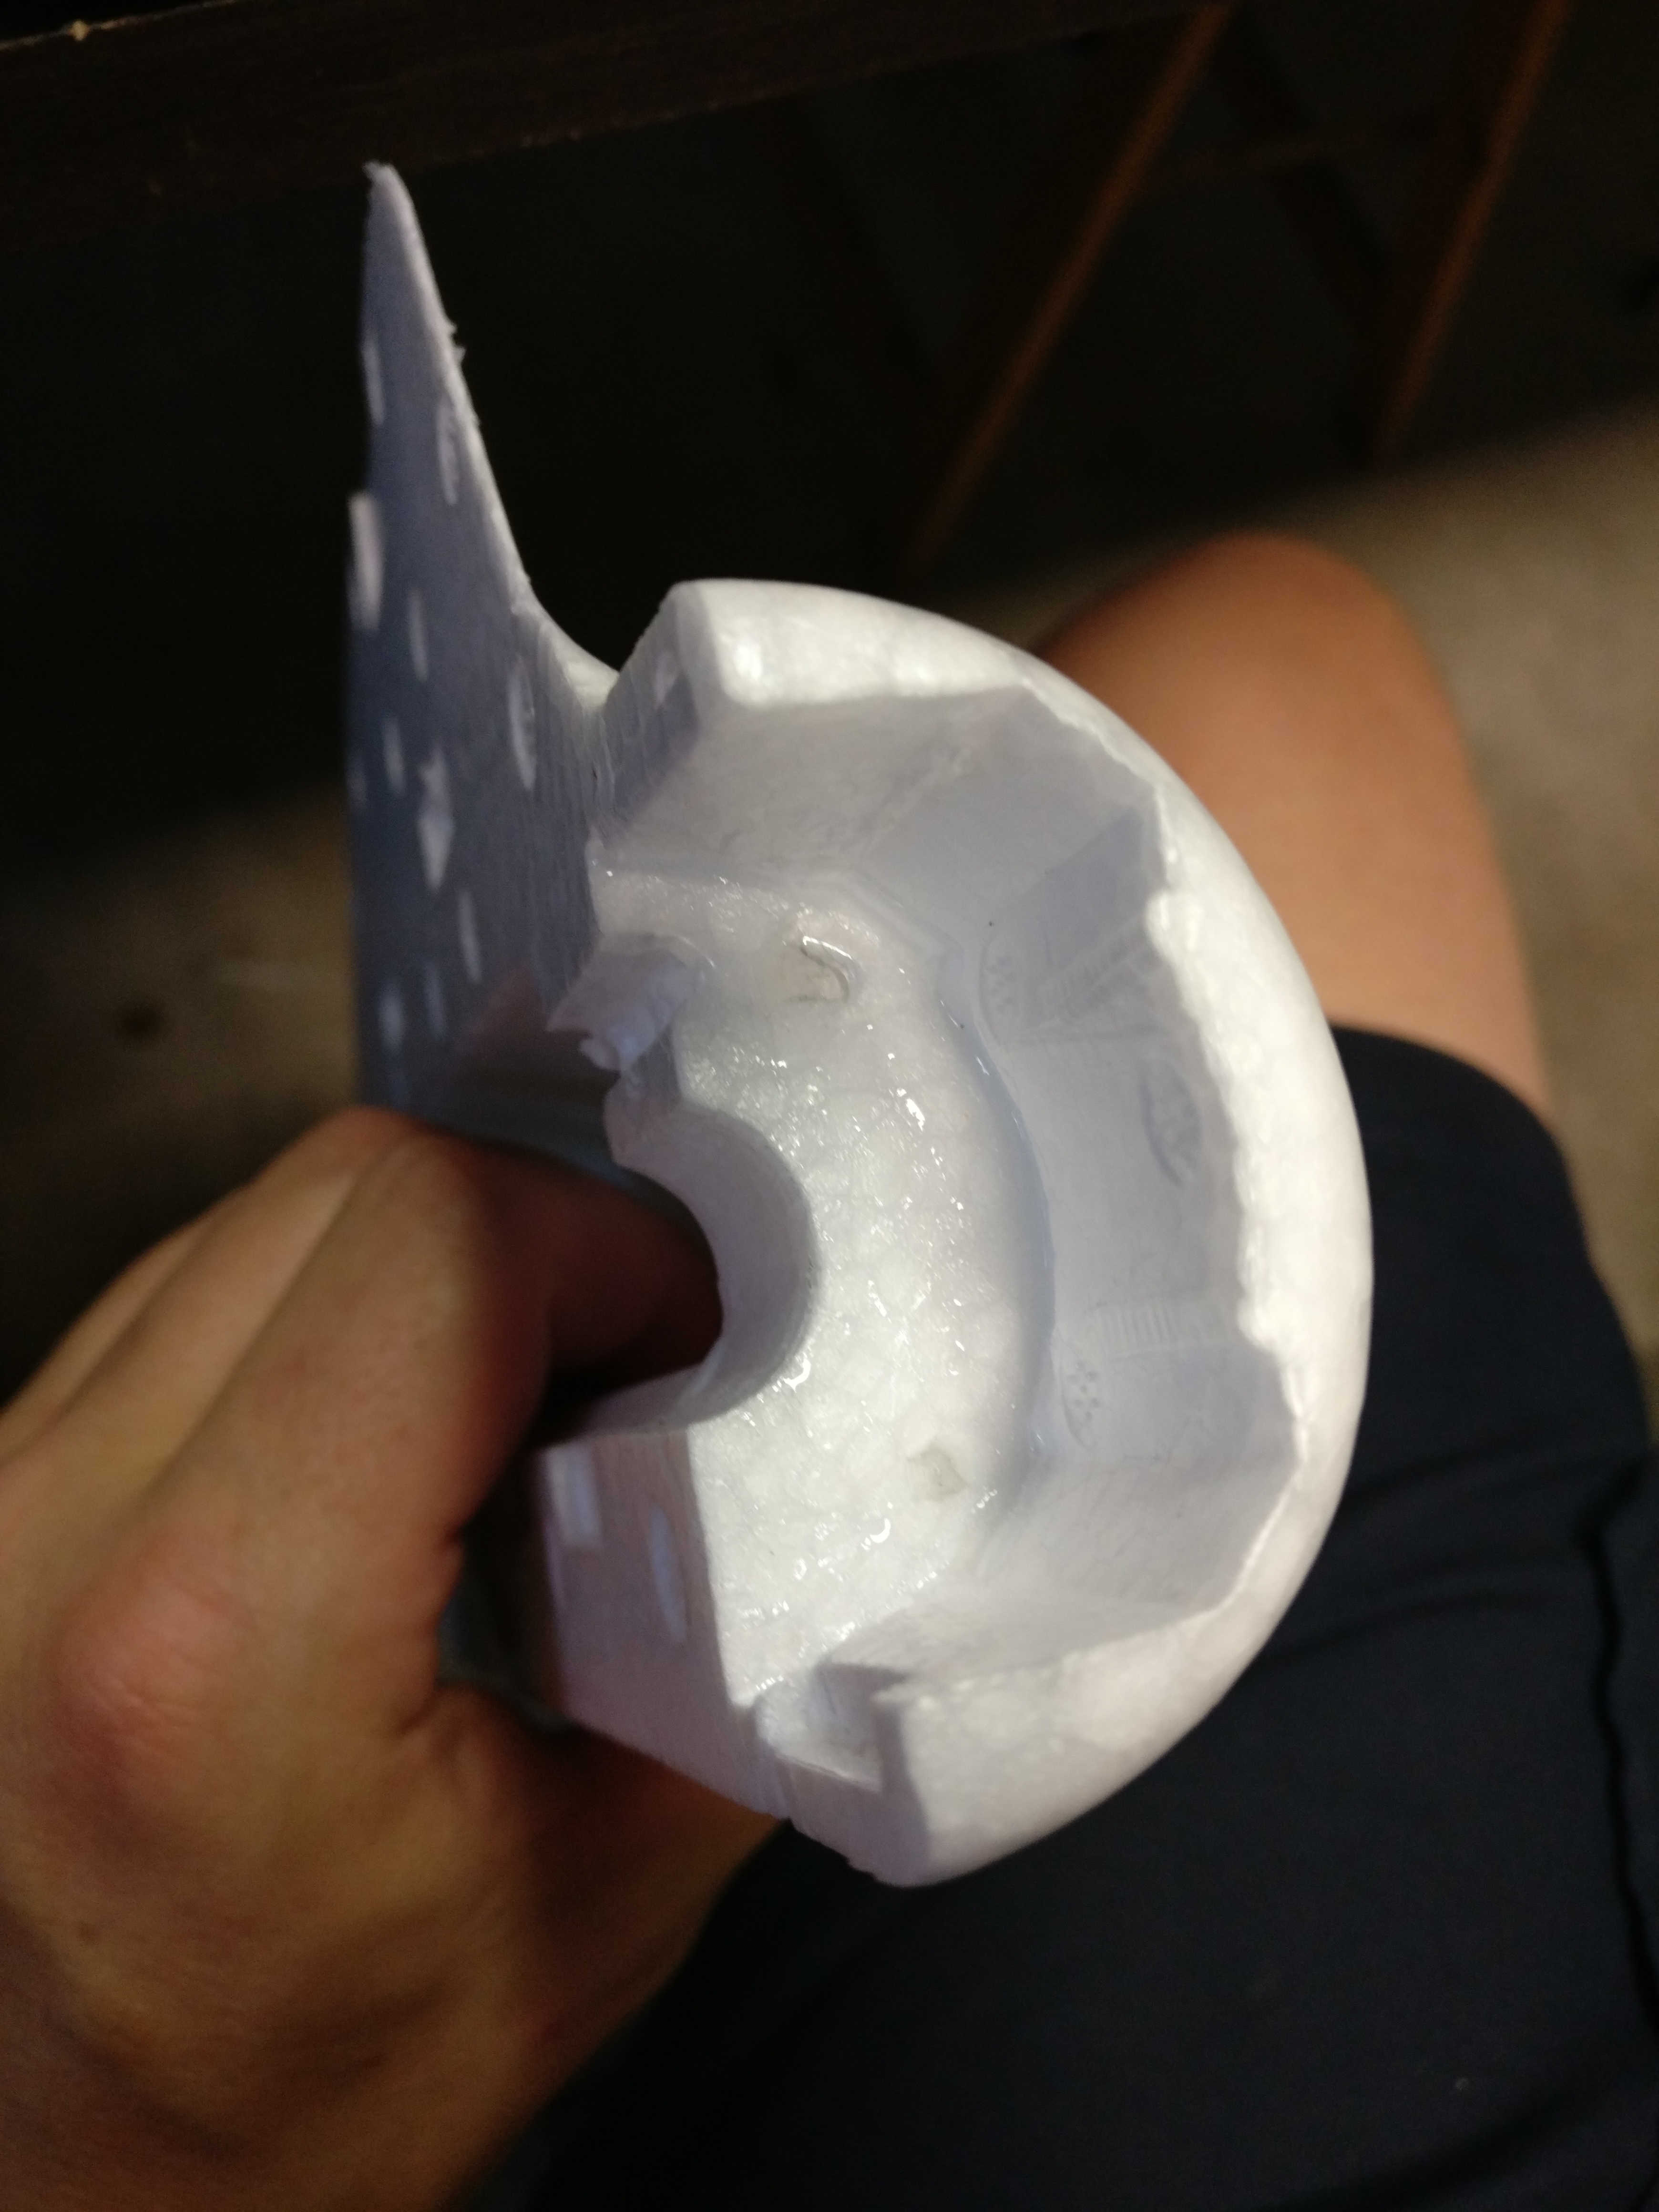
- Apply glue to half of the motor mount:
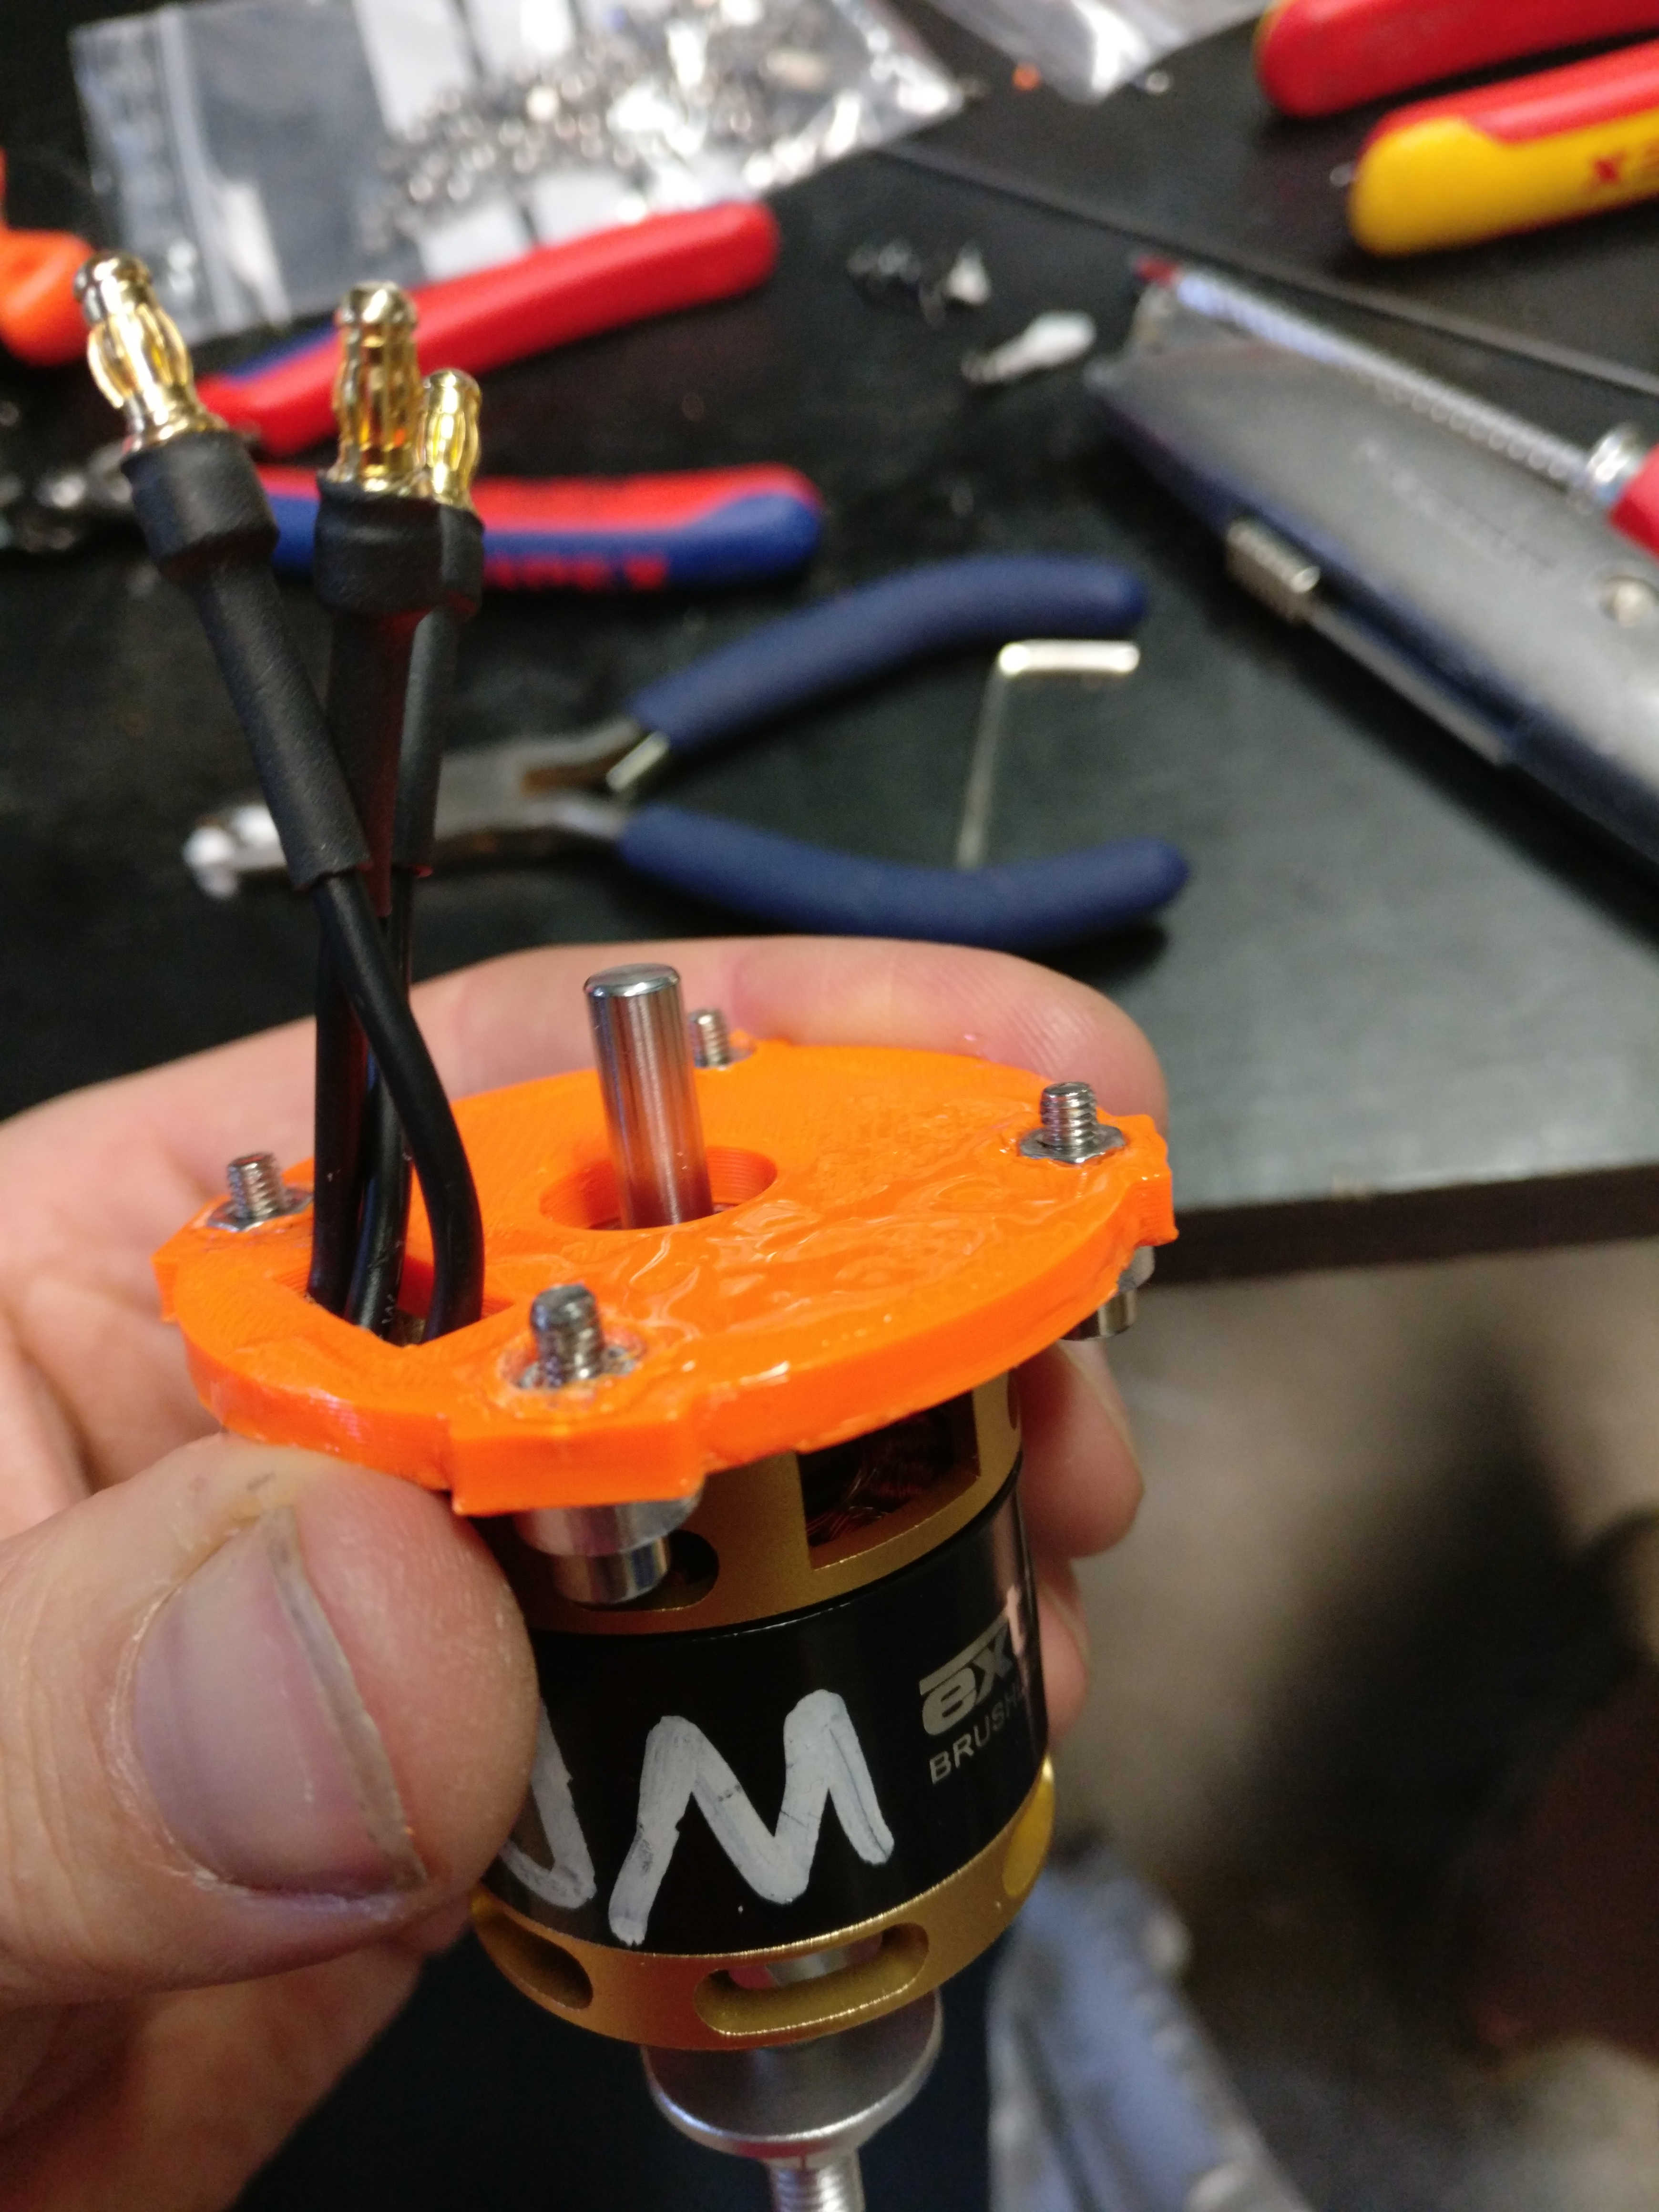
- Wait for 10 minutes and press motor mount firmly against the fuselage.
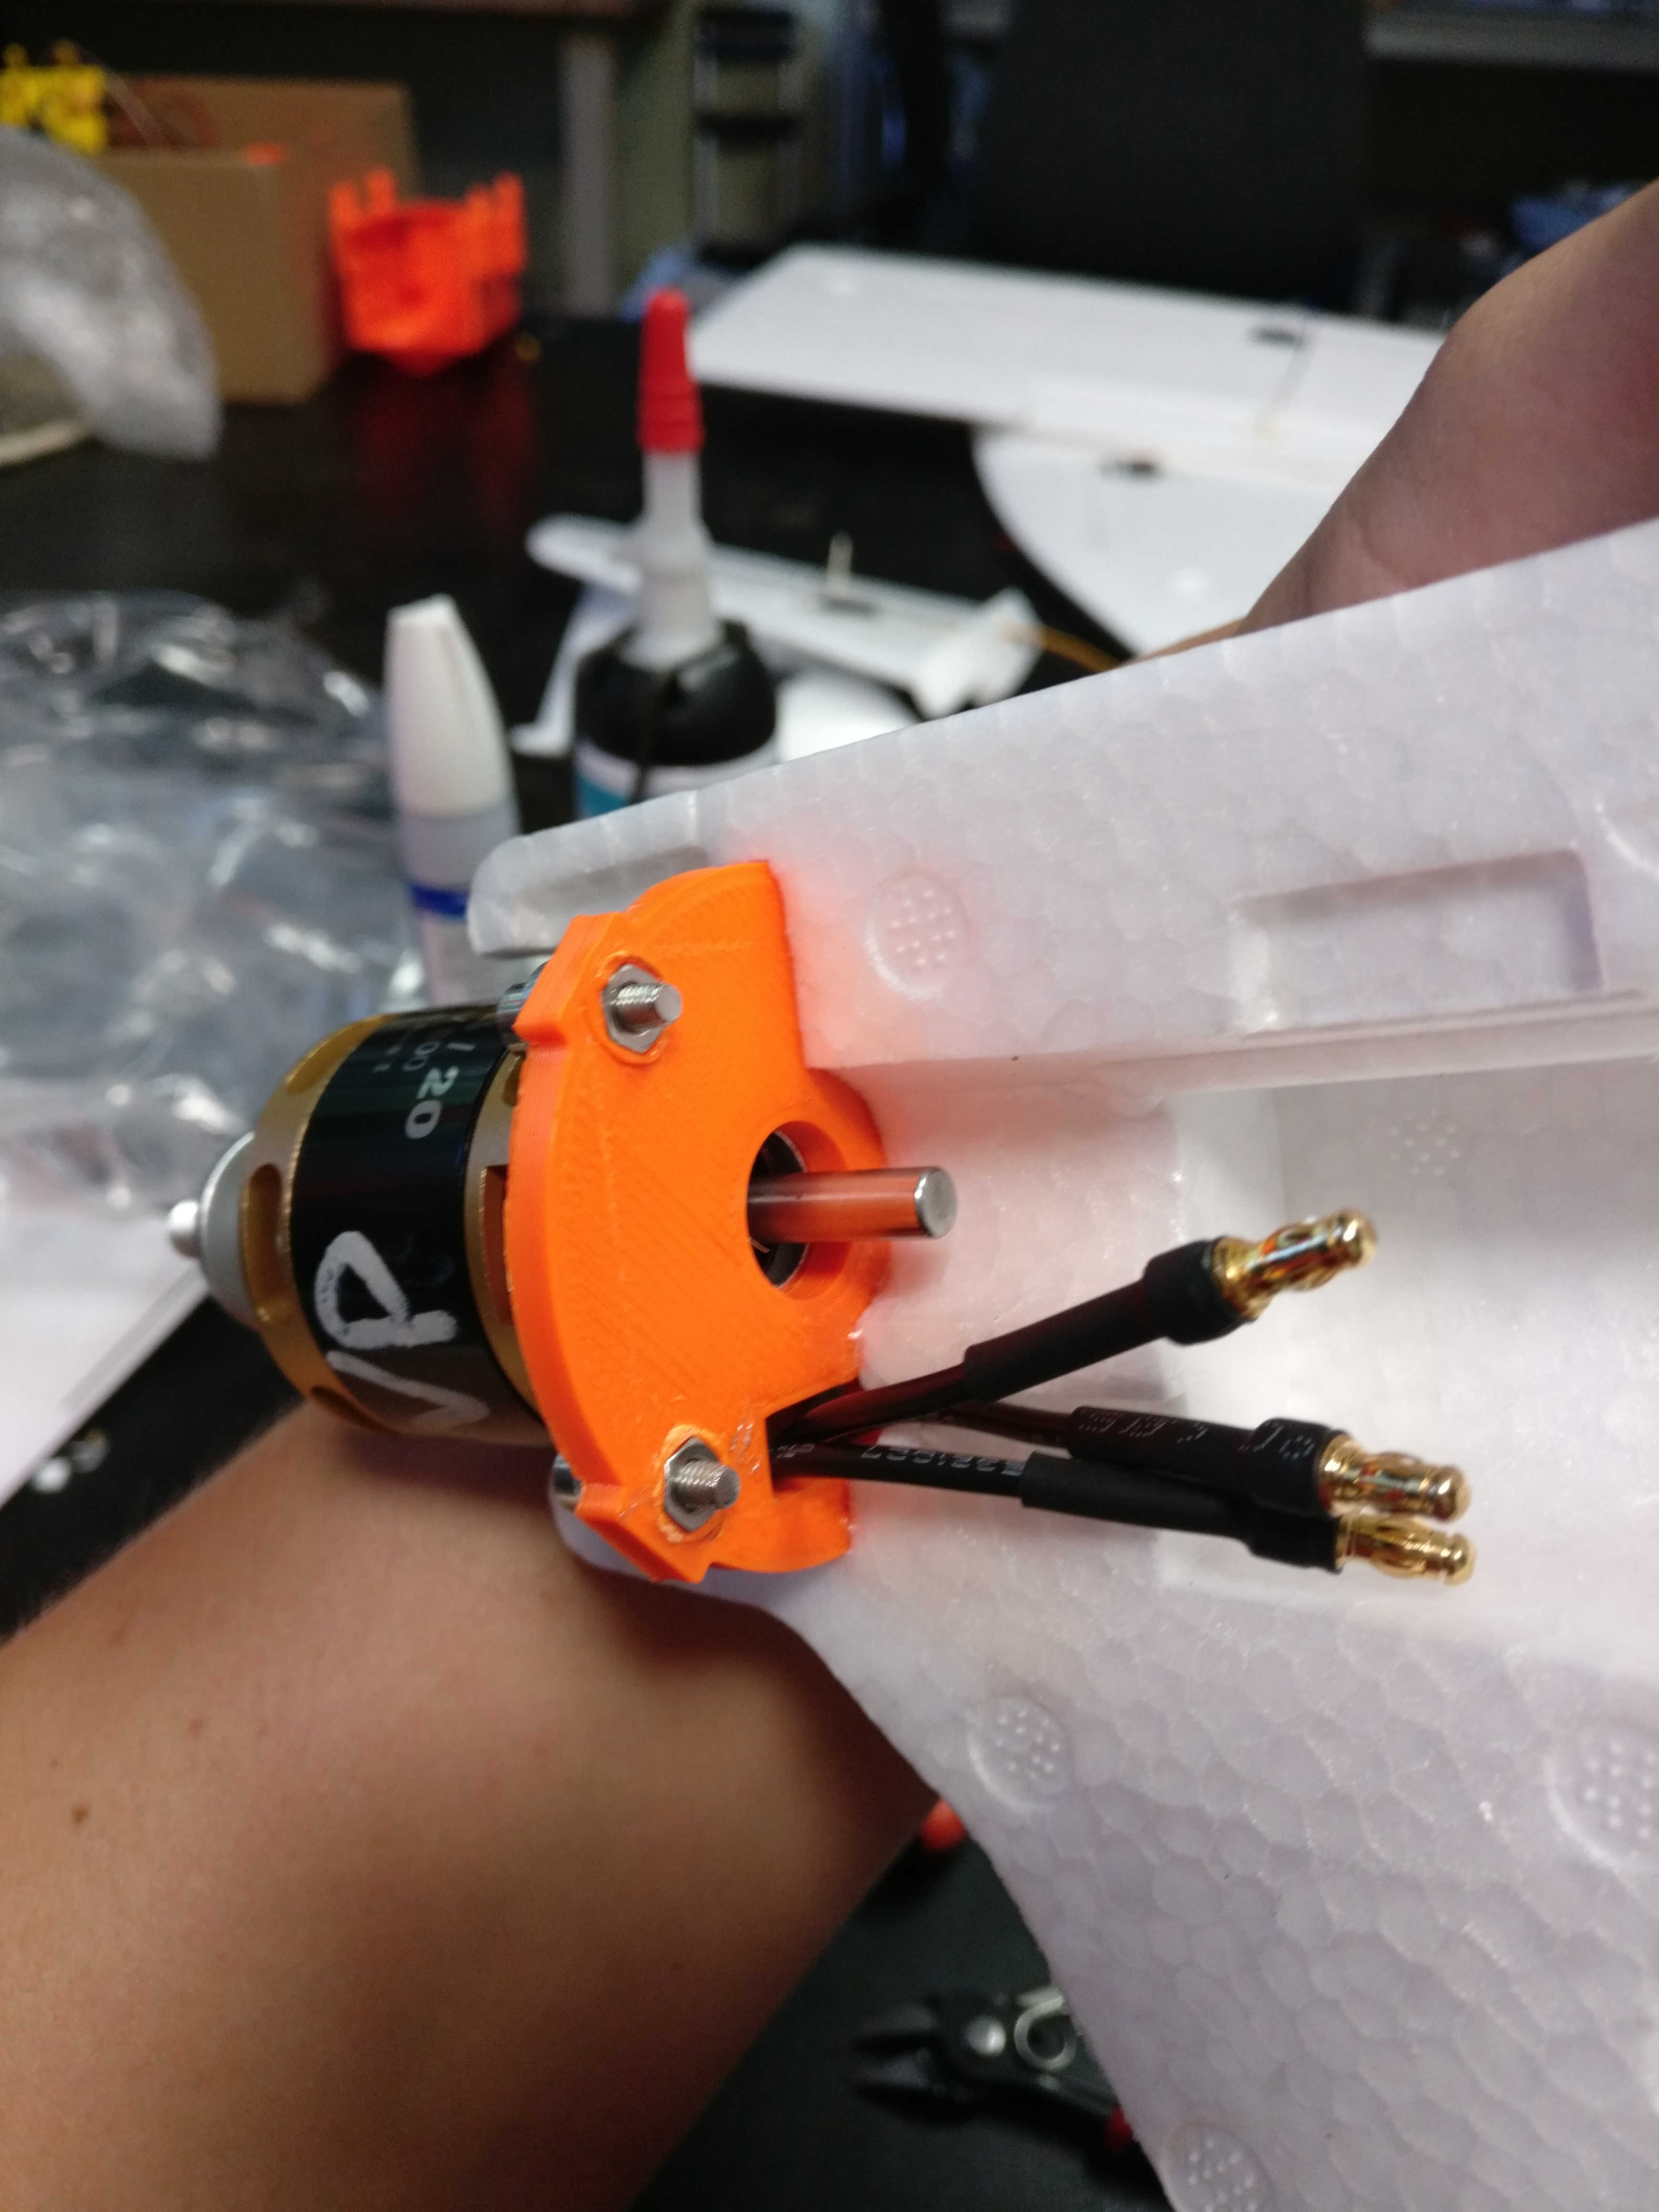
¶ Cutting the opening for the cameras
First, cut of the rear "hook" symetrically (as a 'pyramide').
%5C%20(1).png)
Use the box to mark the area of the bottom of the fuselage below the wings that has to be cut out. It's a width of about 35mm (to both side of the center, inside and outside of the bottom of the fuselage) with a length of about 70mm from the front edge of the narrow part of the bottom of the fuselage (outside). The camera bulge of the box is narrower (2.5cm inside the fuselage bottom) but they need some opening angle (about 60 deg) to both sides to take proper pictures, so the opening widens from 2.5cm inside to 3.5cm outside. It might be advantageous to cover the entire contact area of box and fuselage with glue when glueing together in a later step.
.png)
¶ Mark center of gravity
Use Edding or tape to mark center of gravity for the plane user.
COG position TBD , see discussion