¶ Waterproofing the motor
¶ Time required
- Building: 10 minutes
¶ Tools required
- 3D-printed mounting aid (export the STL data from the CAD modell)
- cotter pin drive
- hammer
- small screwdriver
- Circlip Plier for circlip on motor shaft (Knipex 46 11 A0)
¶ Parts required for waterproofing one motor
- 1x Extron Motor 2814-20-800KV
- 2x bearing small - NIRO Kugellager S685-2RS ZEN 5x11x5mm
- 1x bearing big - NIRO Kugelllager S625-2RS ZEN 5x16x5 mm
- 1x replacement circlip for 5mm motor shaft
¶ Step 1: disassemble the motor
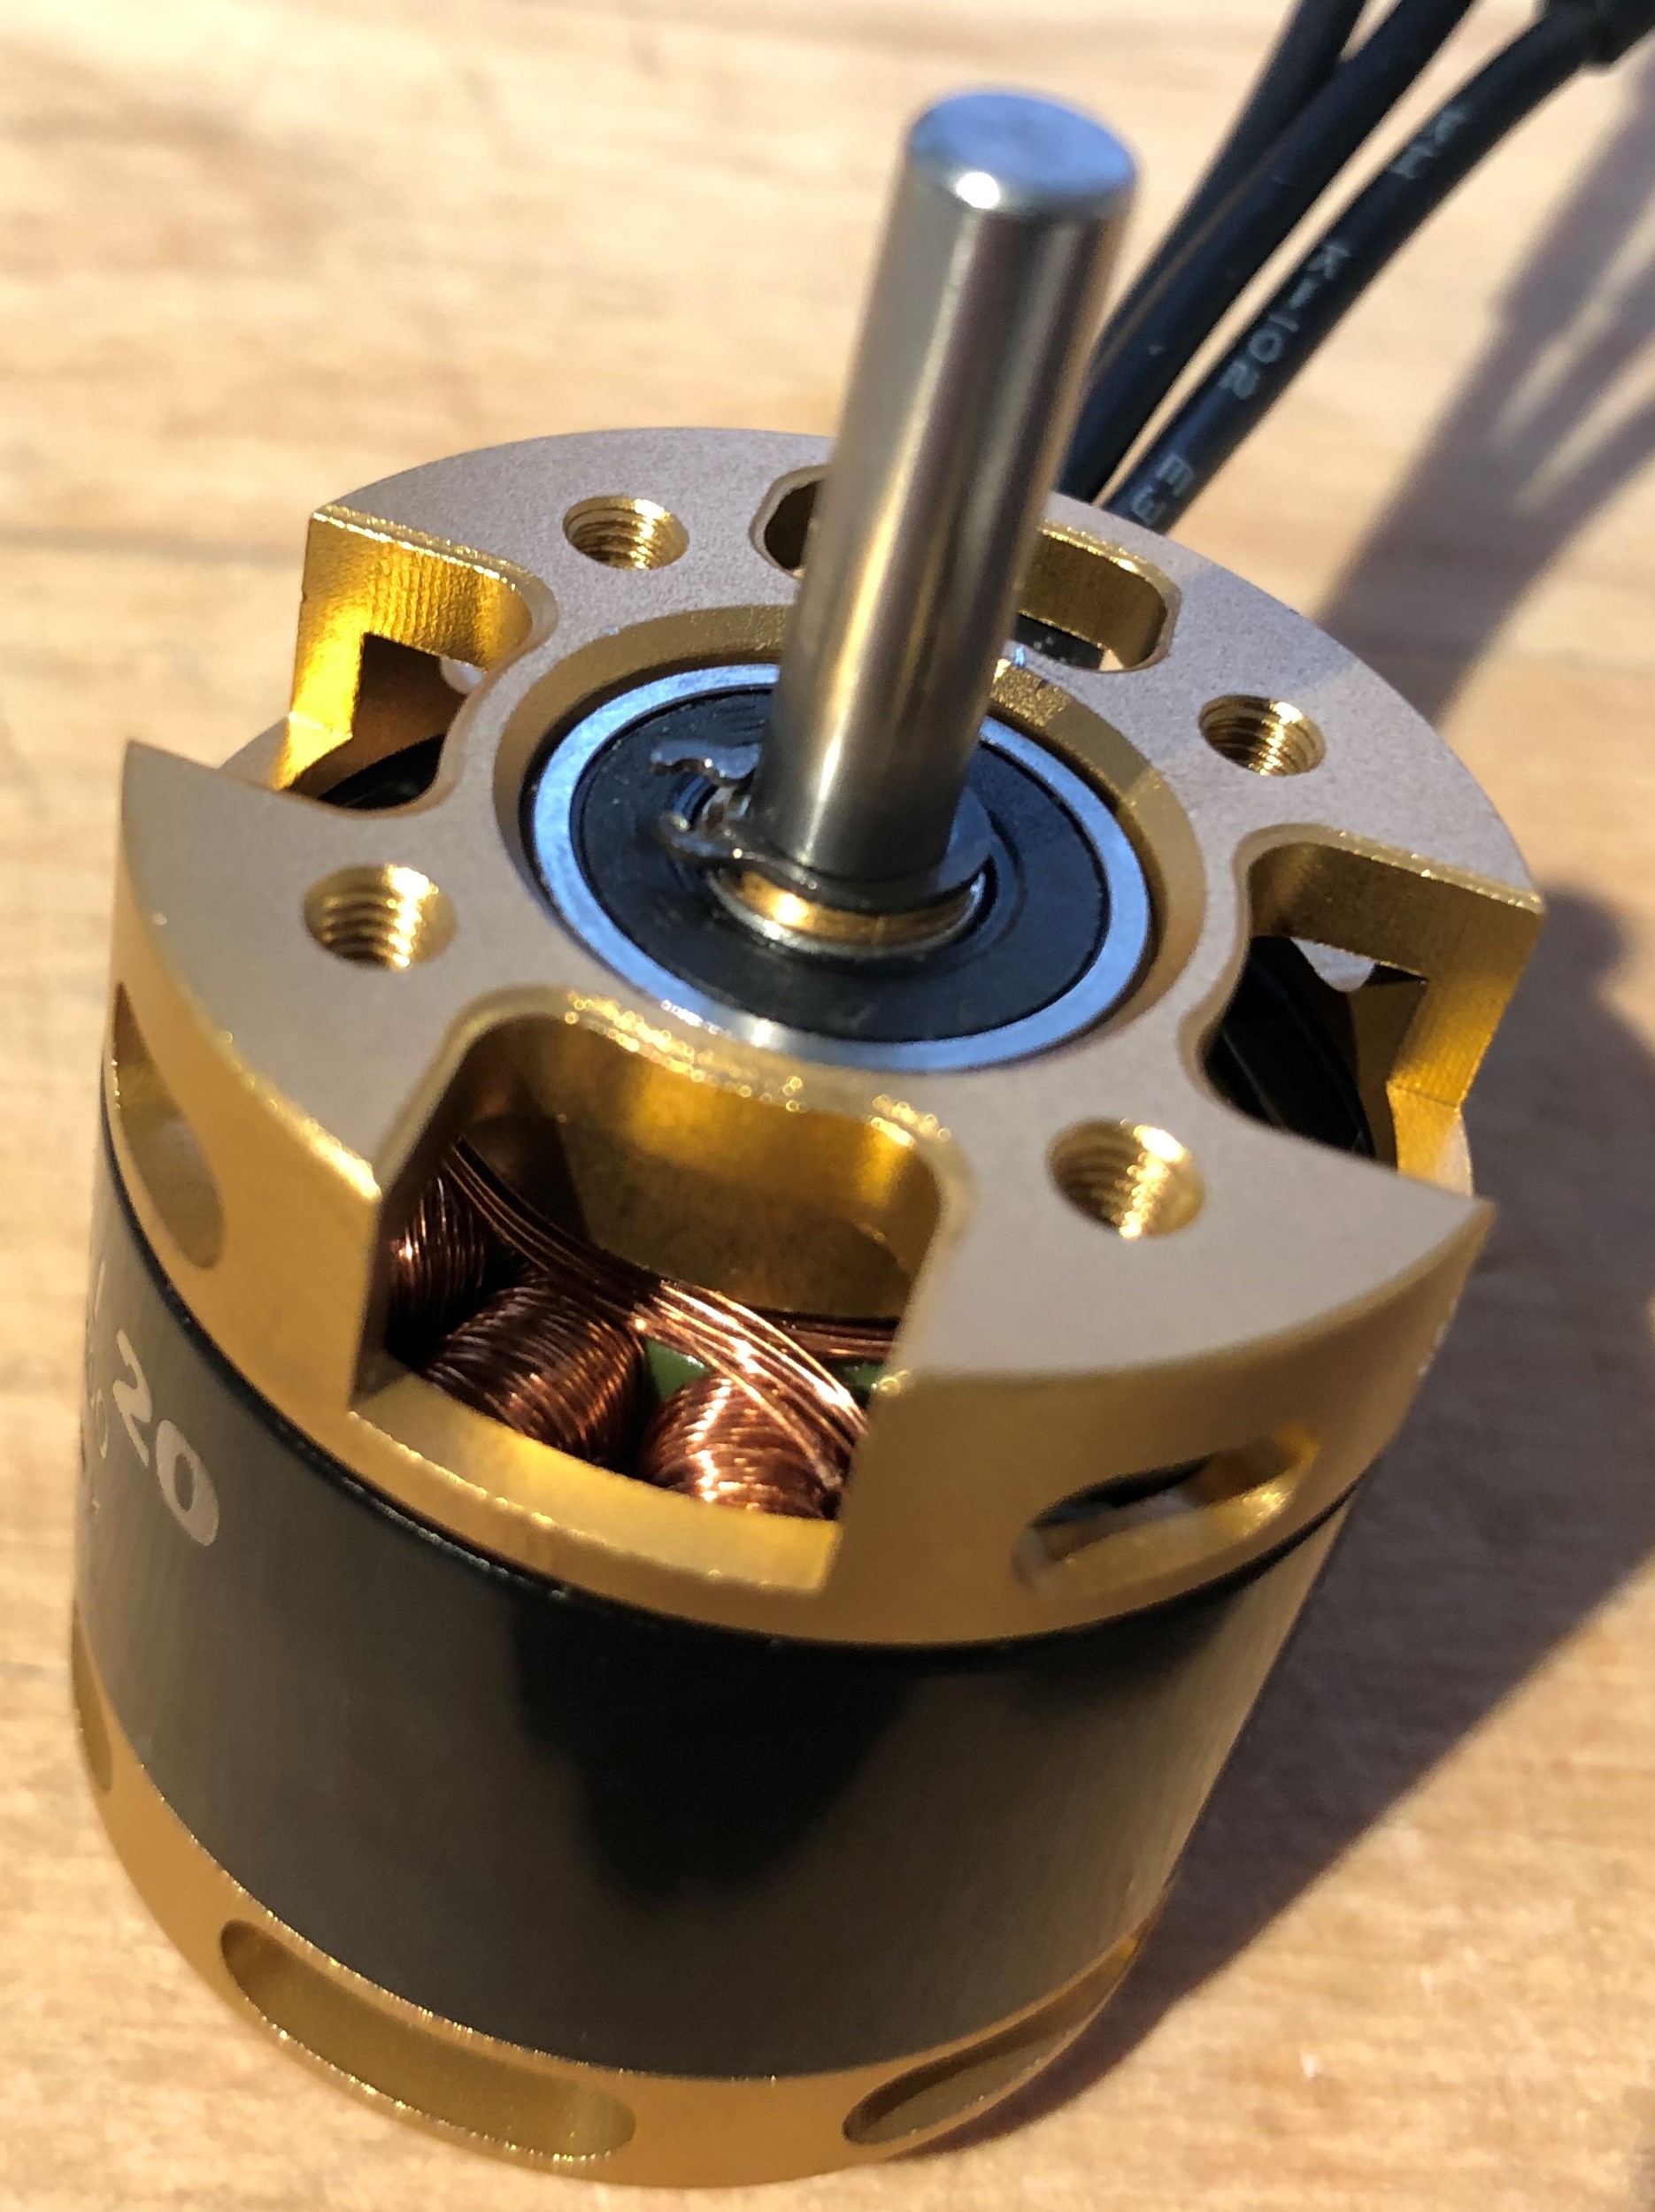
First of all the circlip shown in the picture below needs to be removed. Therefore a small screwdriver could be helpful. Keep the circlip, it is needed for the reassembly.
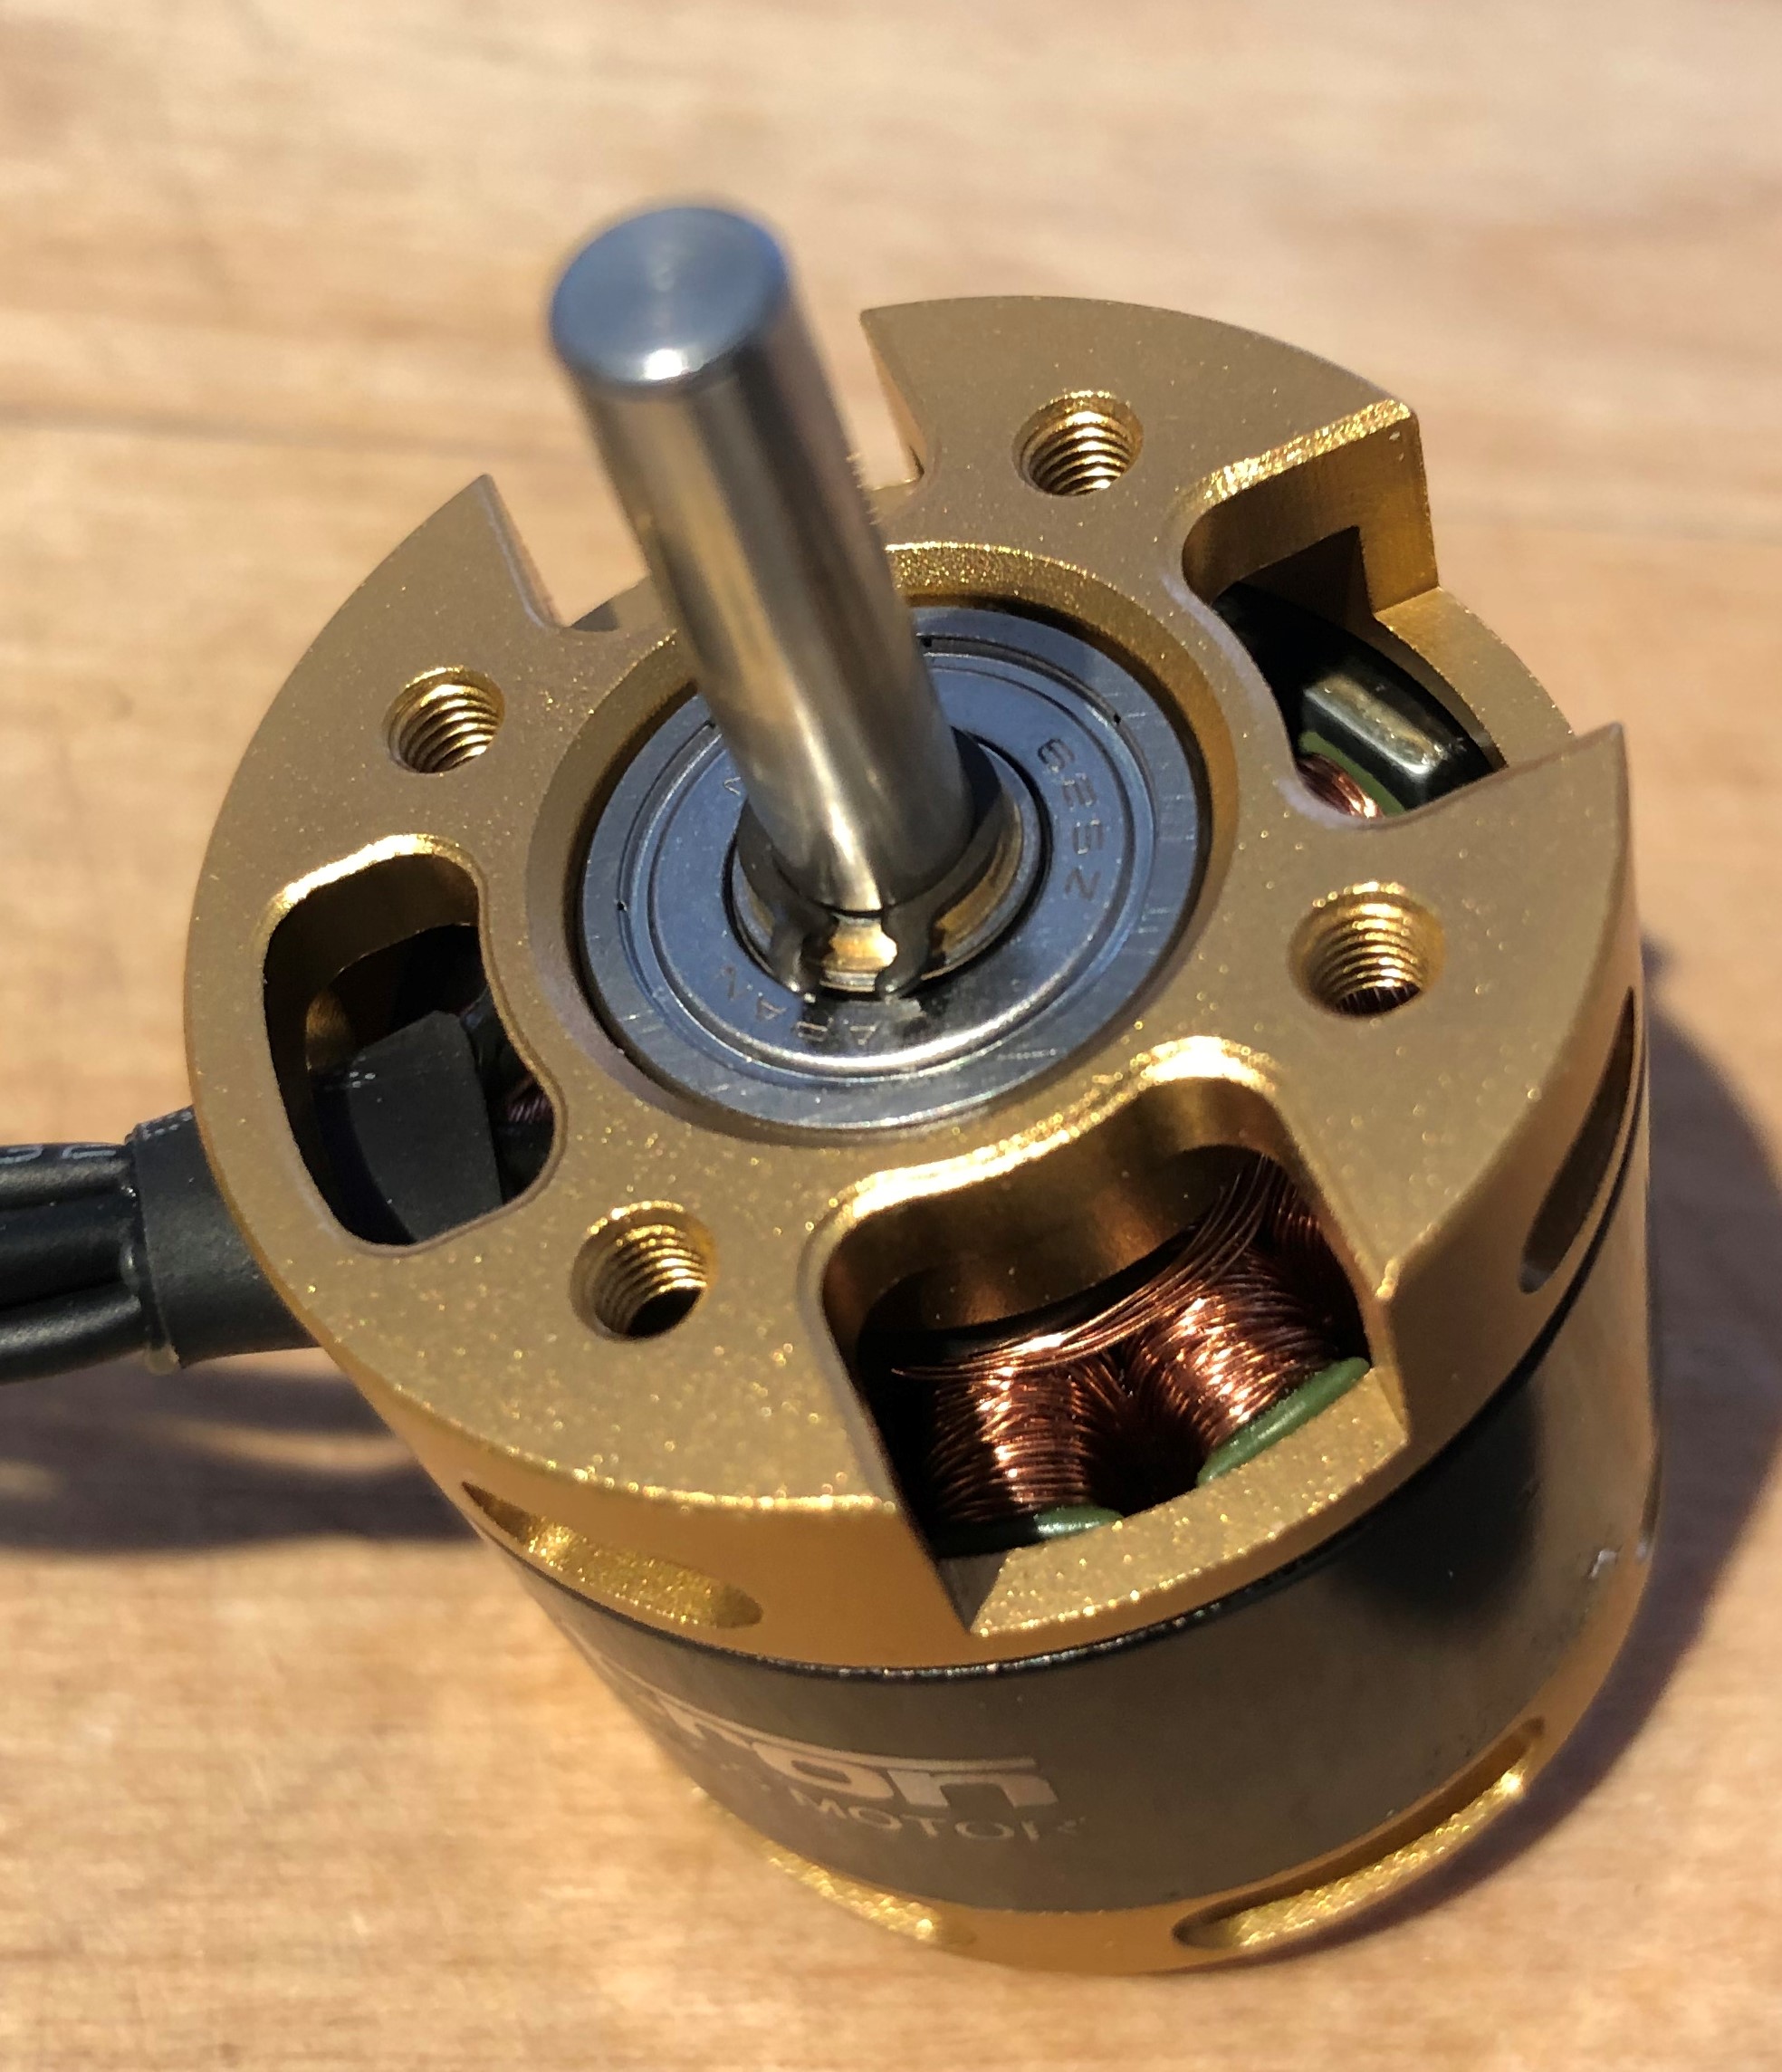
After removing the circlip the motor can easily pulled apart. For the next steps you only need to modify the part of the motor, shown in the right side of the next picture.
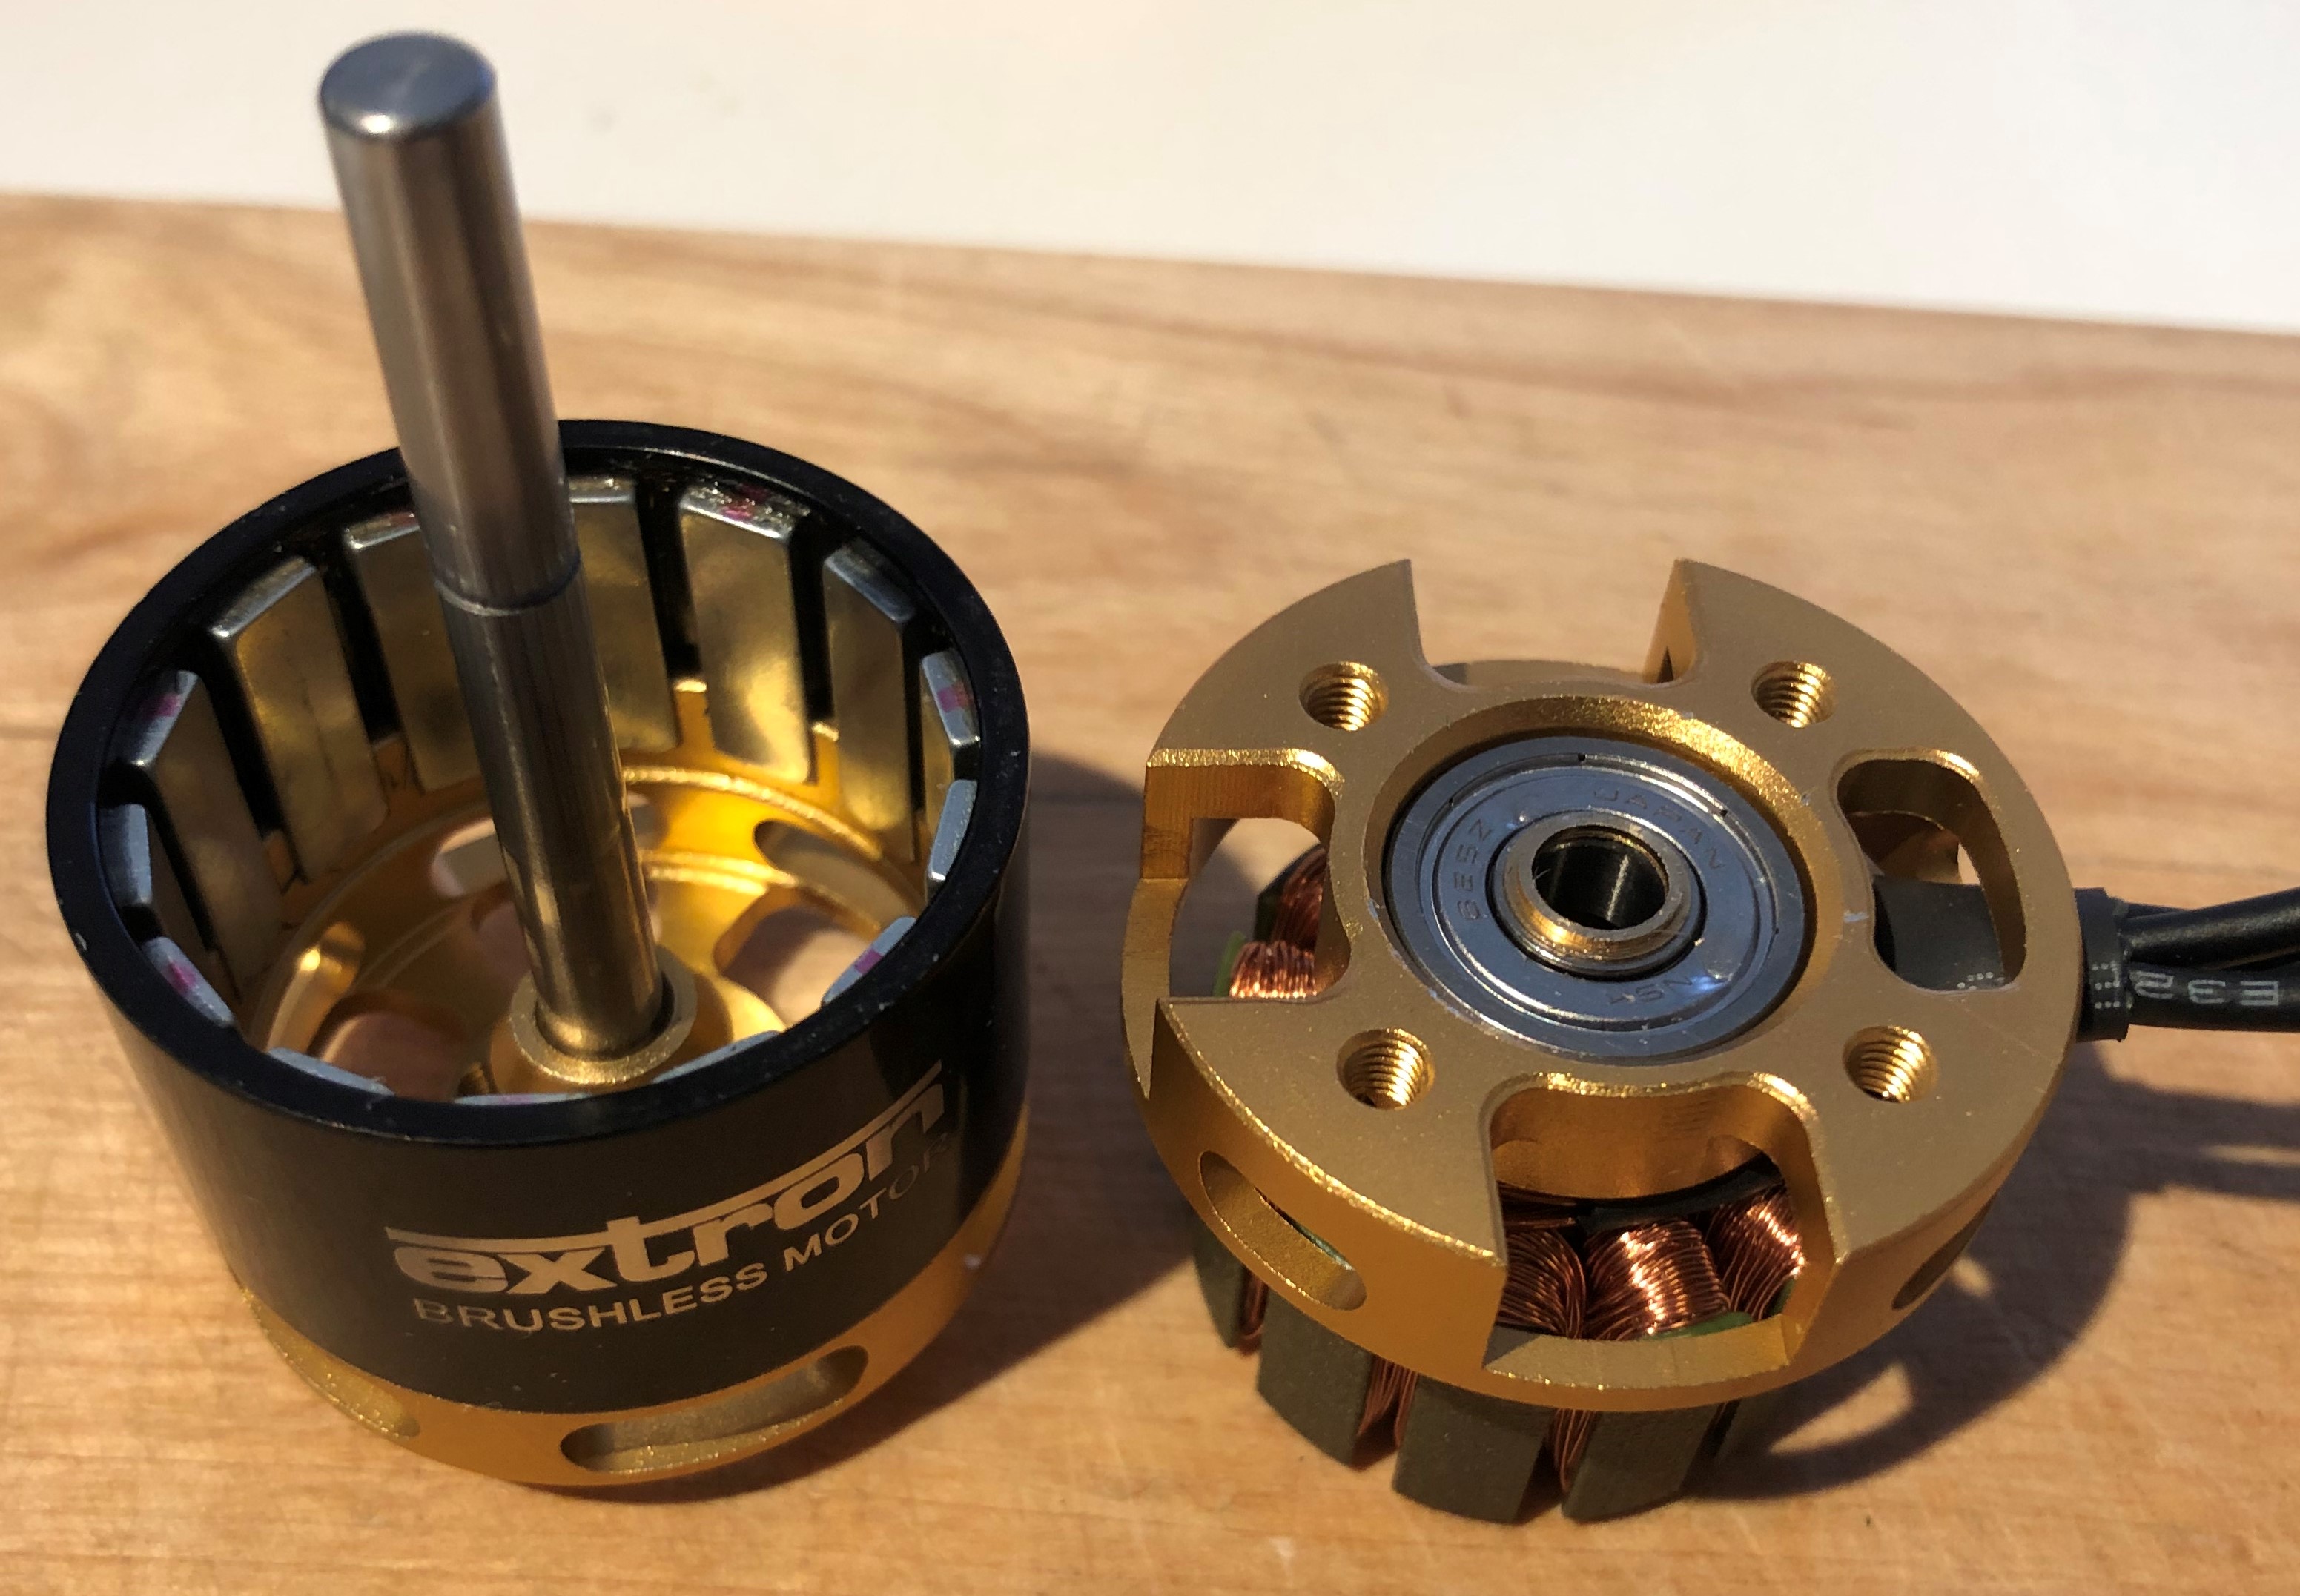
There are three little spacer made out of brass on the big bearing on the right side of the picture. You will need the spacer, so don't lose them.
¶ Step 2: Removing the bearings
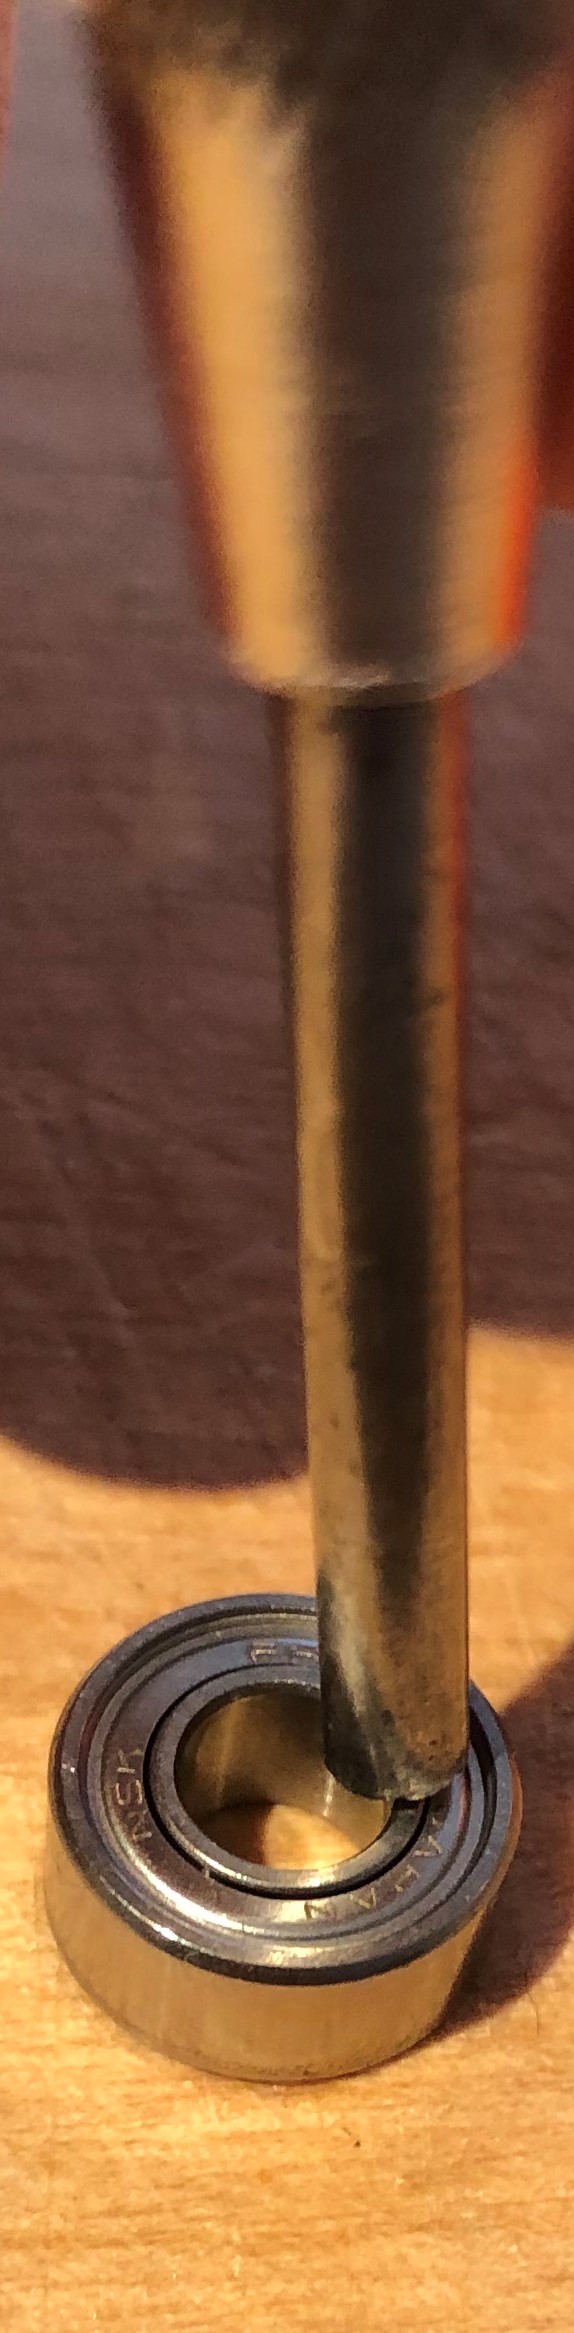
The motor has two small and one bigger bearing which needs to be replaced. You should start with removing the two small bearings first. Therefor place the motor in the mounting aid. You can use your cotter pin driver and position it as shown in the following picture. Use a hammer to cast out the bearing.
.jpg)
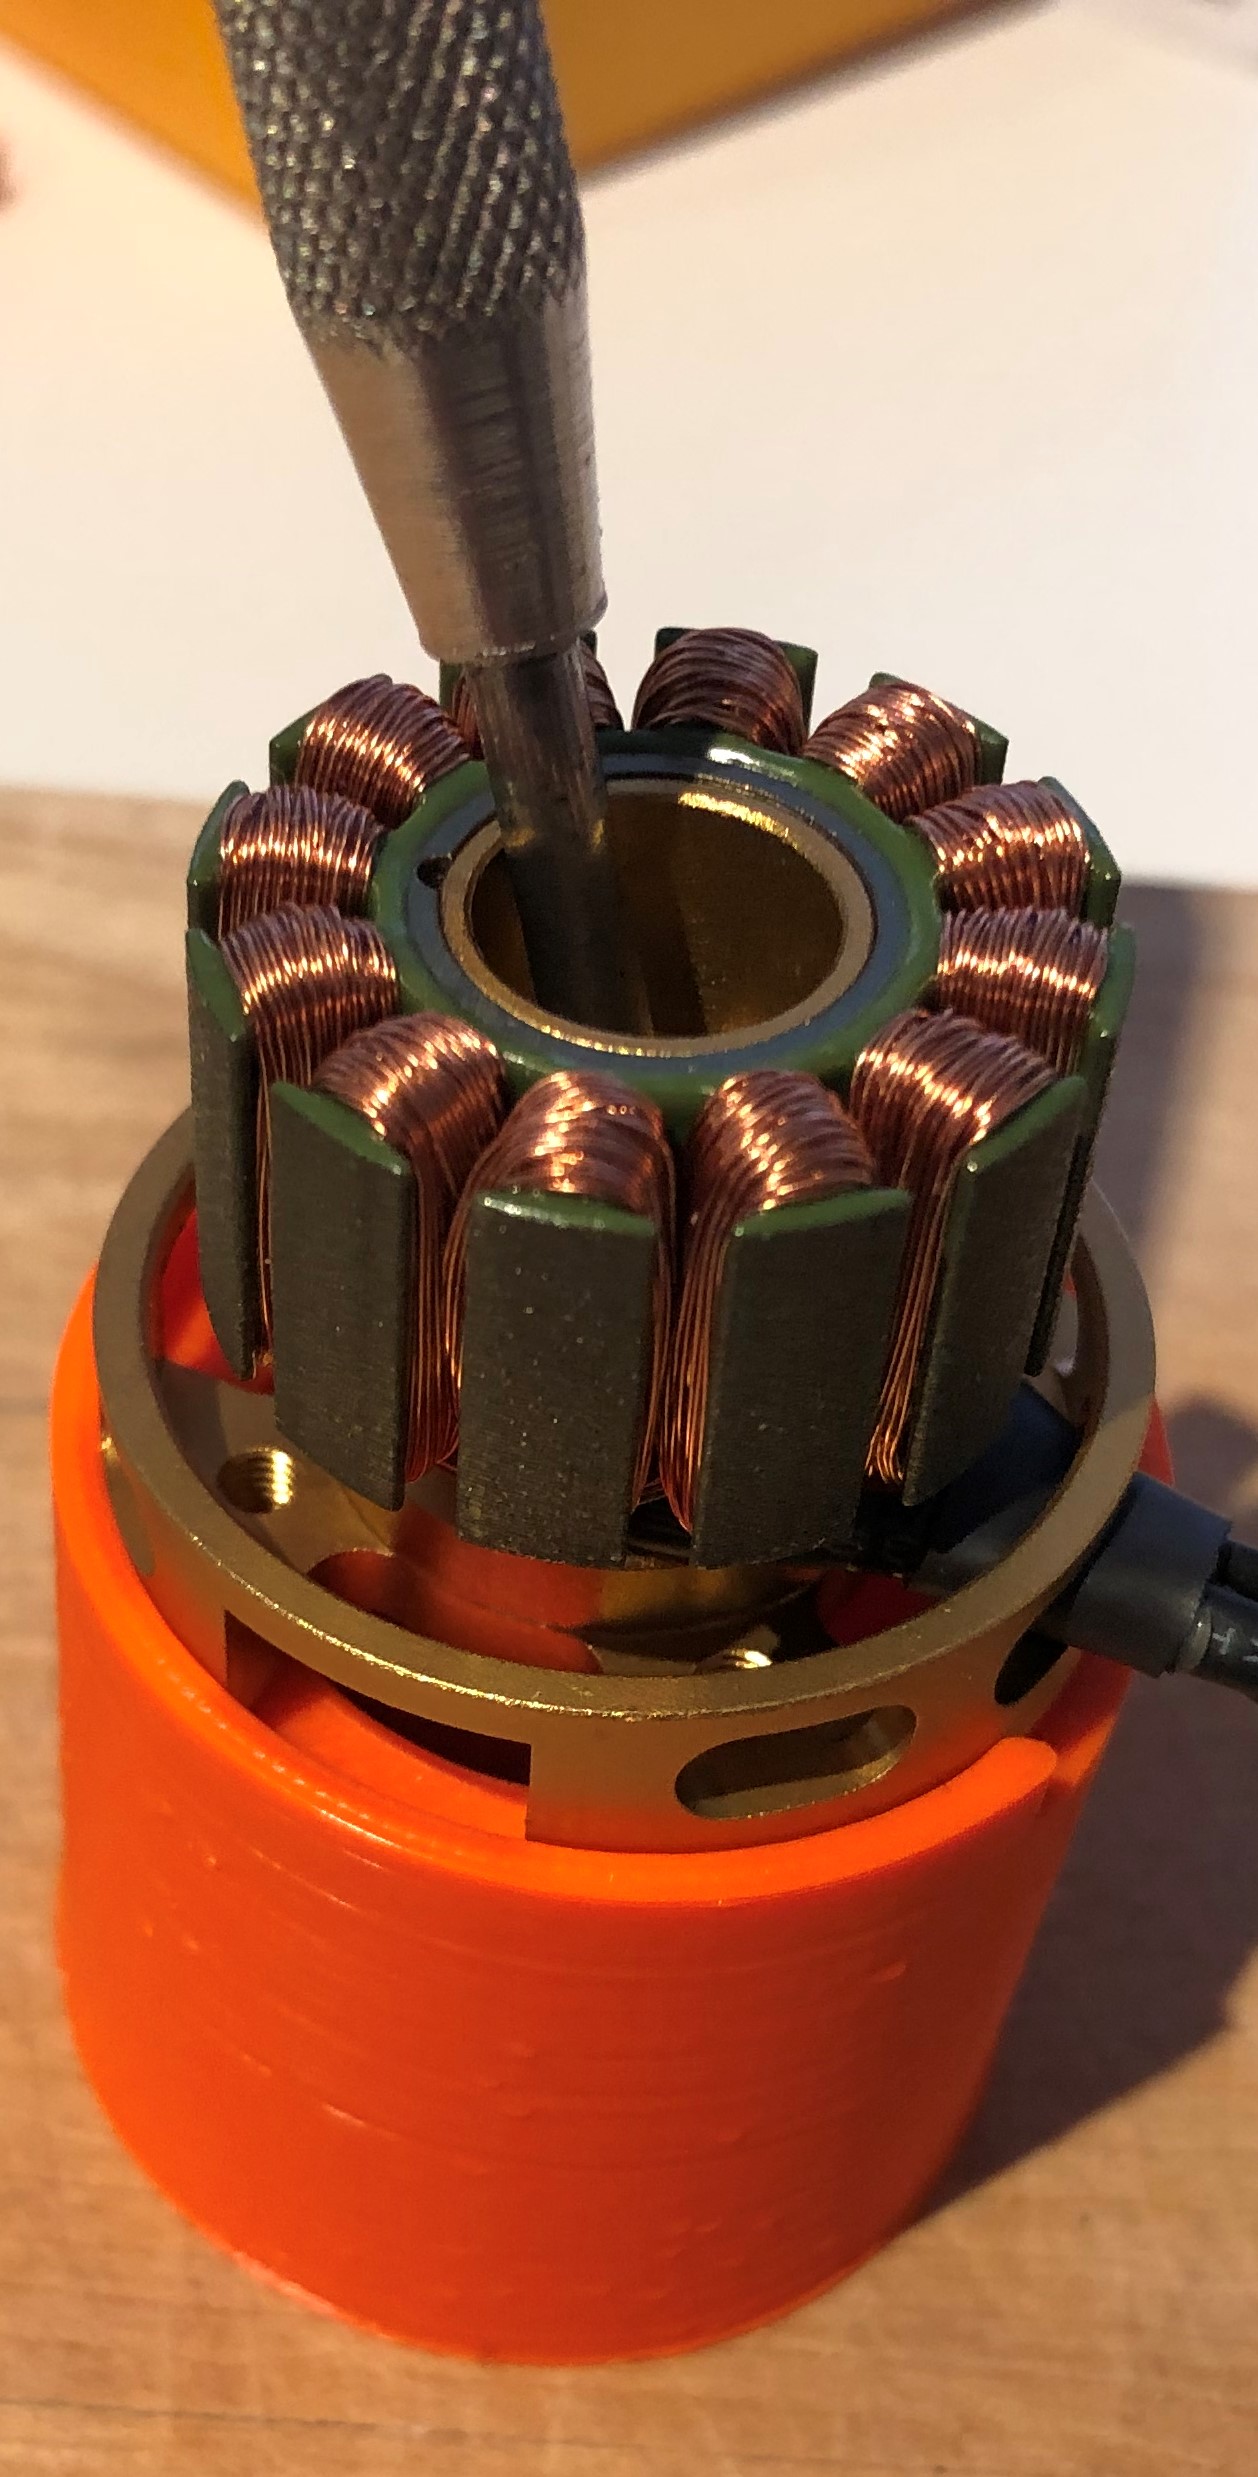
After dismounting the two small bearings turn the motor and the mounting aid around and place it like shown in the next picture. Remove the big bearing by the same method used for the smaller ones.
¶ Step 3: Integrating the new bearings
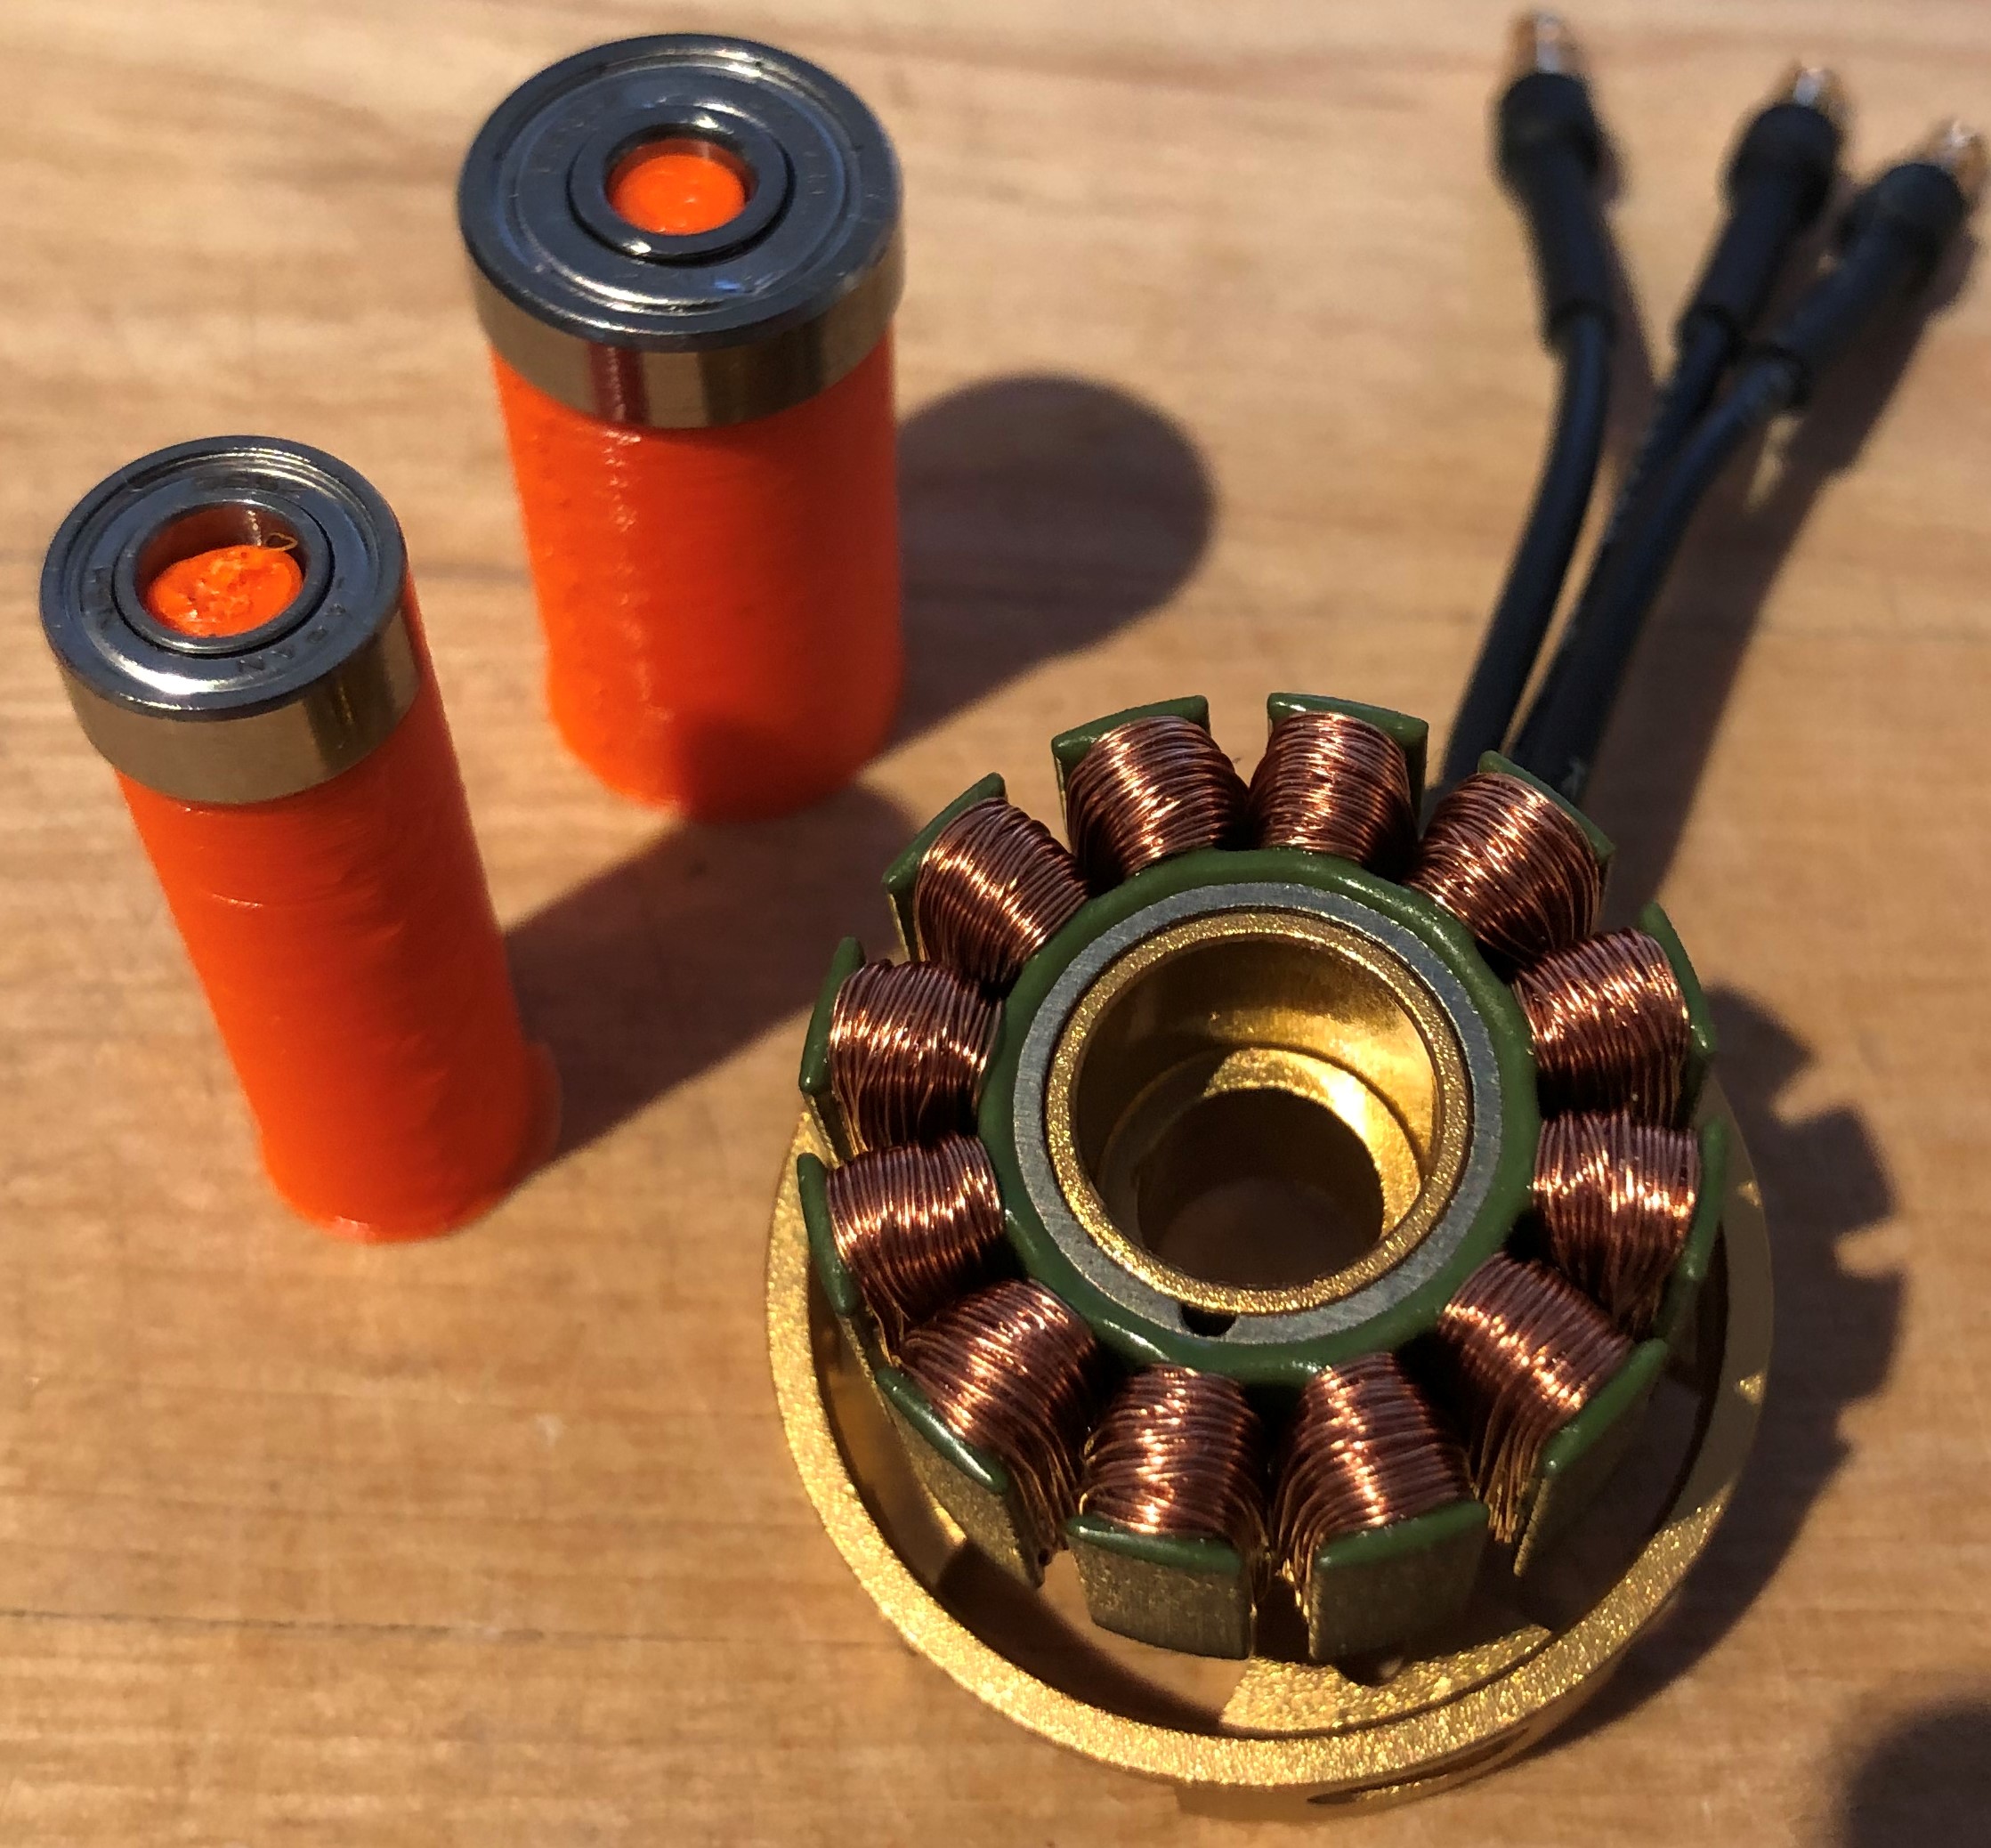
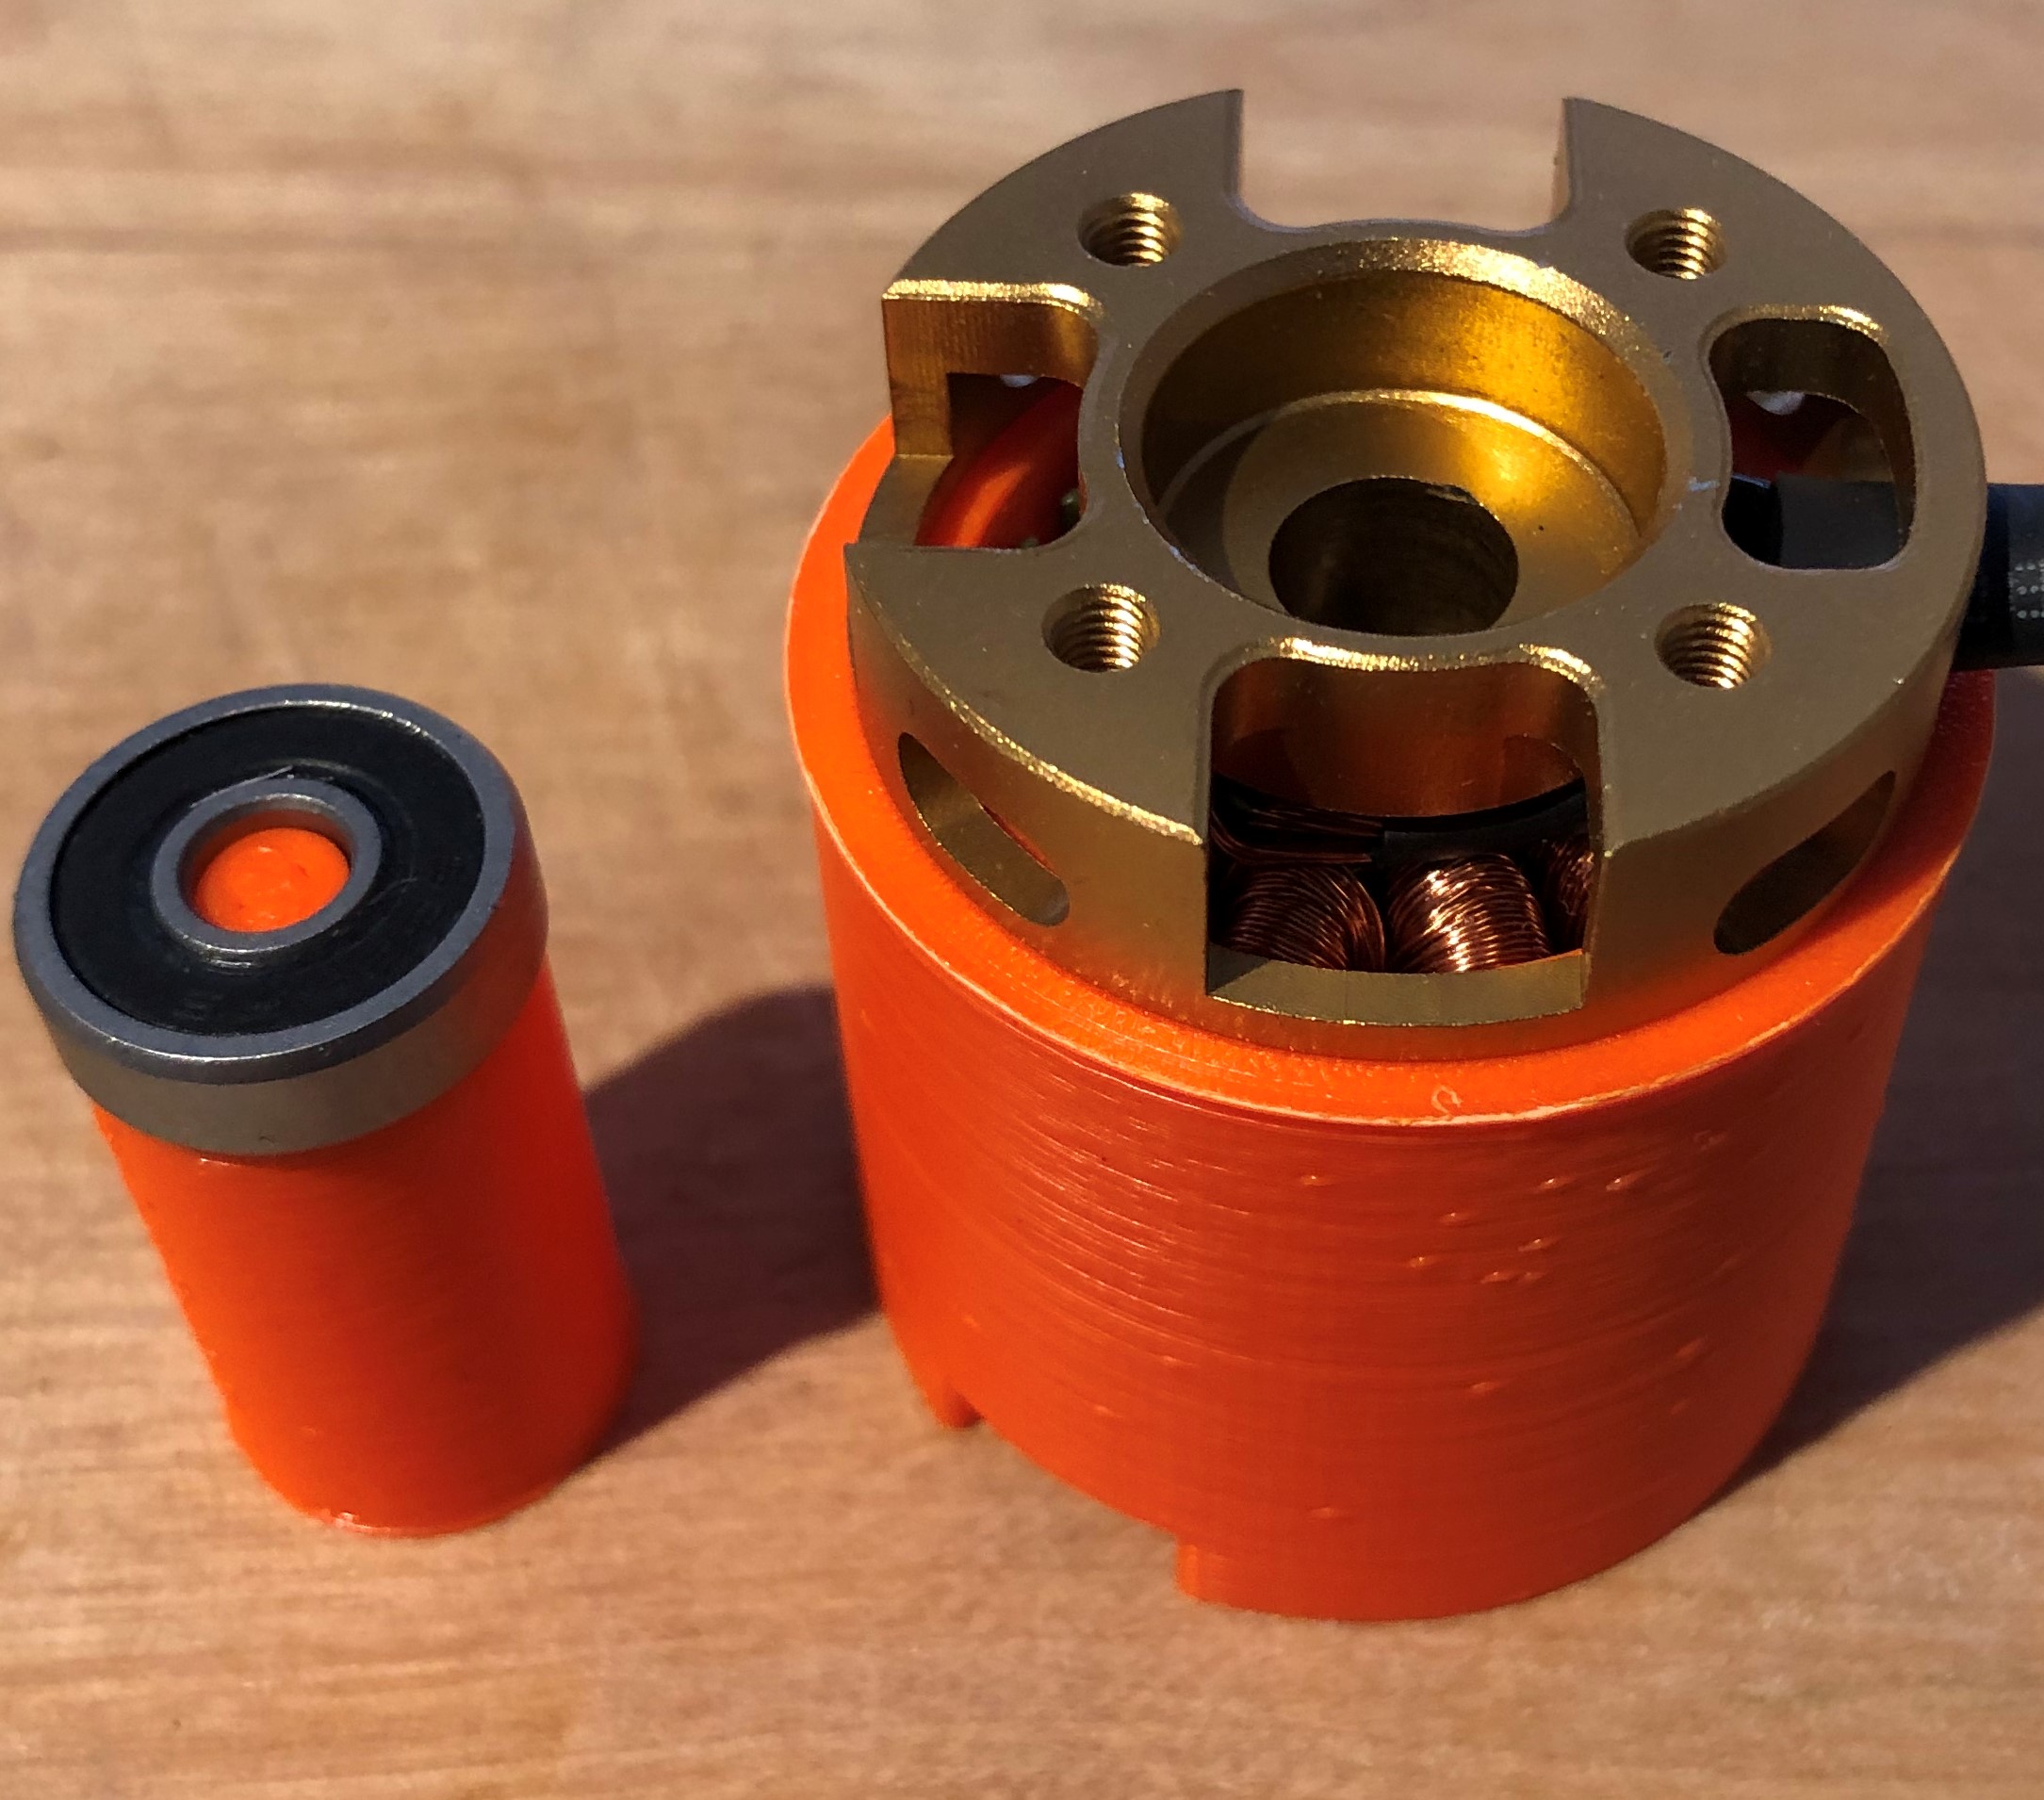
You are now able to integrate the new bearings. Start with the two small bearings and use the mounting aid, so that the bearings and the motor stays in the right position won't get damaged by the hammer.
After putting in the two small bearings flip the motor around and install the big bearing with the bigger mounting aid.
¶ Step 4: Lacquer the inner parts
Saltwater makes things rust. So we lacqueur them. First, we put masking tape around both the stator and the rotor:
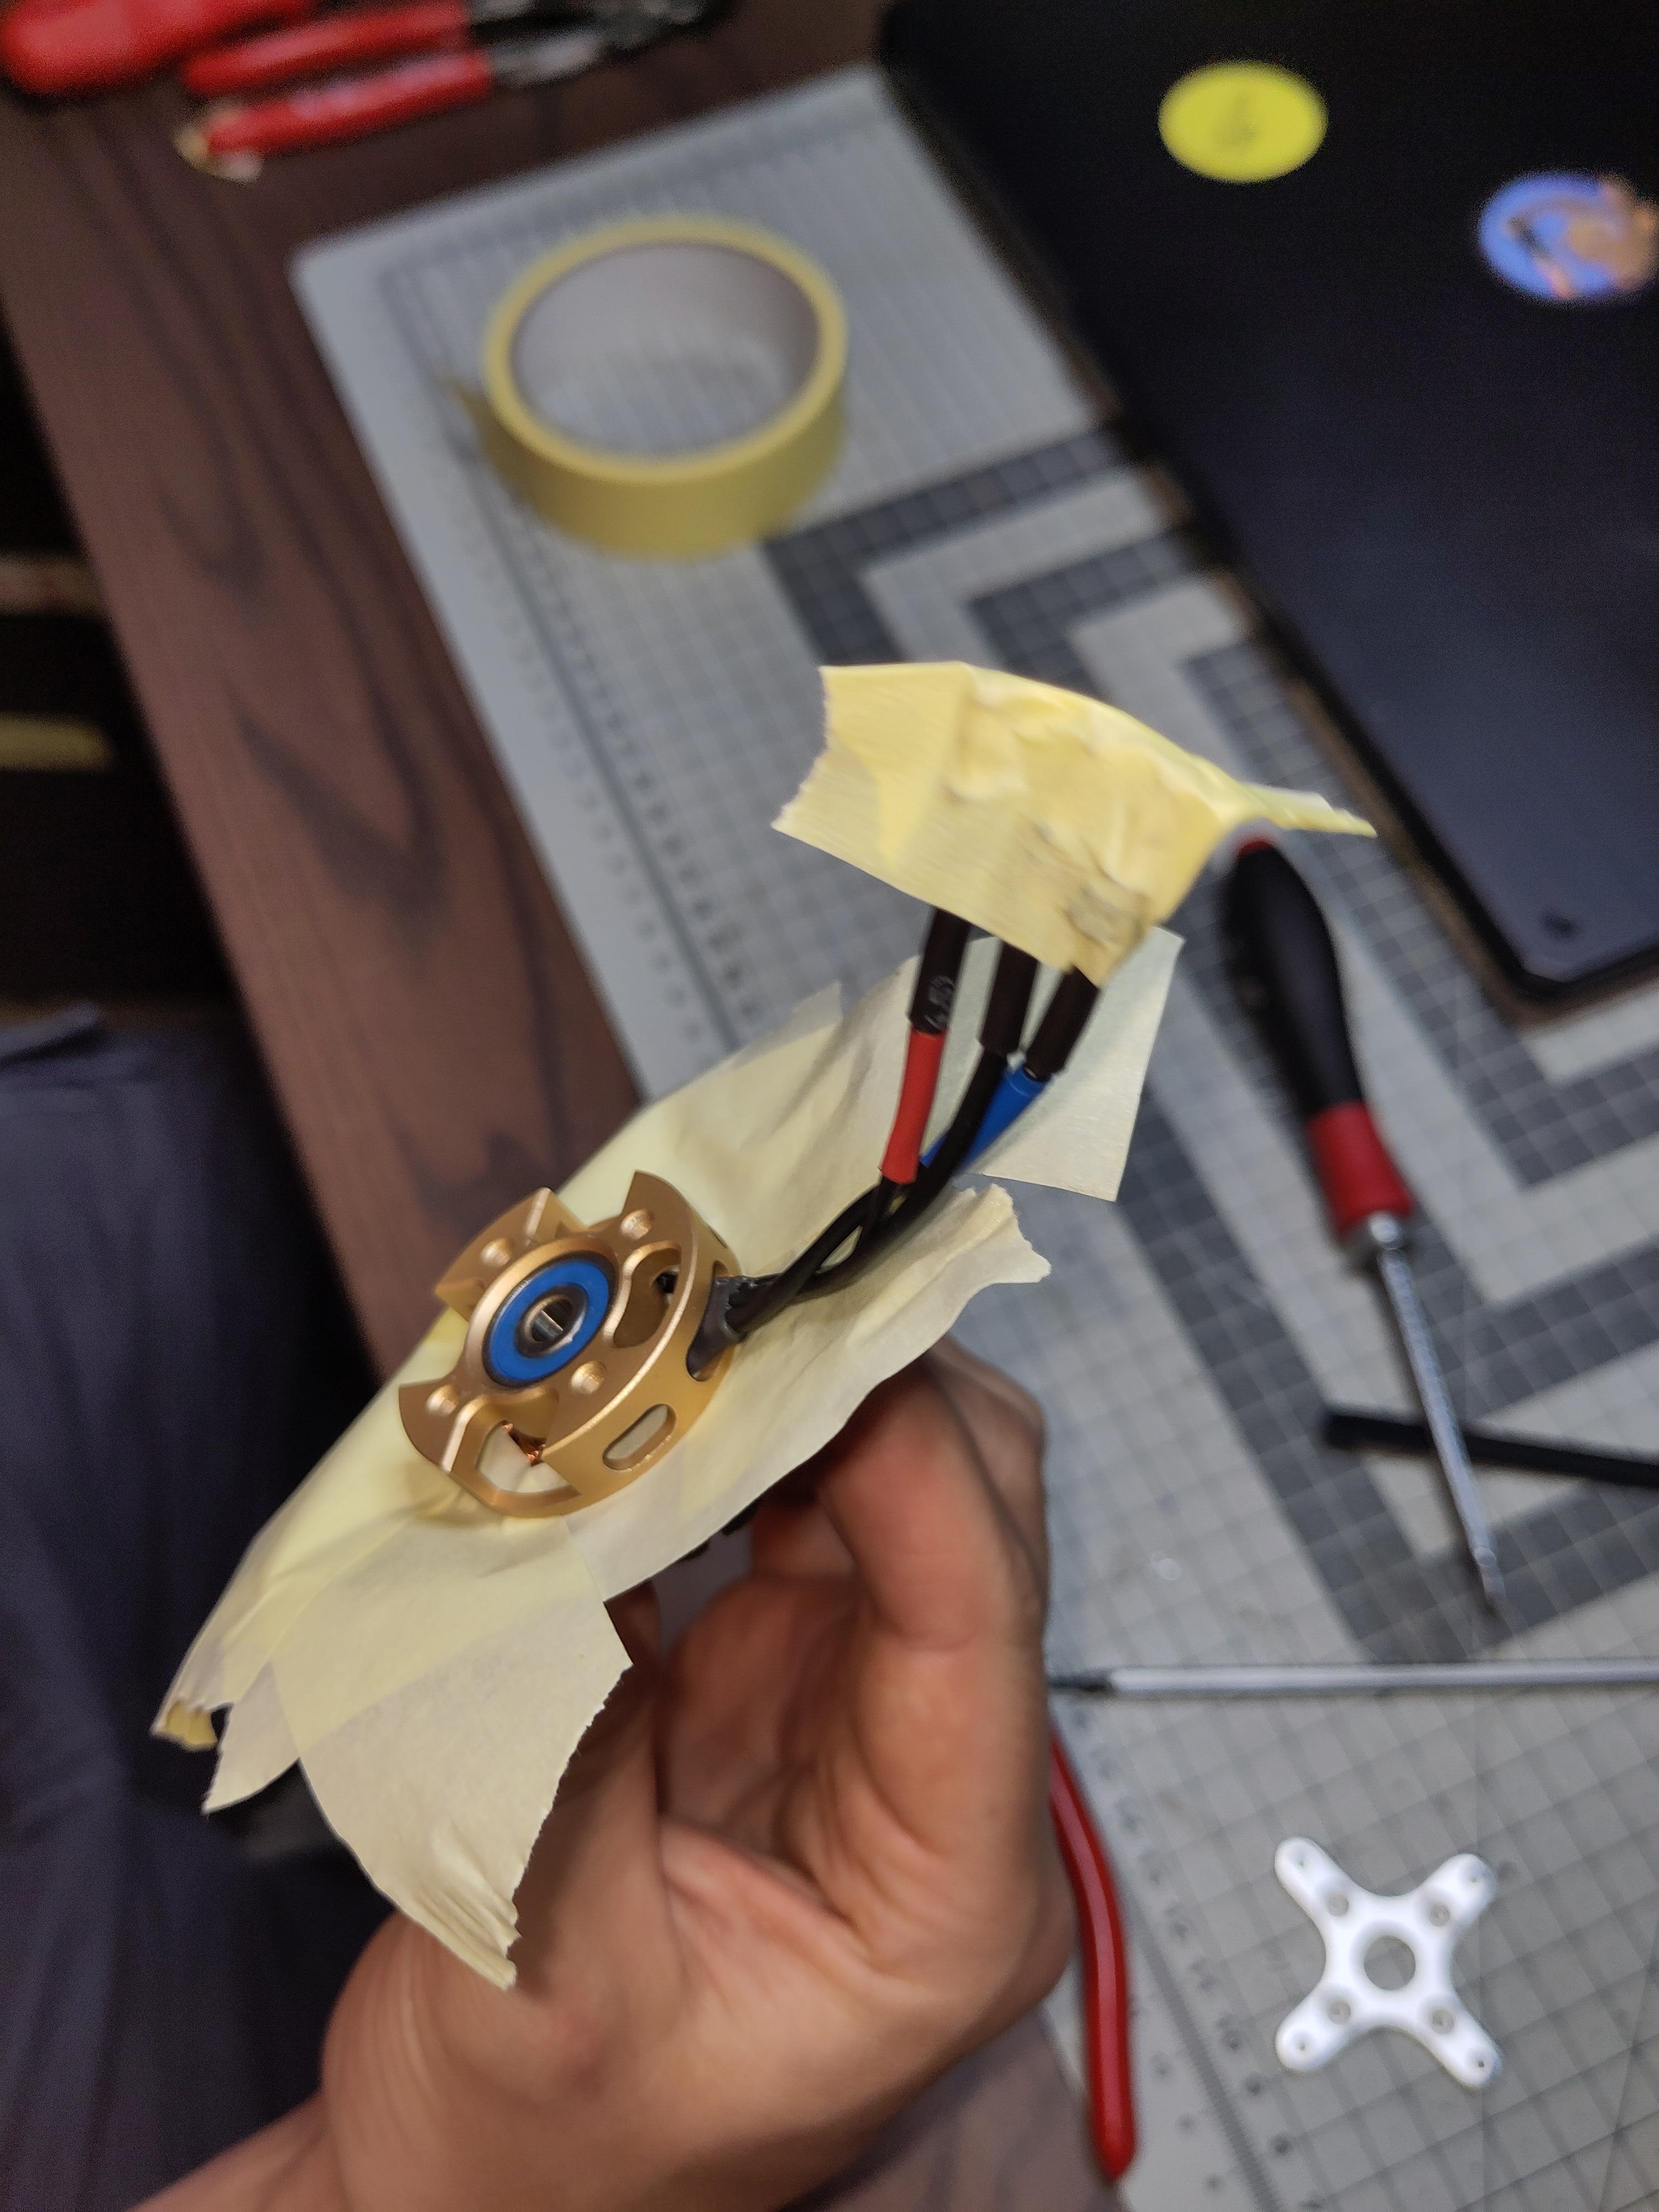
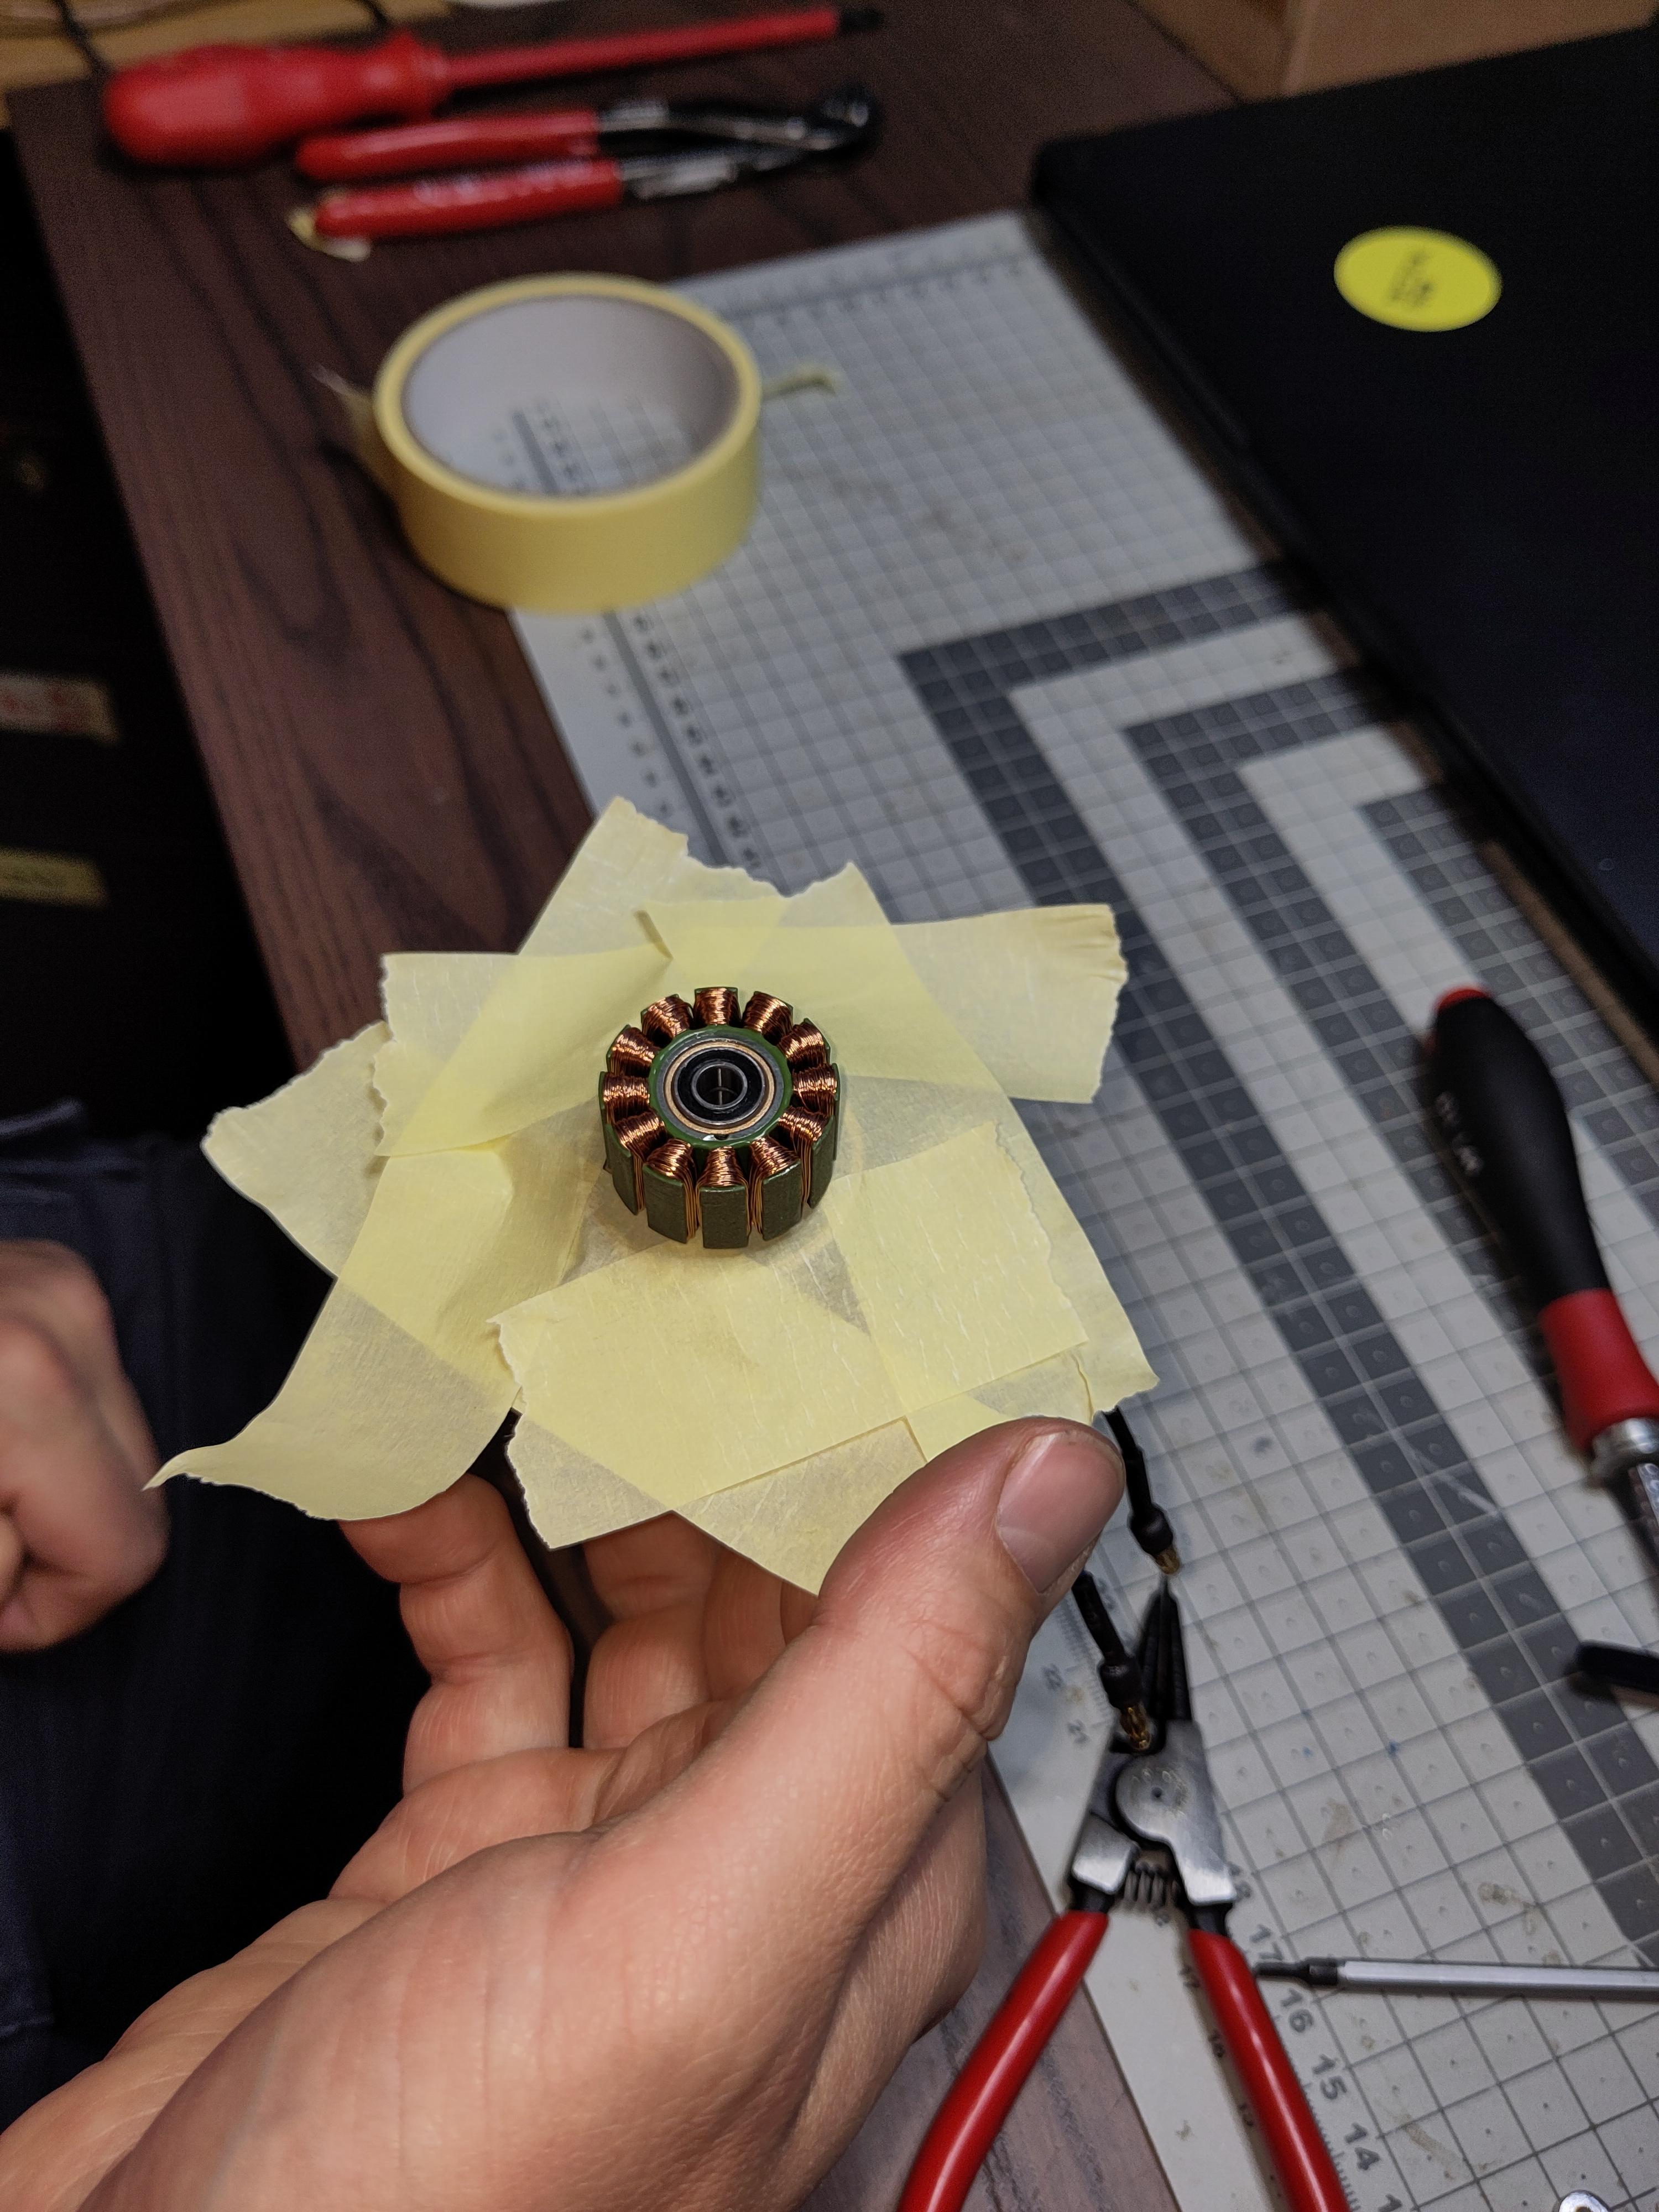
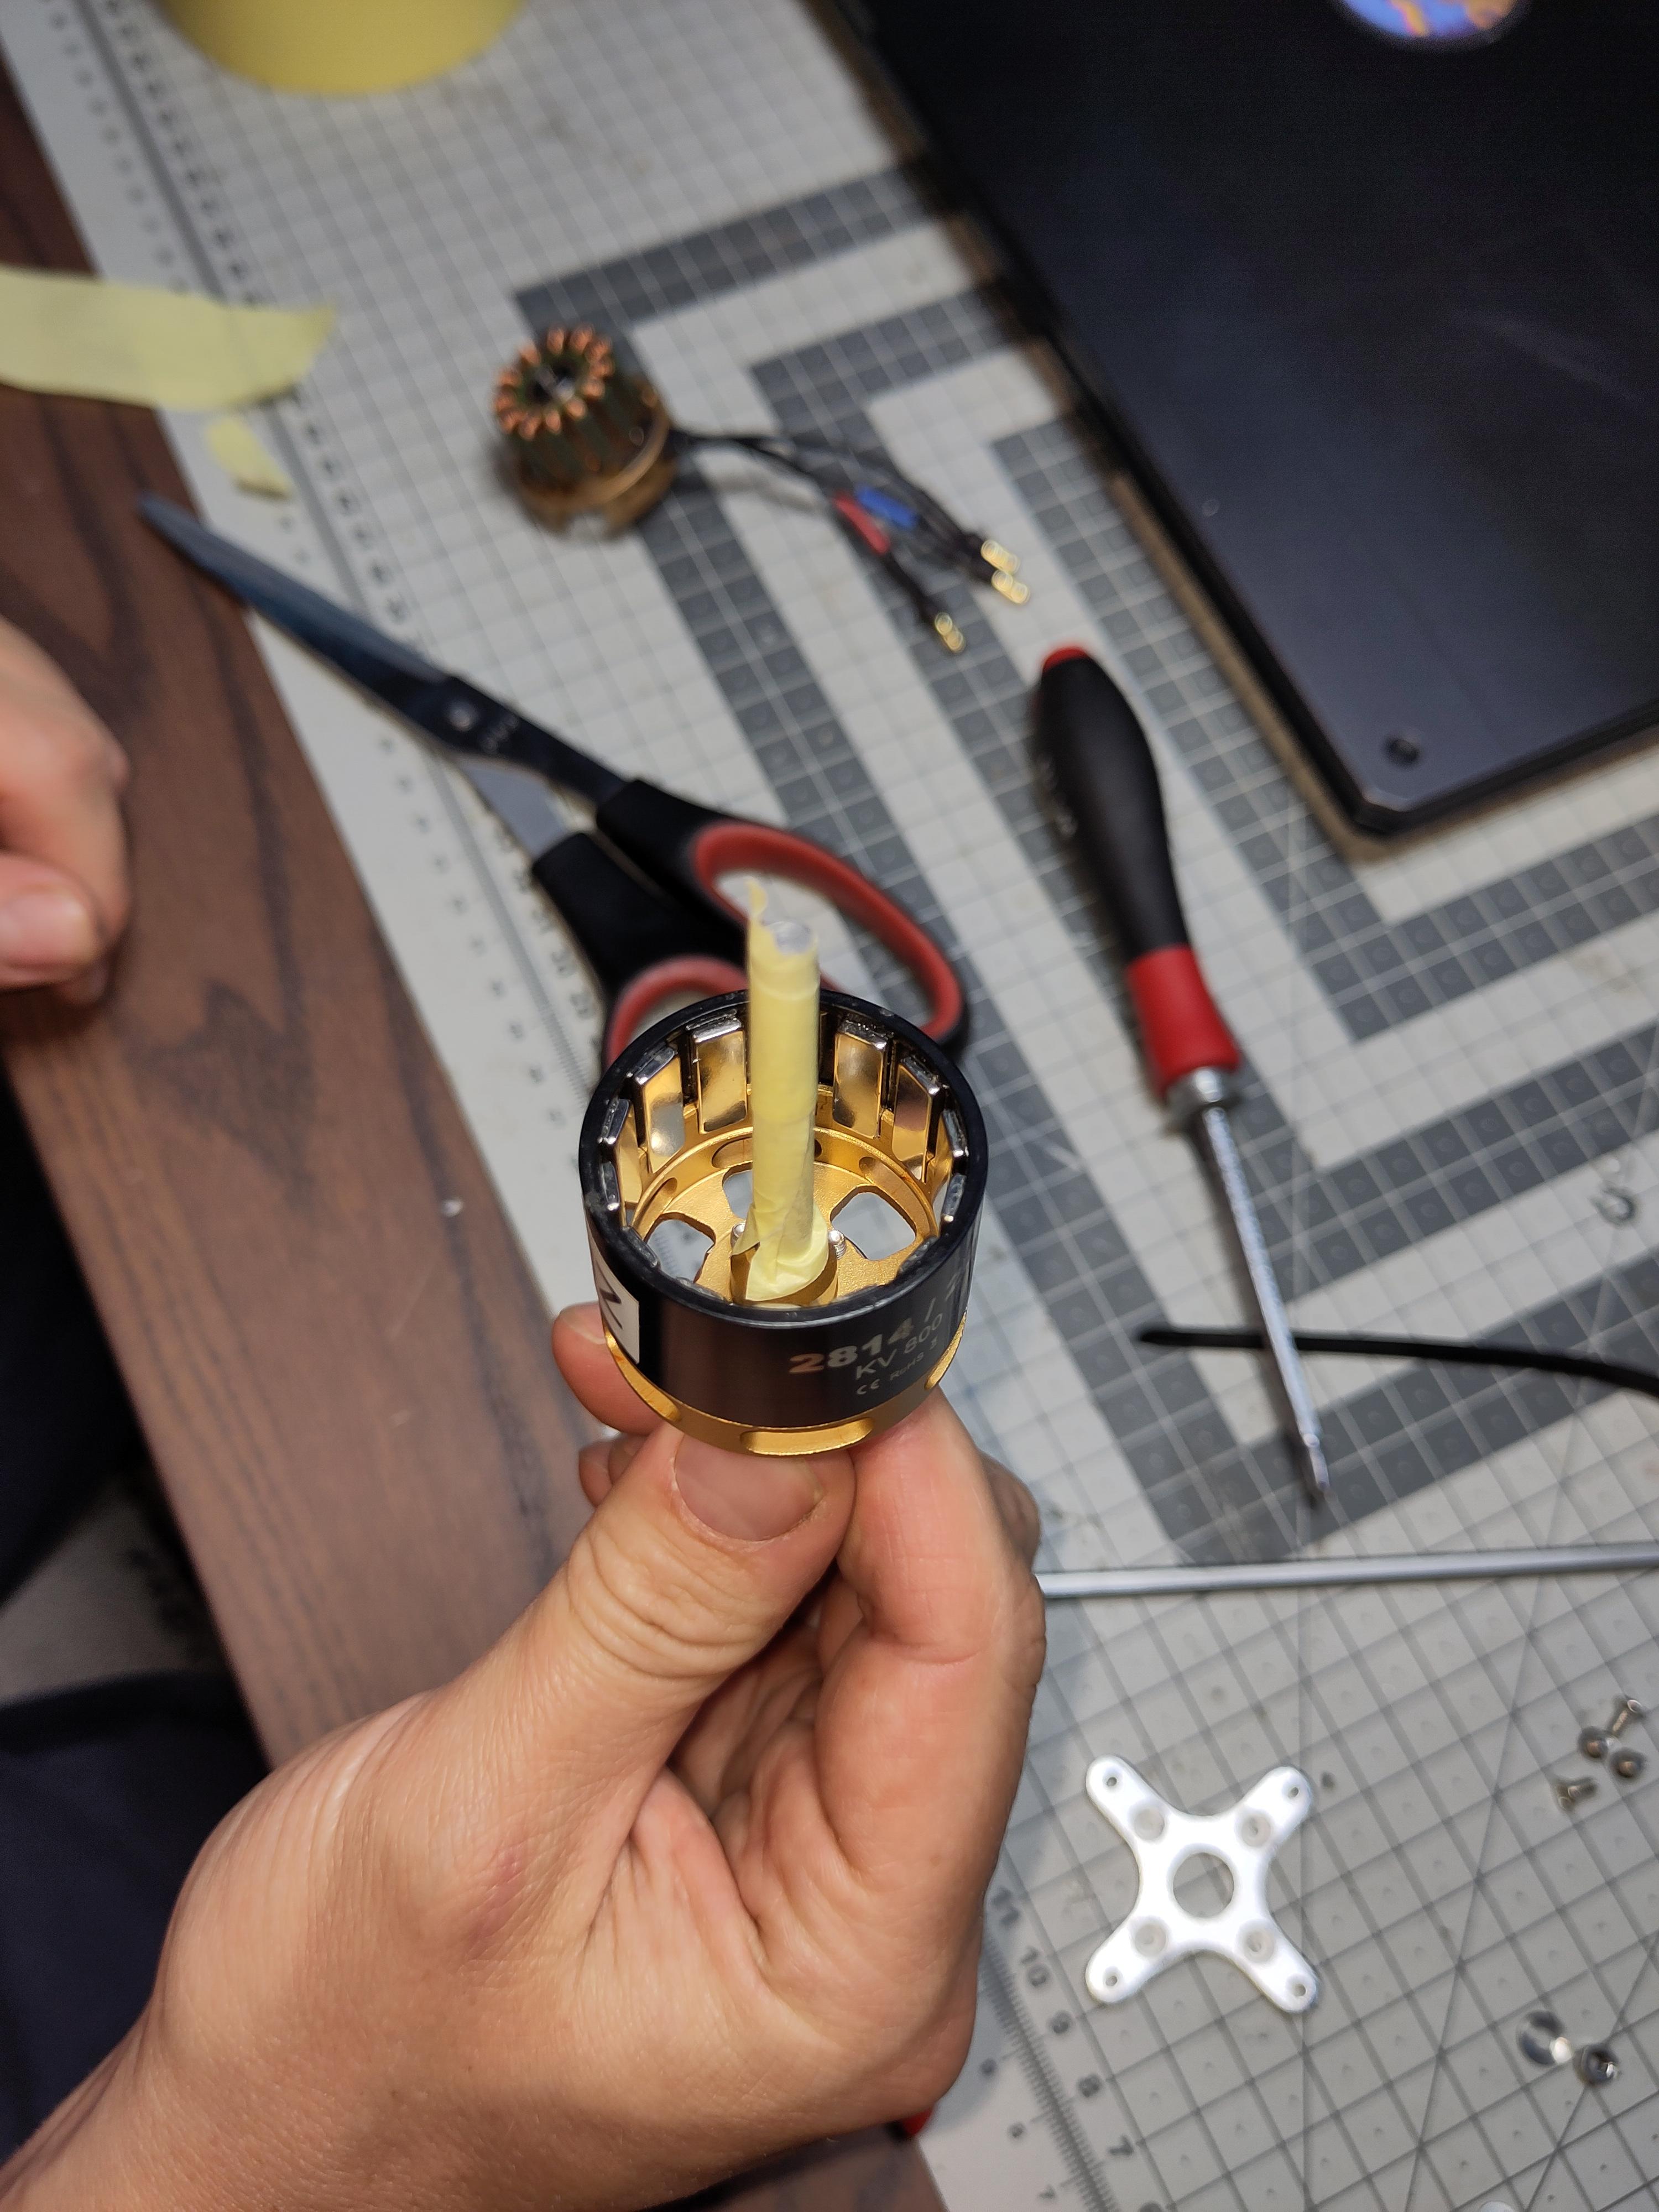
Don't forget to mask the bearings!!!
Then we use "Kontakt Chemie 70 Plastic" clear lacquer spray. Spray the magnet parts on both the stator and the motor, and use a brush to make sure all the parts are properly "painted" with lacquer. Make sure not to lacquer the bearings(!) and make sure not to put lacquer on the rod and contact places, because things can become very tight. We did a test of doing this lacquer process twice -- basically, do one spraying+painting, wait until it dries, and then do it again. We'll see if double works better than single.
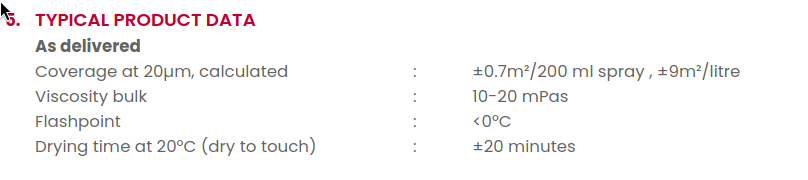
Driing takes about 20minutes for touch dry. Better to wait for one day before applying a second layer.
¶ Step 5: assemble the motor
After installing the new bearings you are now able to reassemble the motor. Don't forget to place the three little spacer made out of brass on the shaft before adding the circlip. The two motor parts move quite fast due to the magnets - make sure you do not have parts of your skin between the two parts...
¶ Motor cross and propeller axis
¶ Parts required for motor assembly
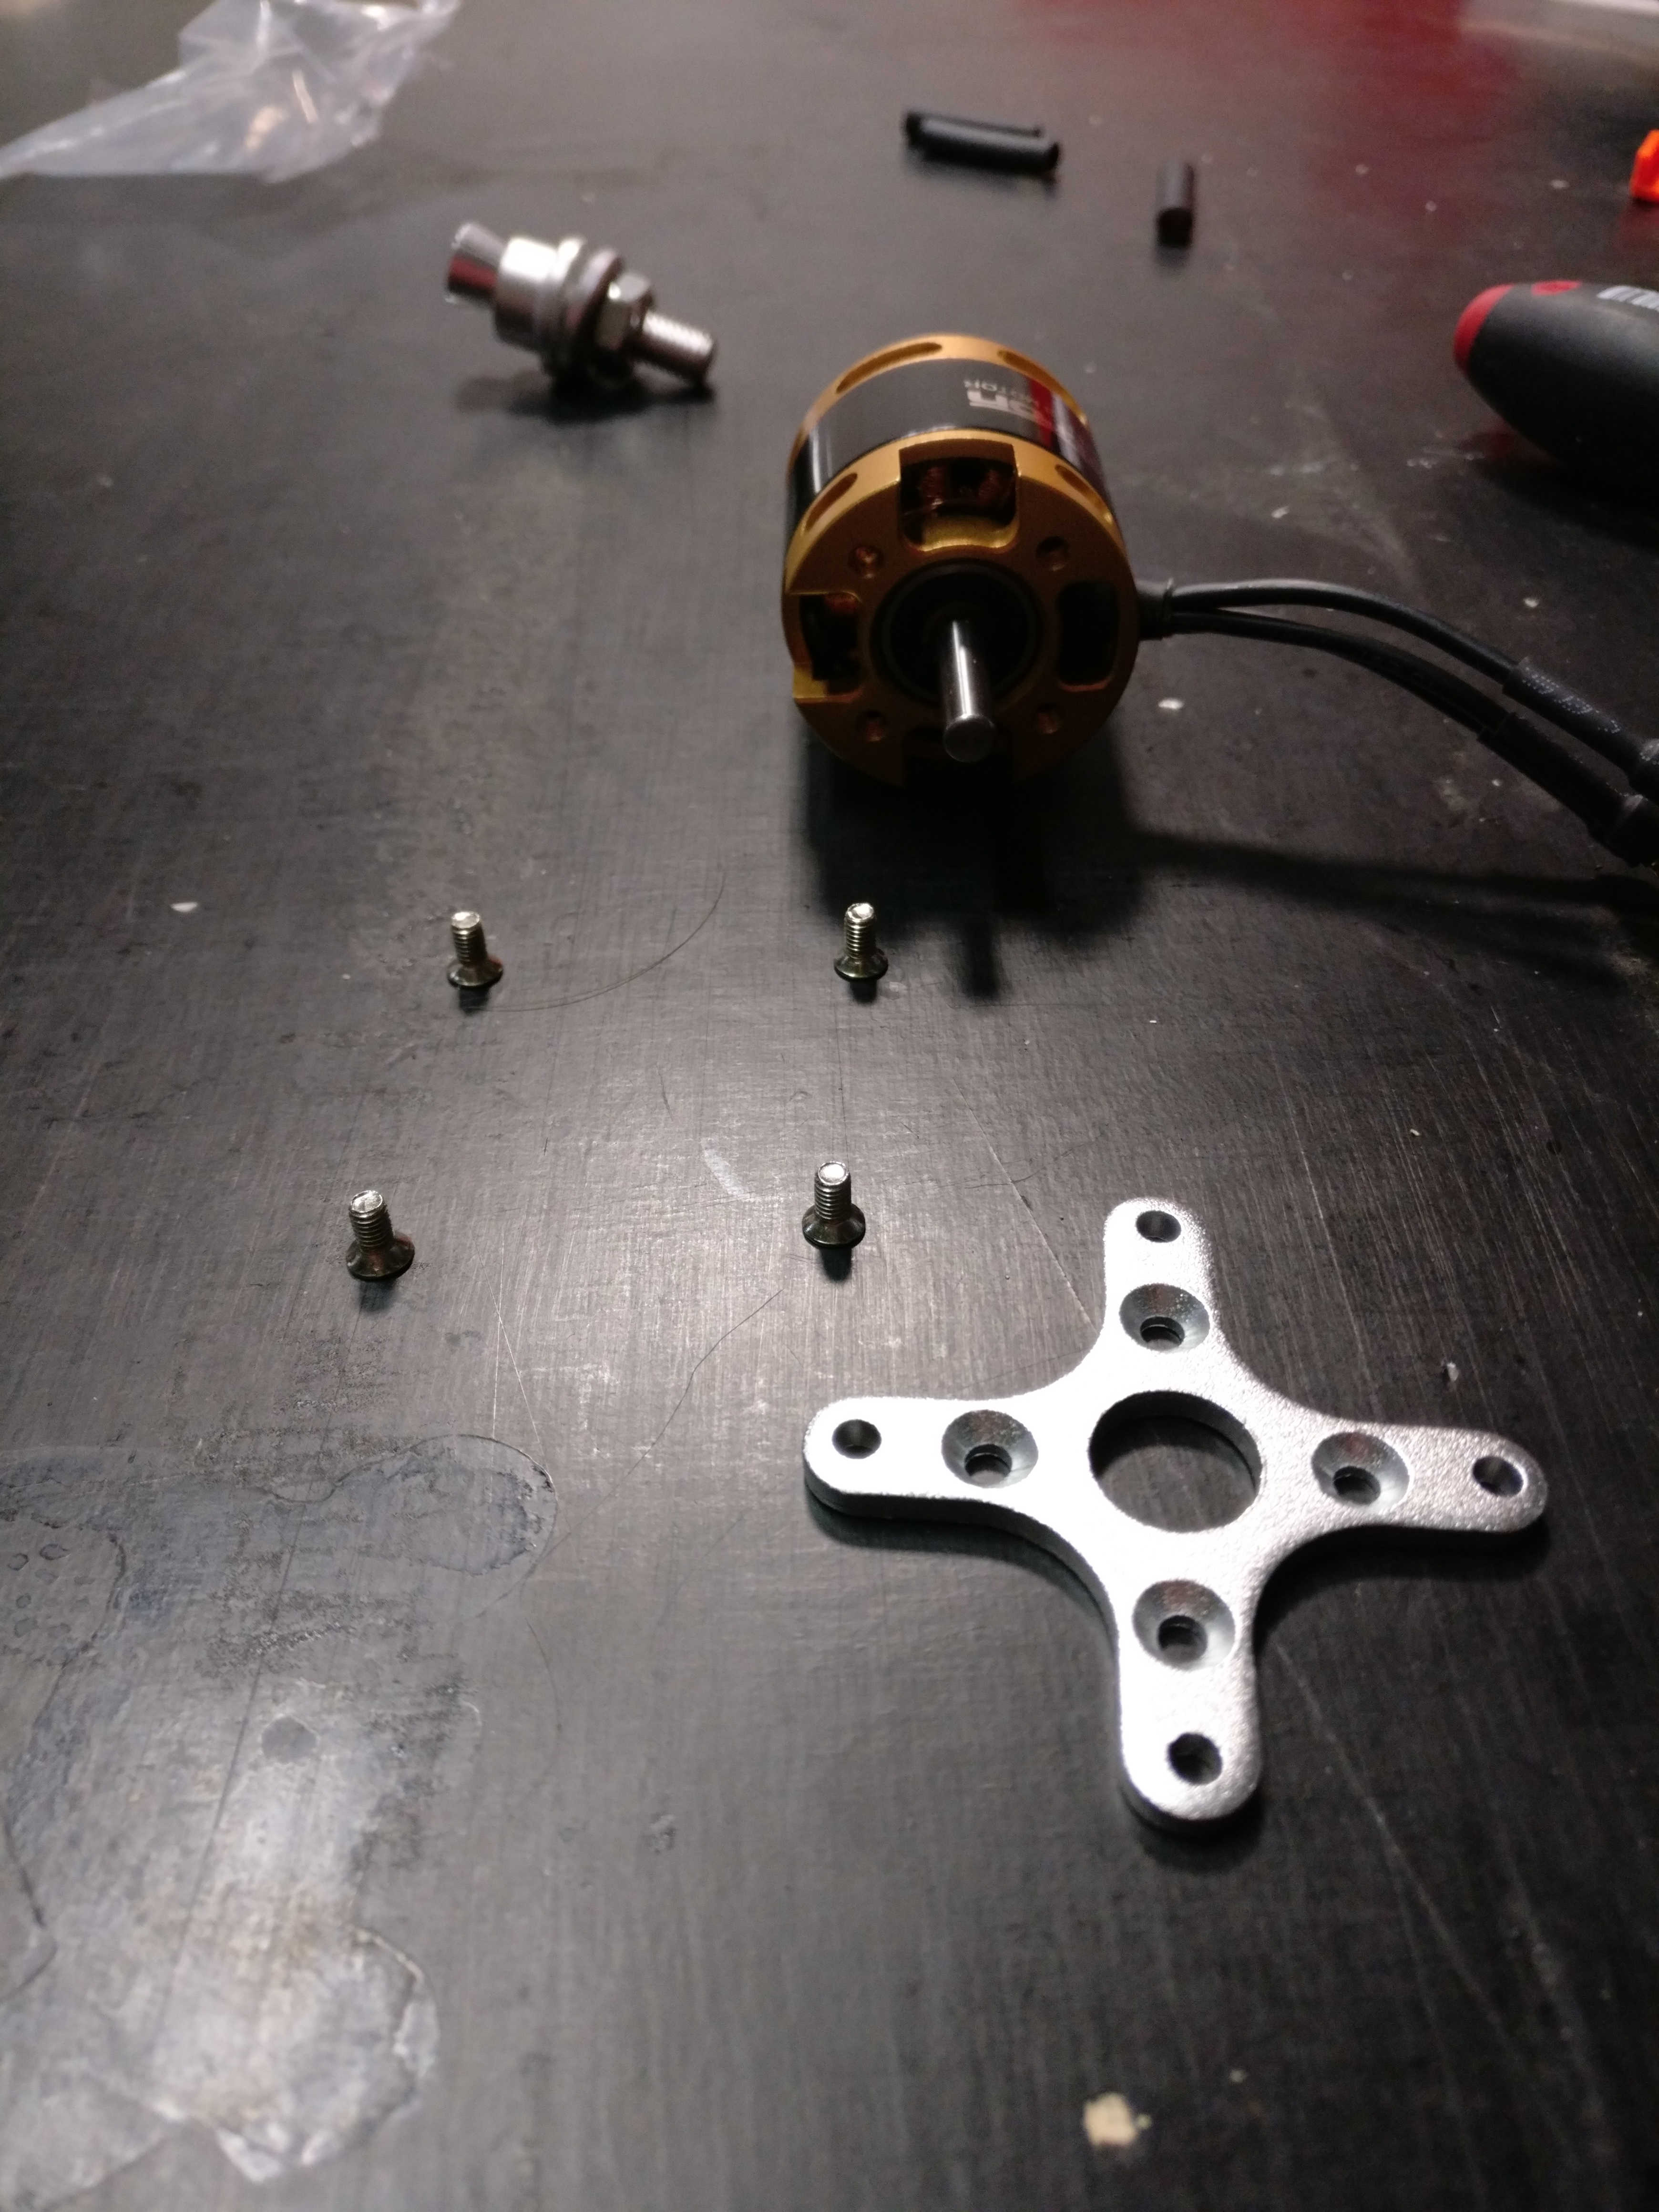
- 4x screws shiped with motor (motor cross - motor)
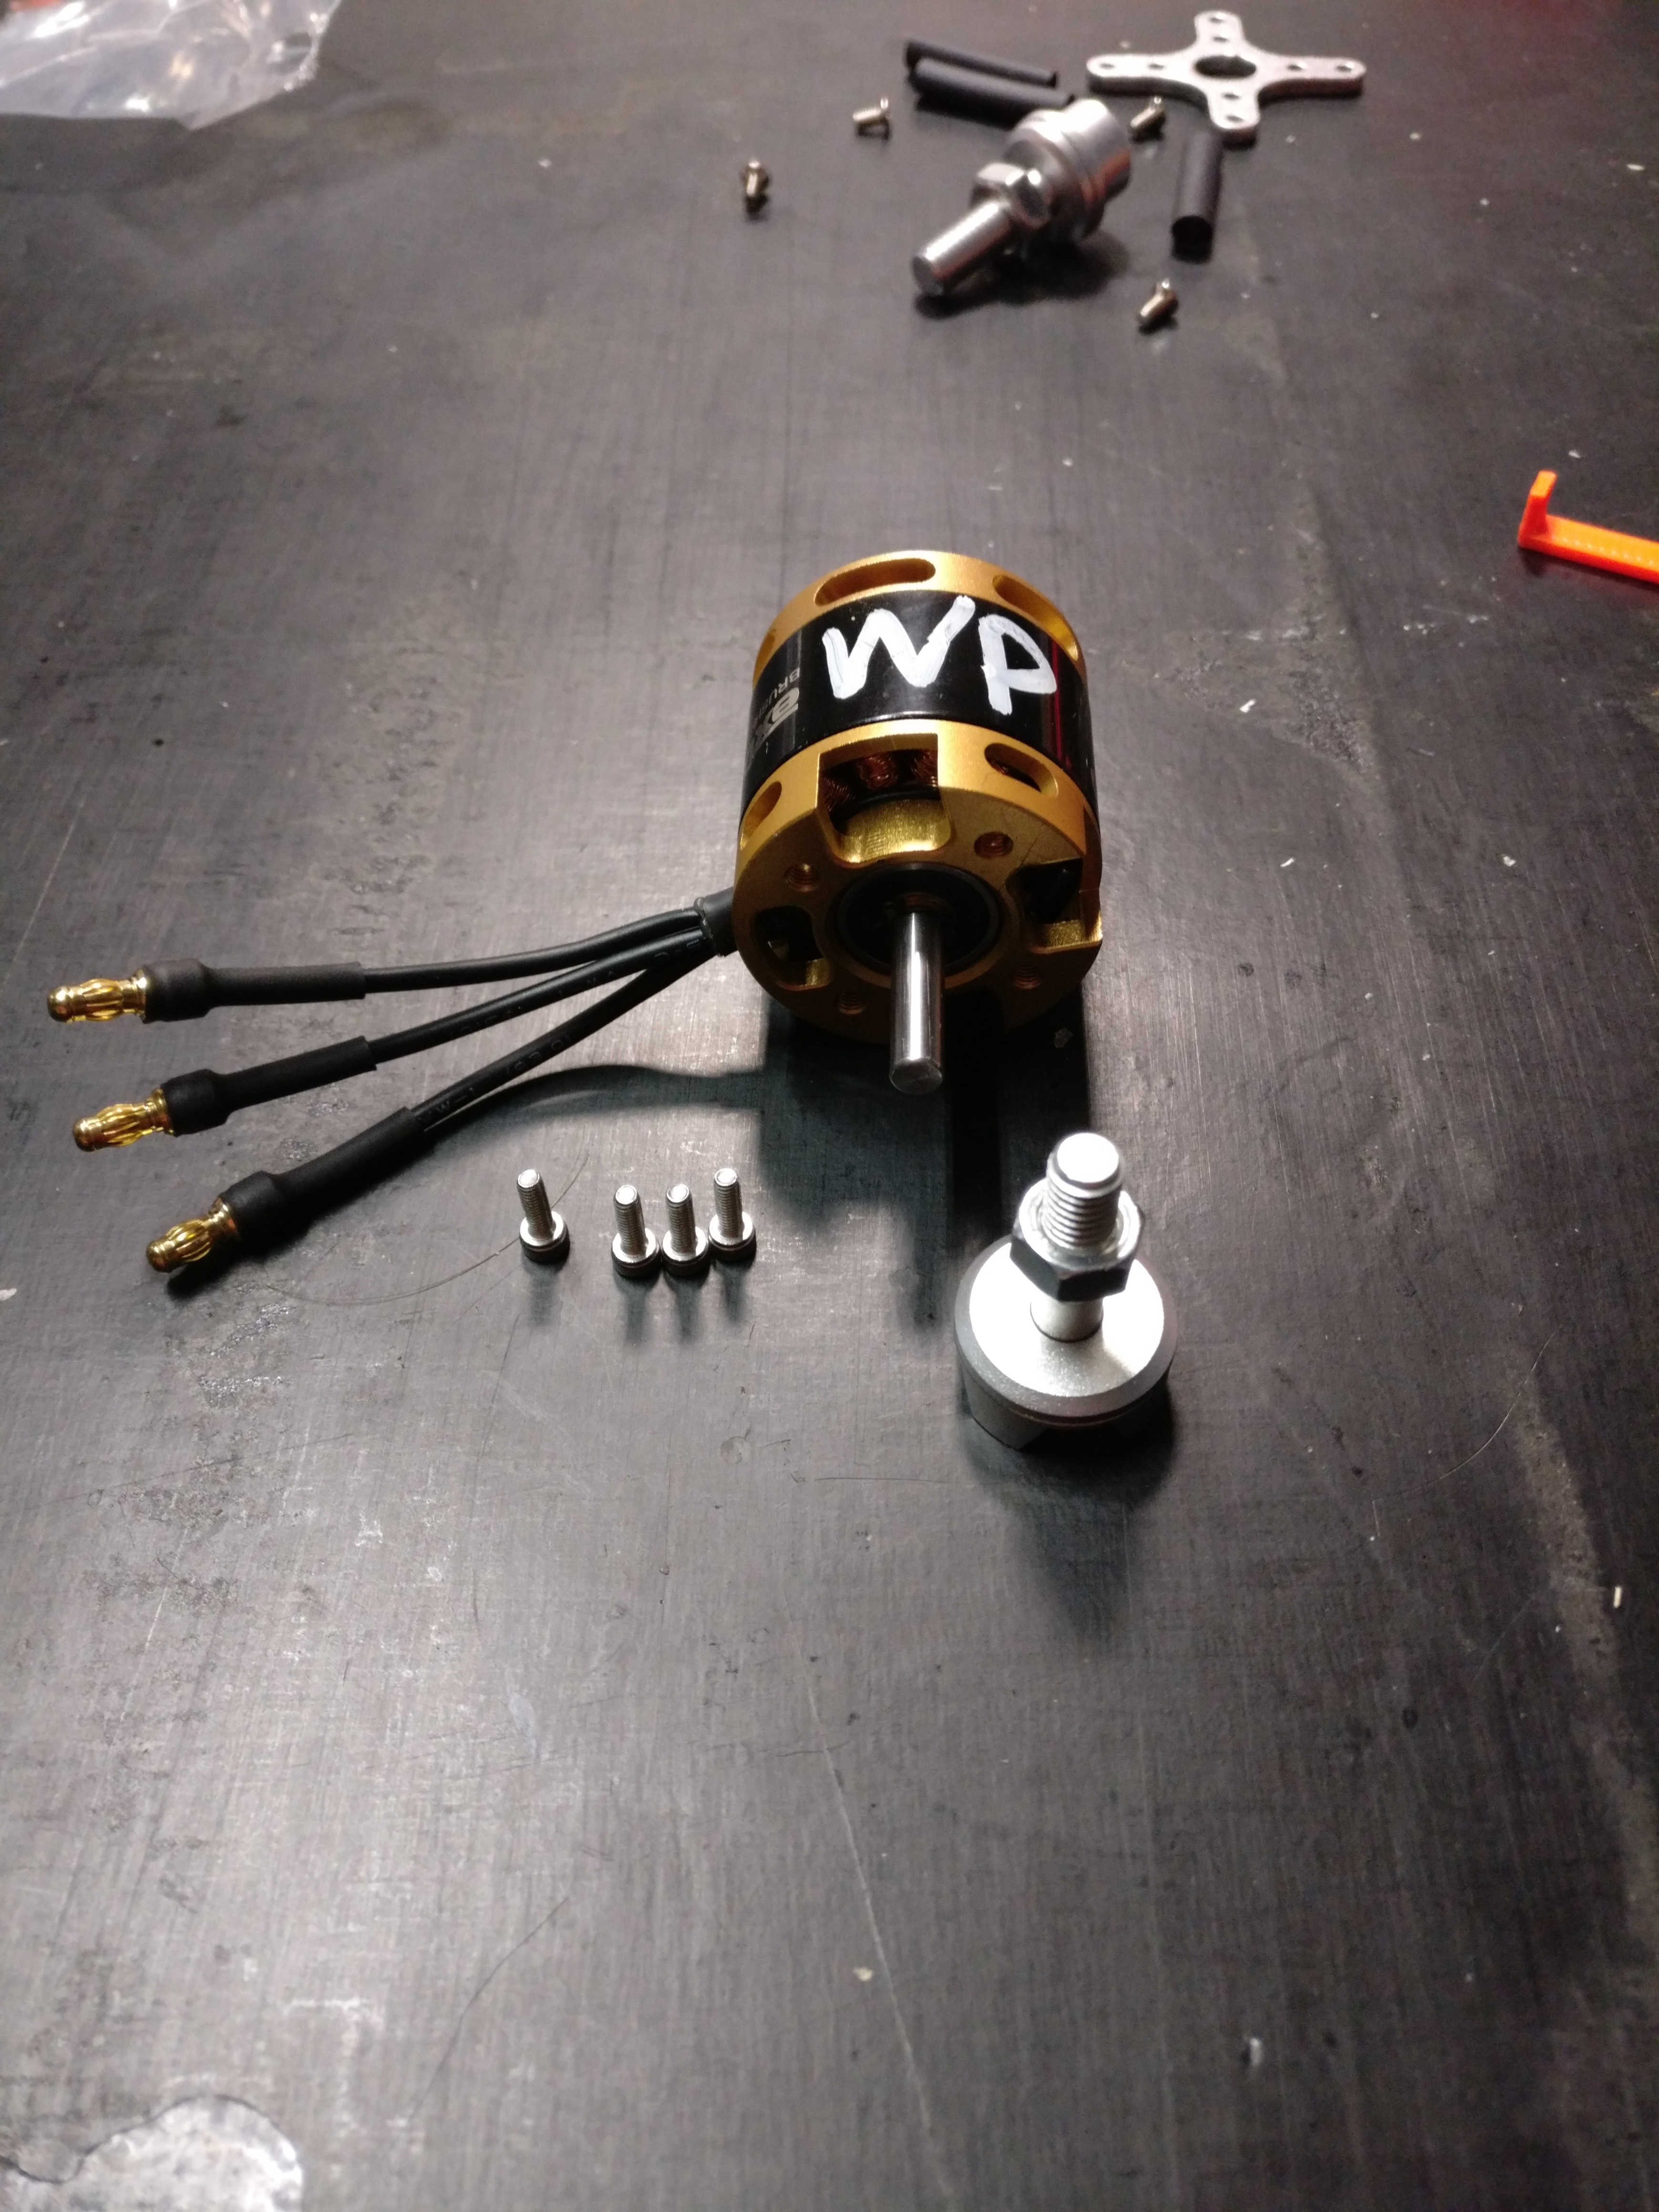
- 4x M3x6mm shipped with motor (motor axis - motor)
- motor cross
- motor axis
- Loctite for all screws!
¶ Motor mount assembly
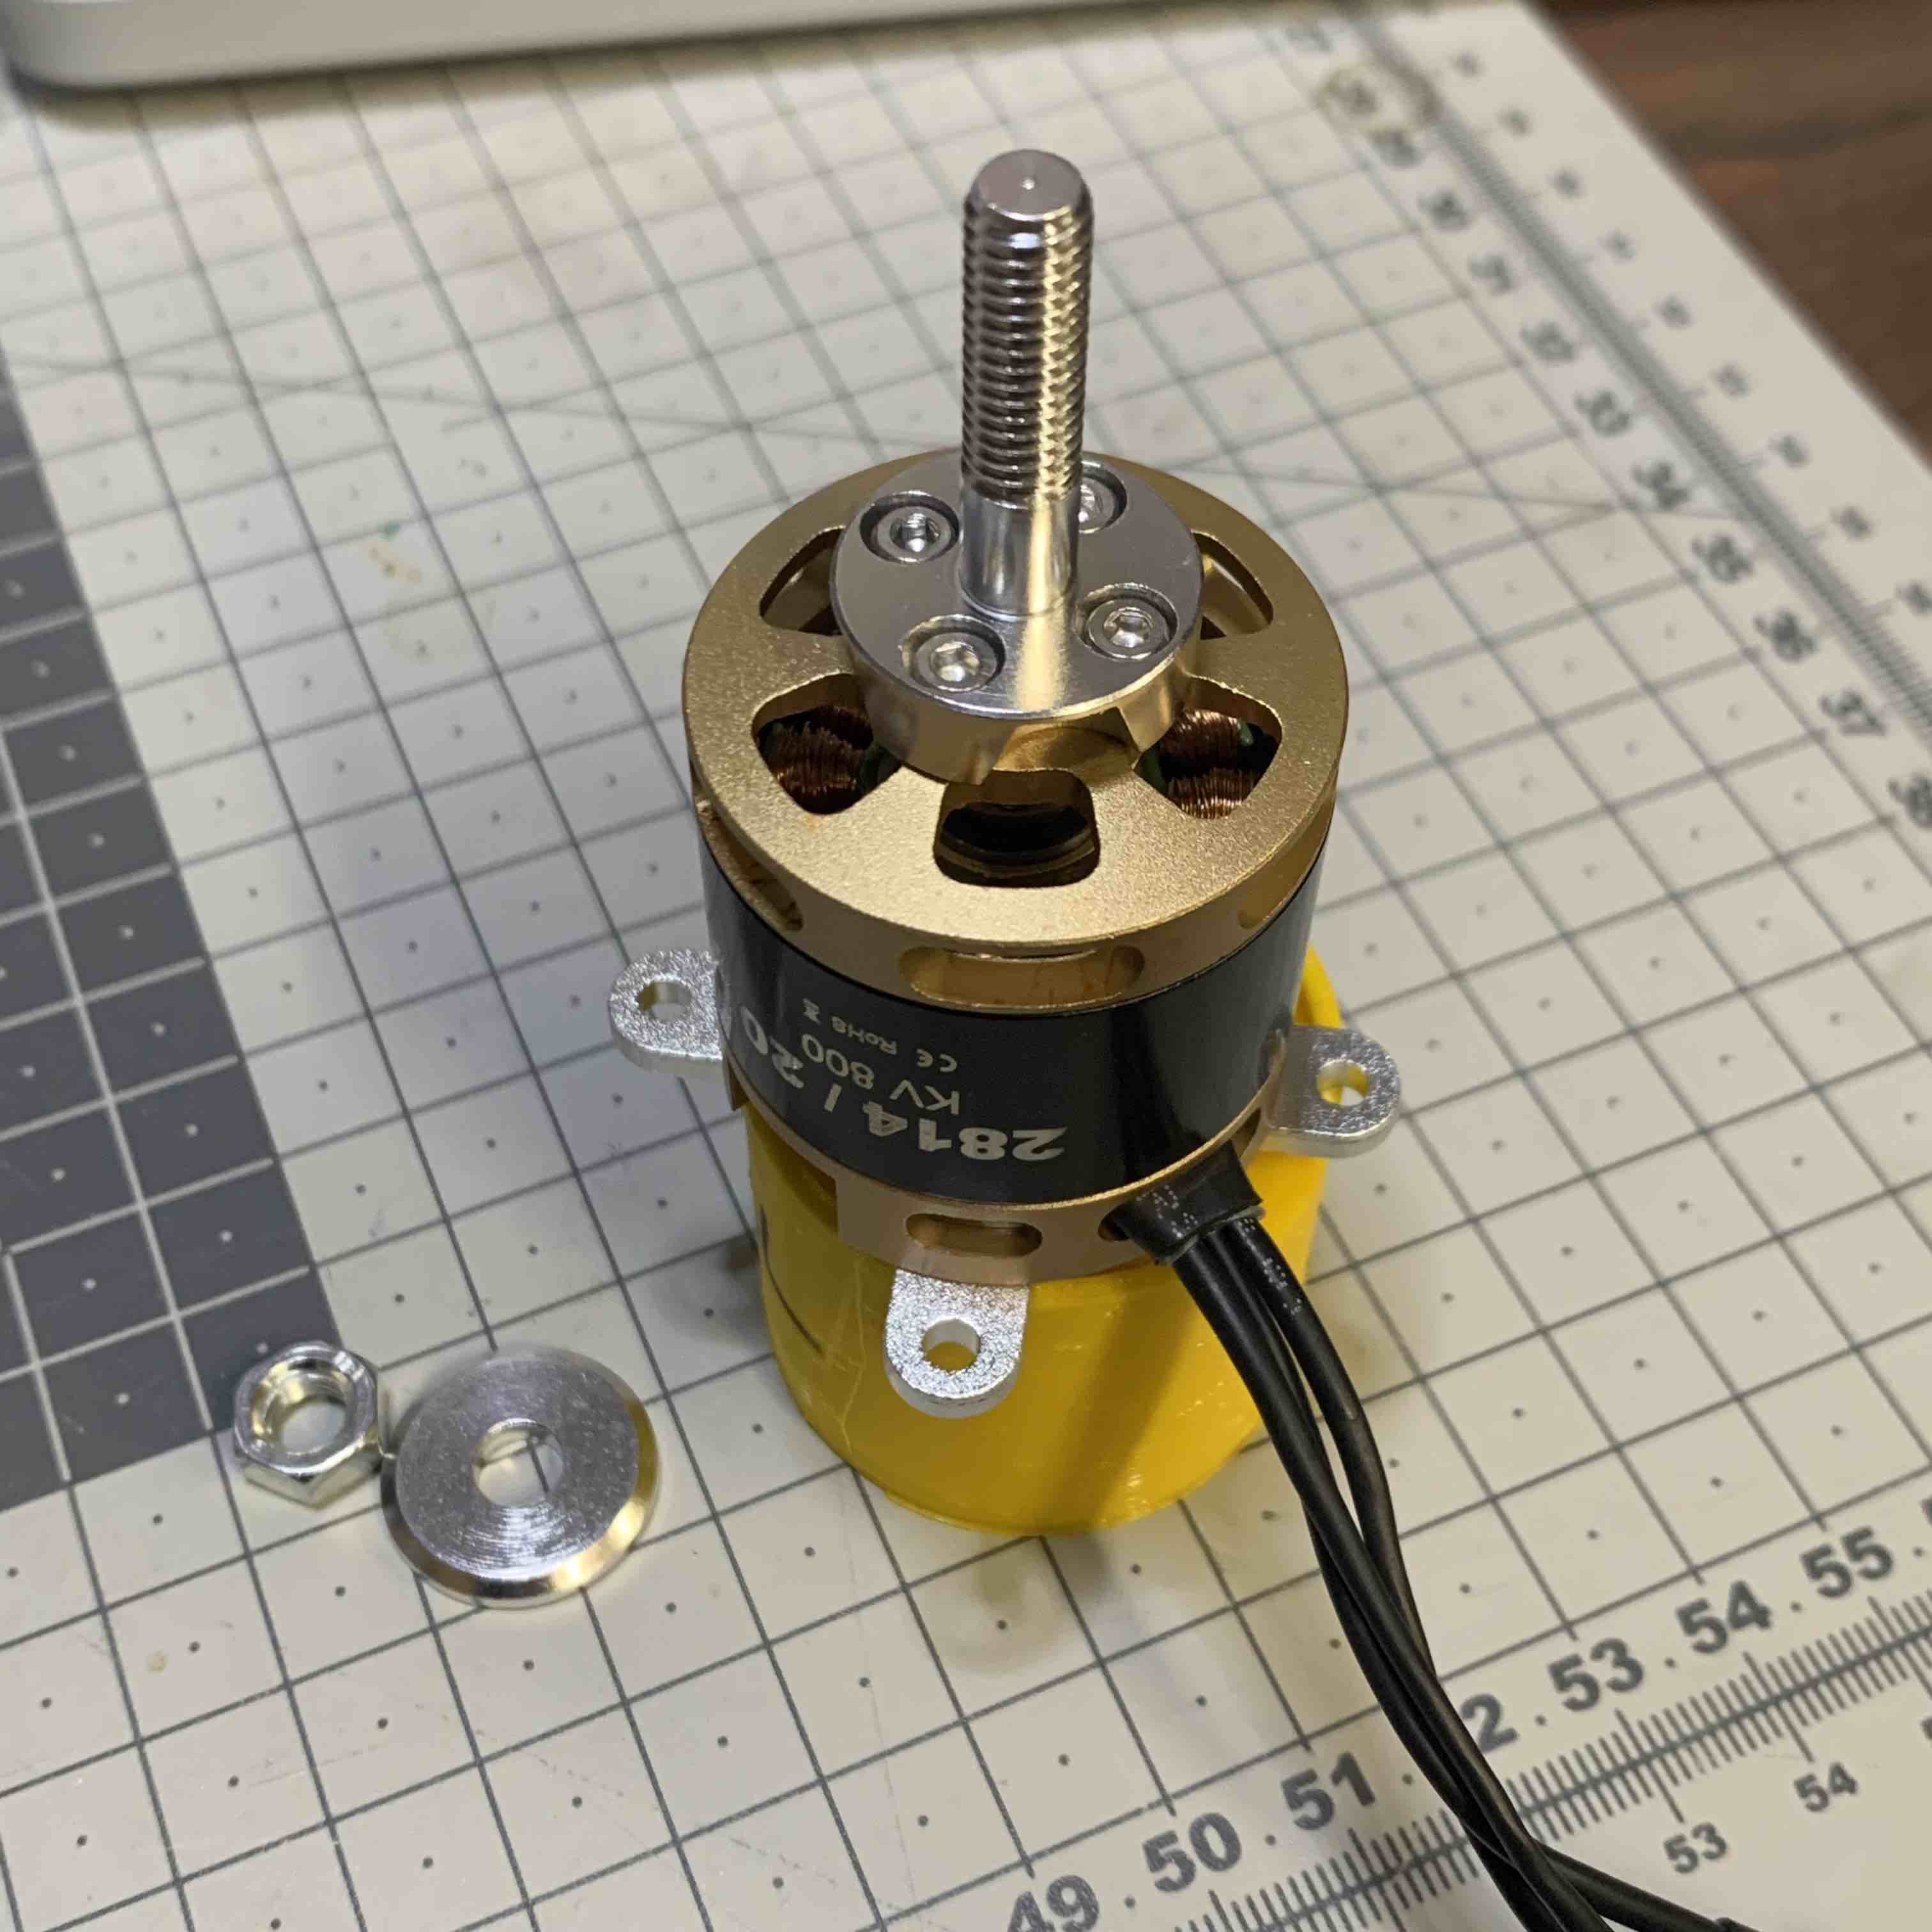
- Screw motor cross to motor (M3x6mm, PH1, metric with countersunk head)

- screw propeller axis to motor
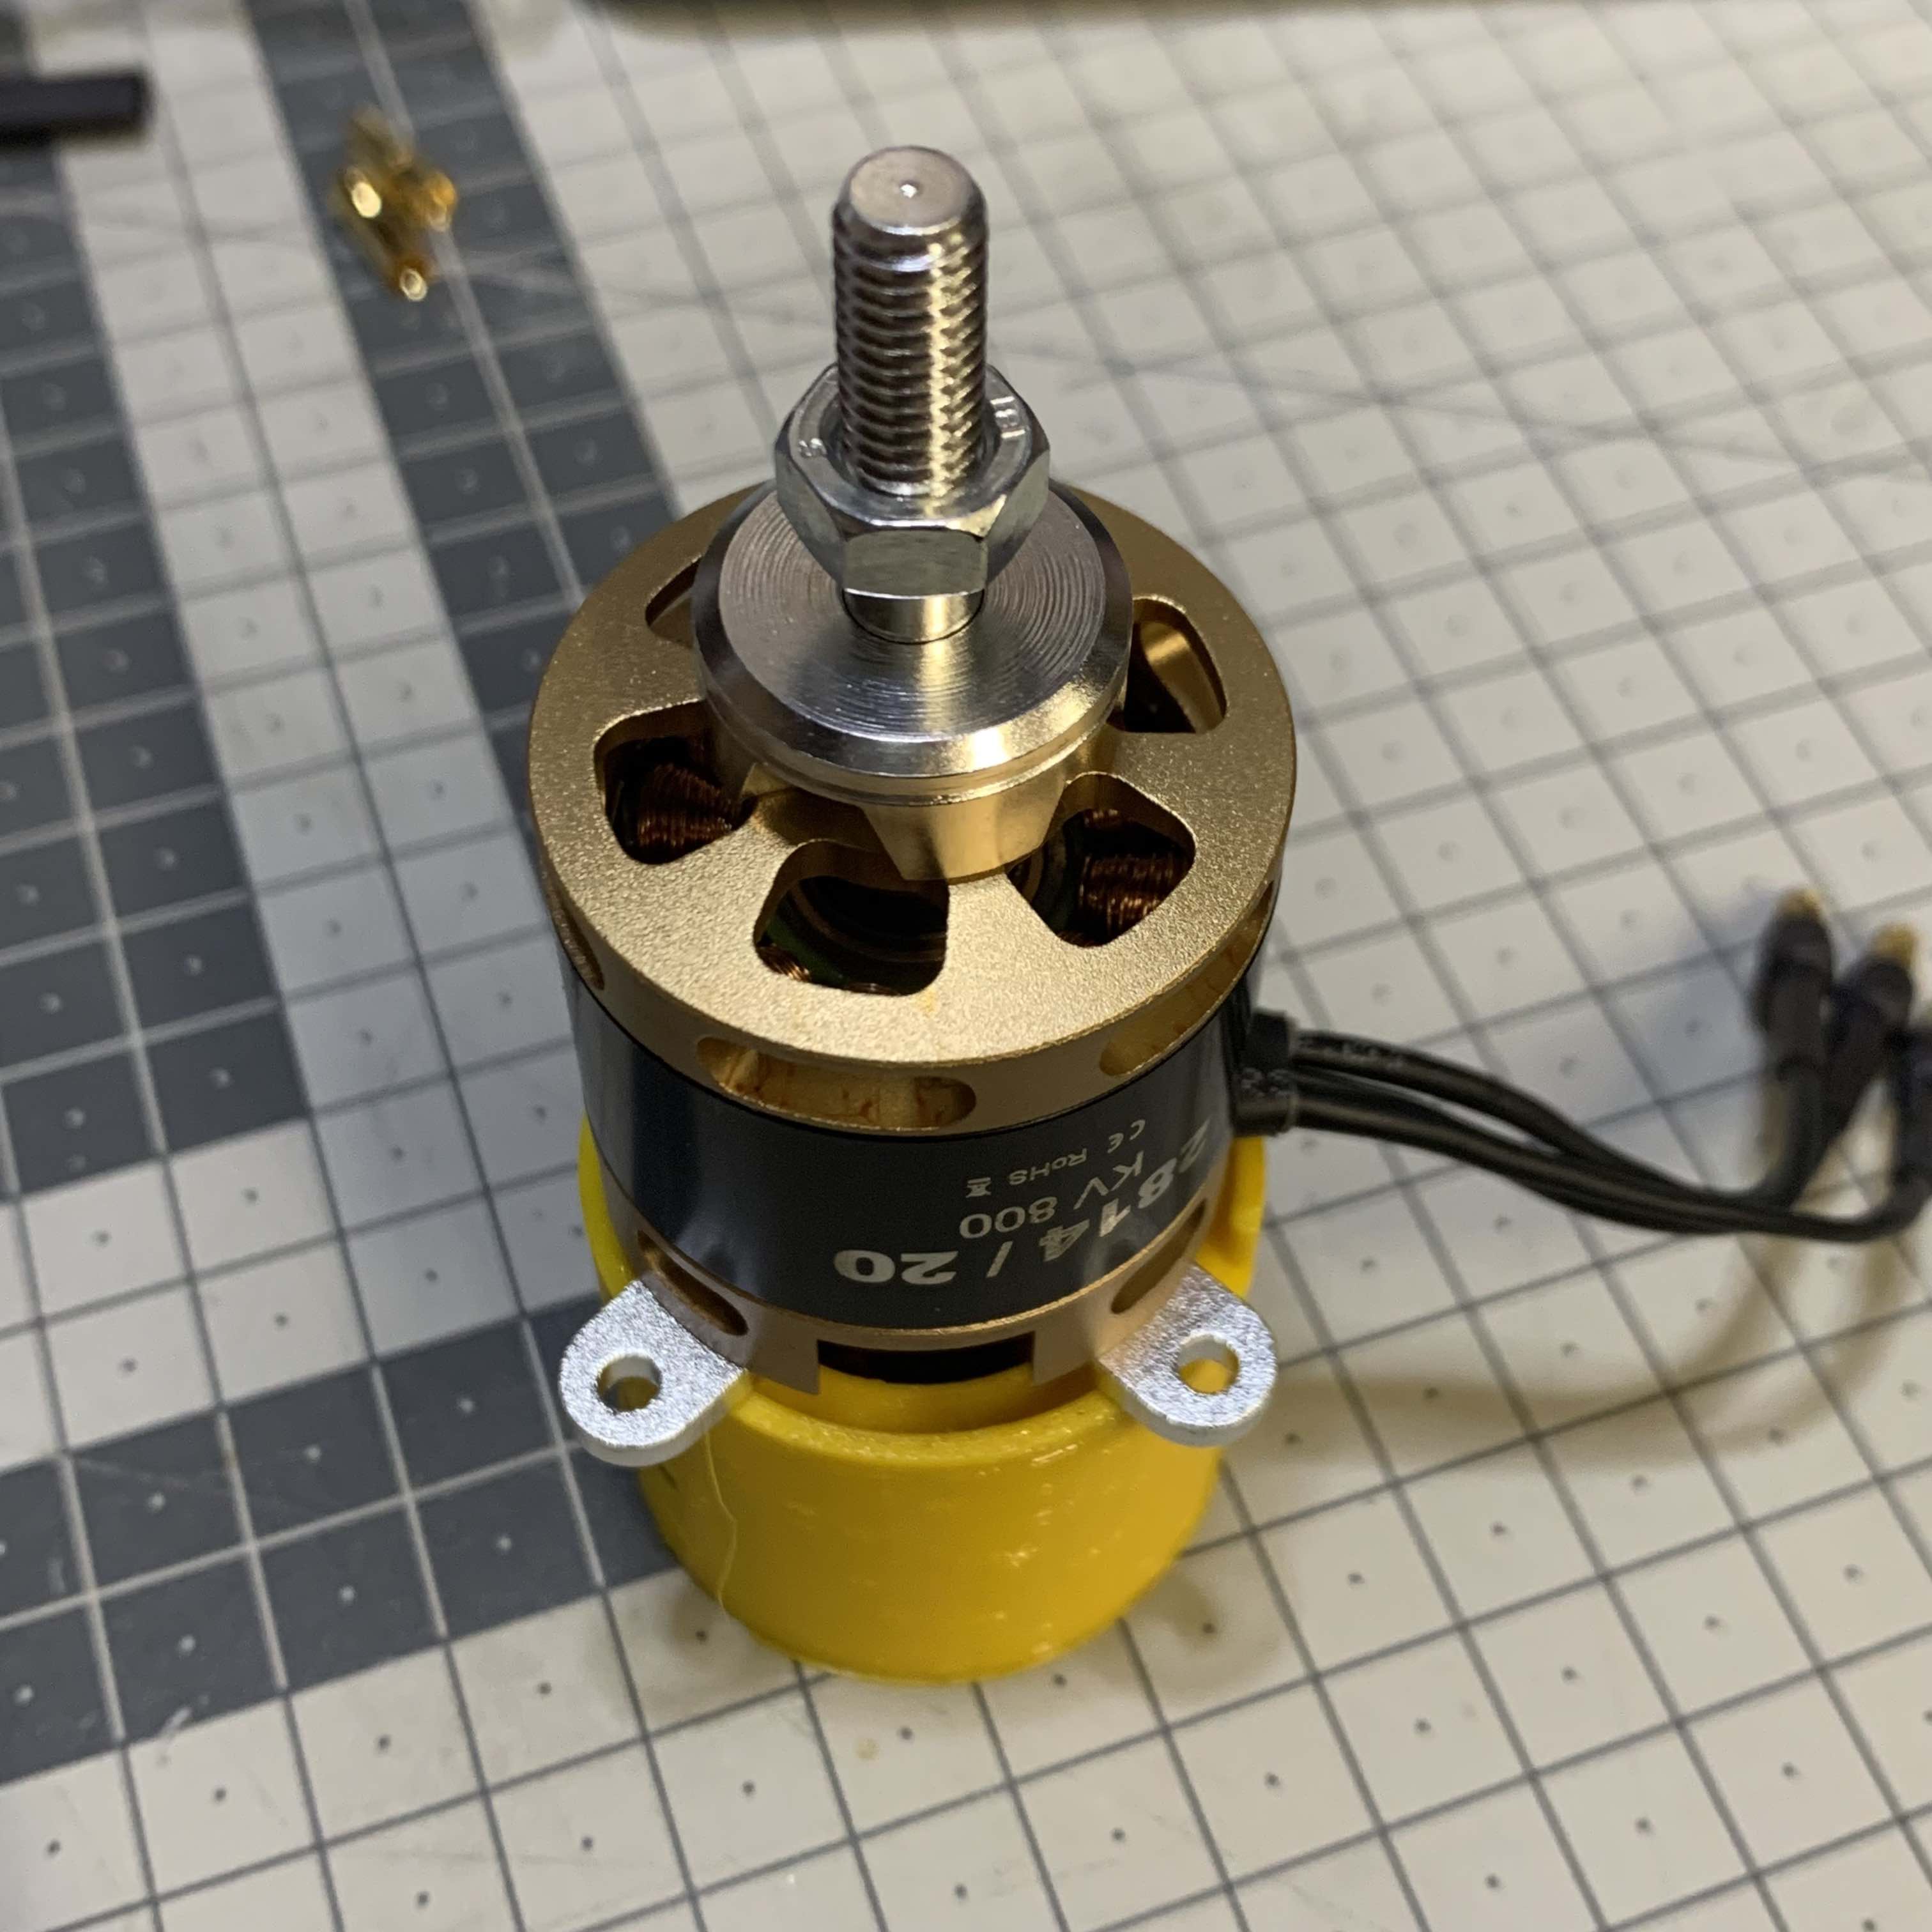
¶ MaxiTalon Motors
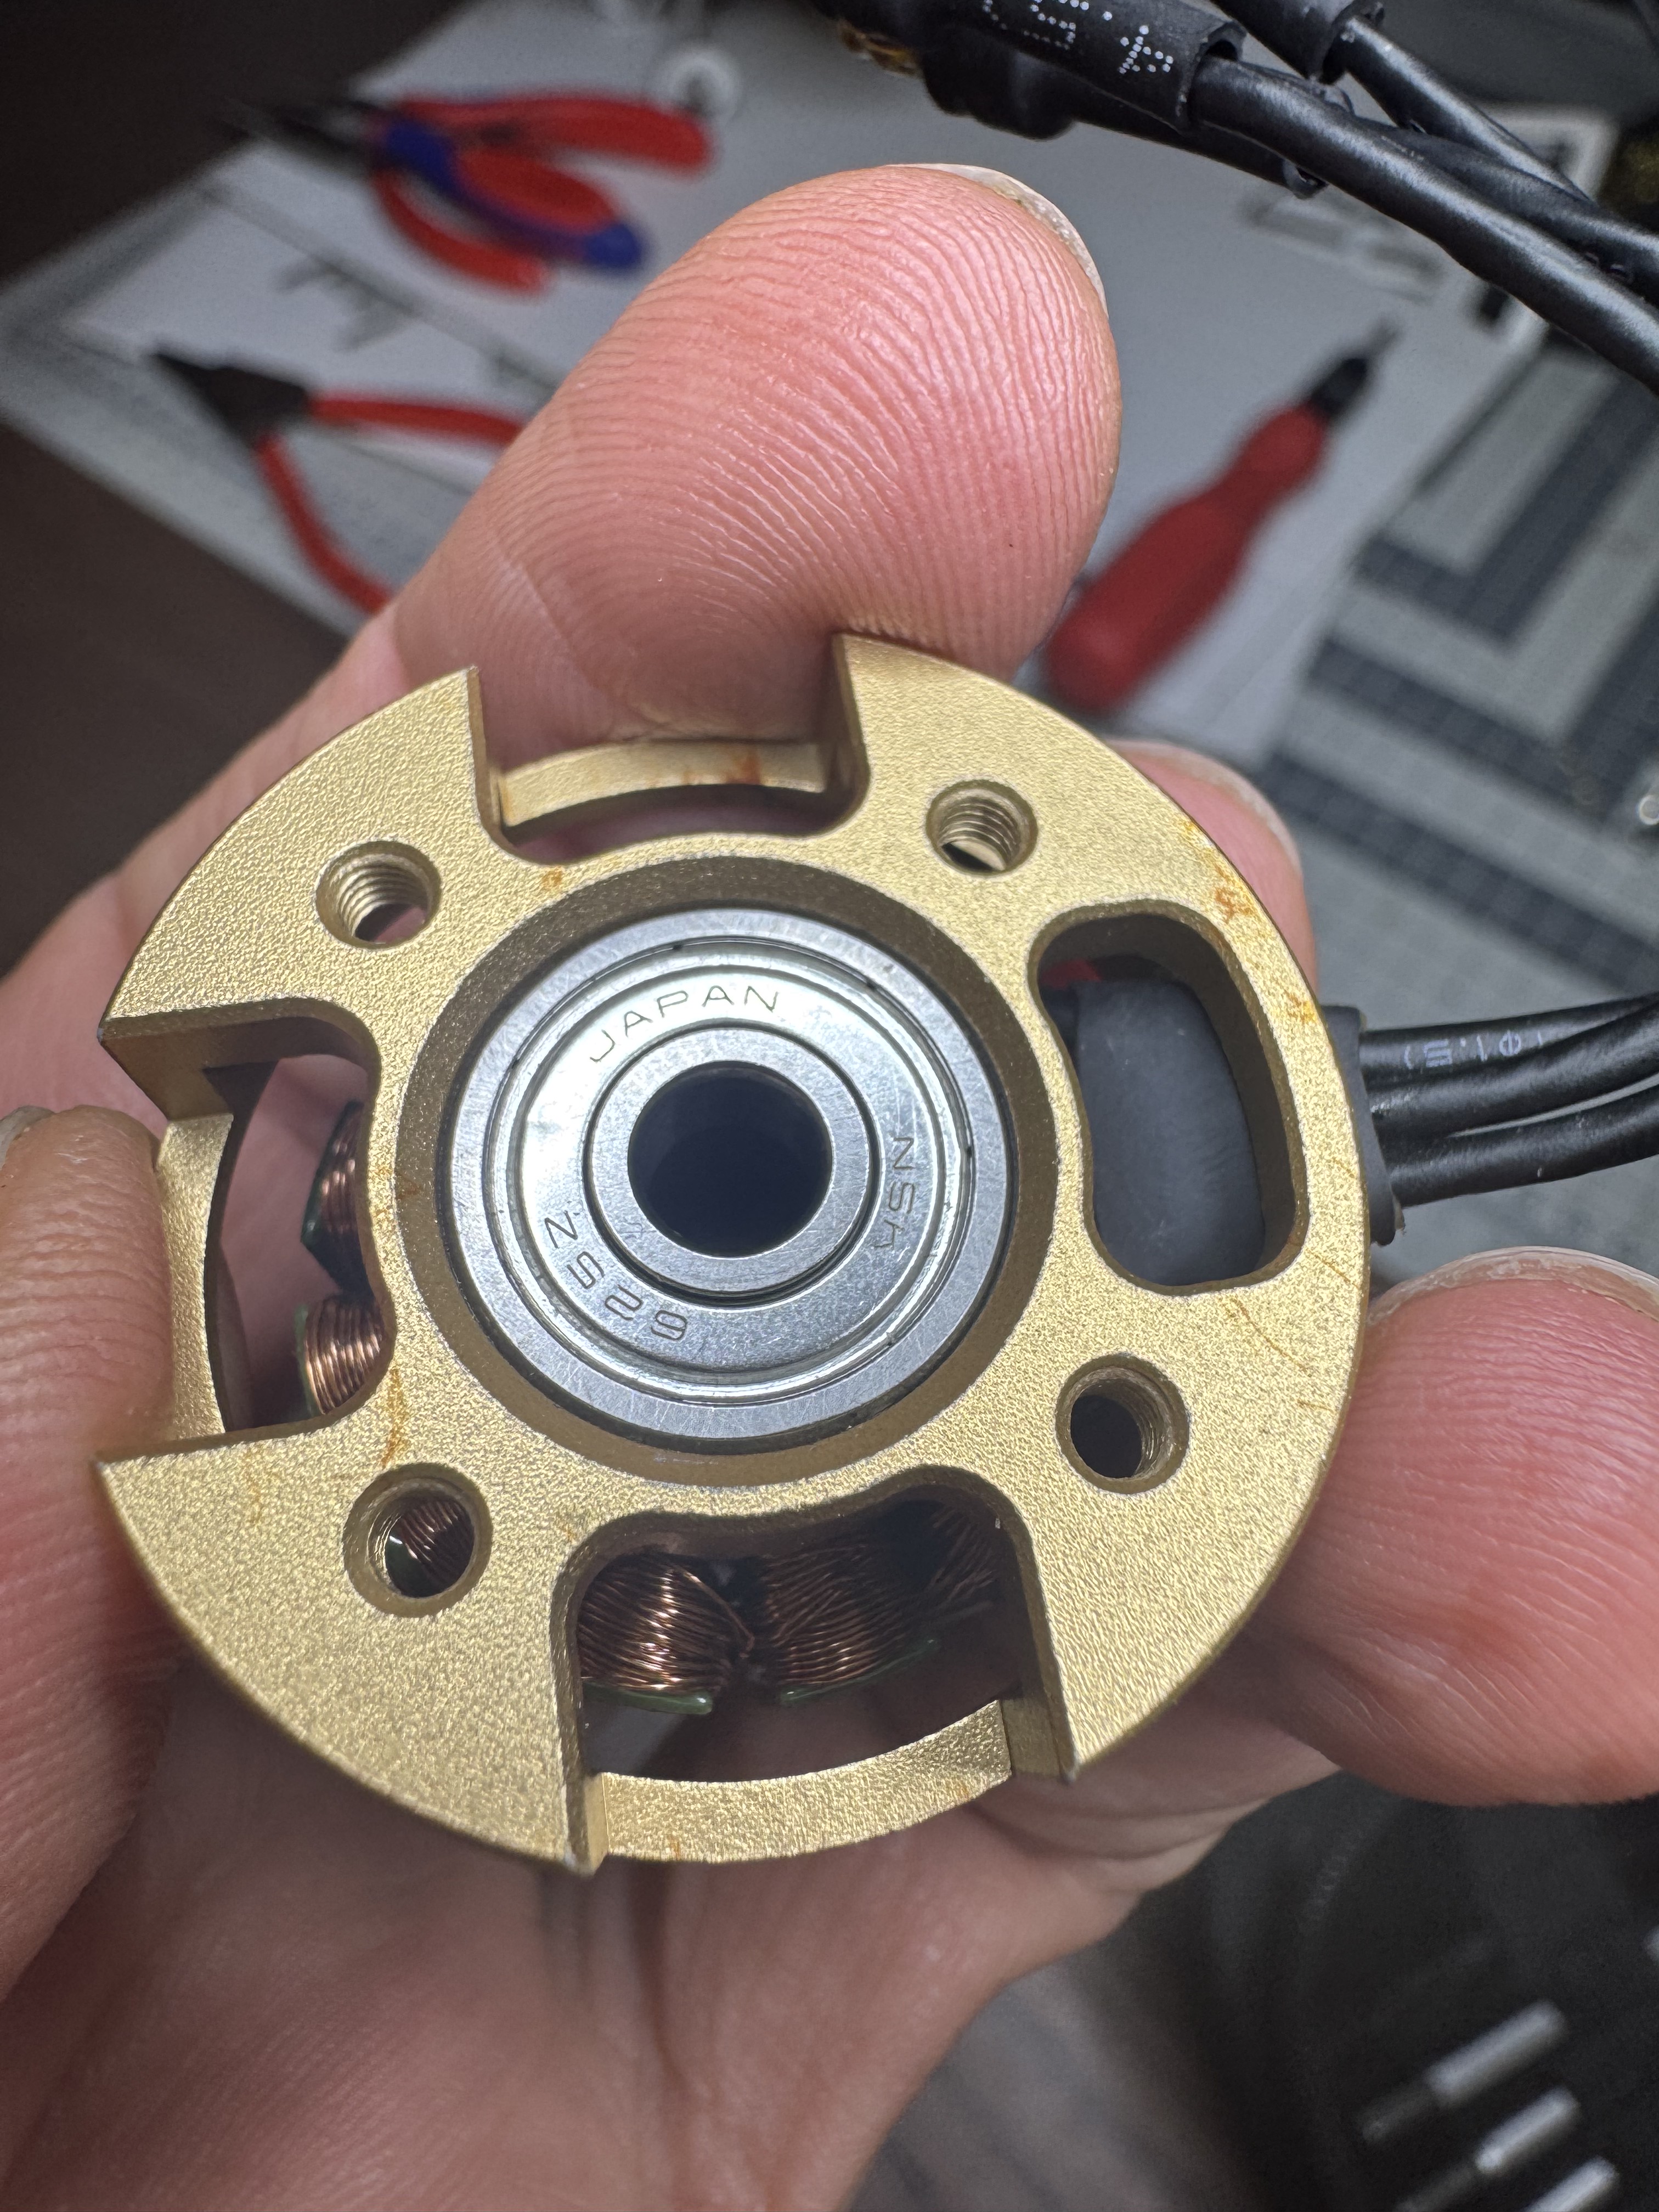
¶ Large Extron Motors: 2826/10 and 2826/12
Seems to use the same set of bearings as the smaller Extron motors: "N5A 625Z Japan" and the smaller bearing(s) on the other side.
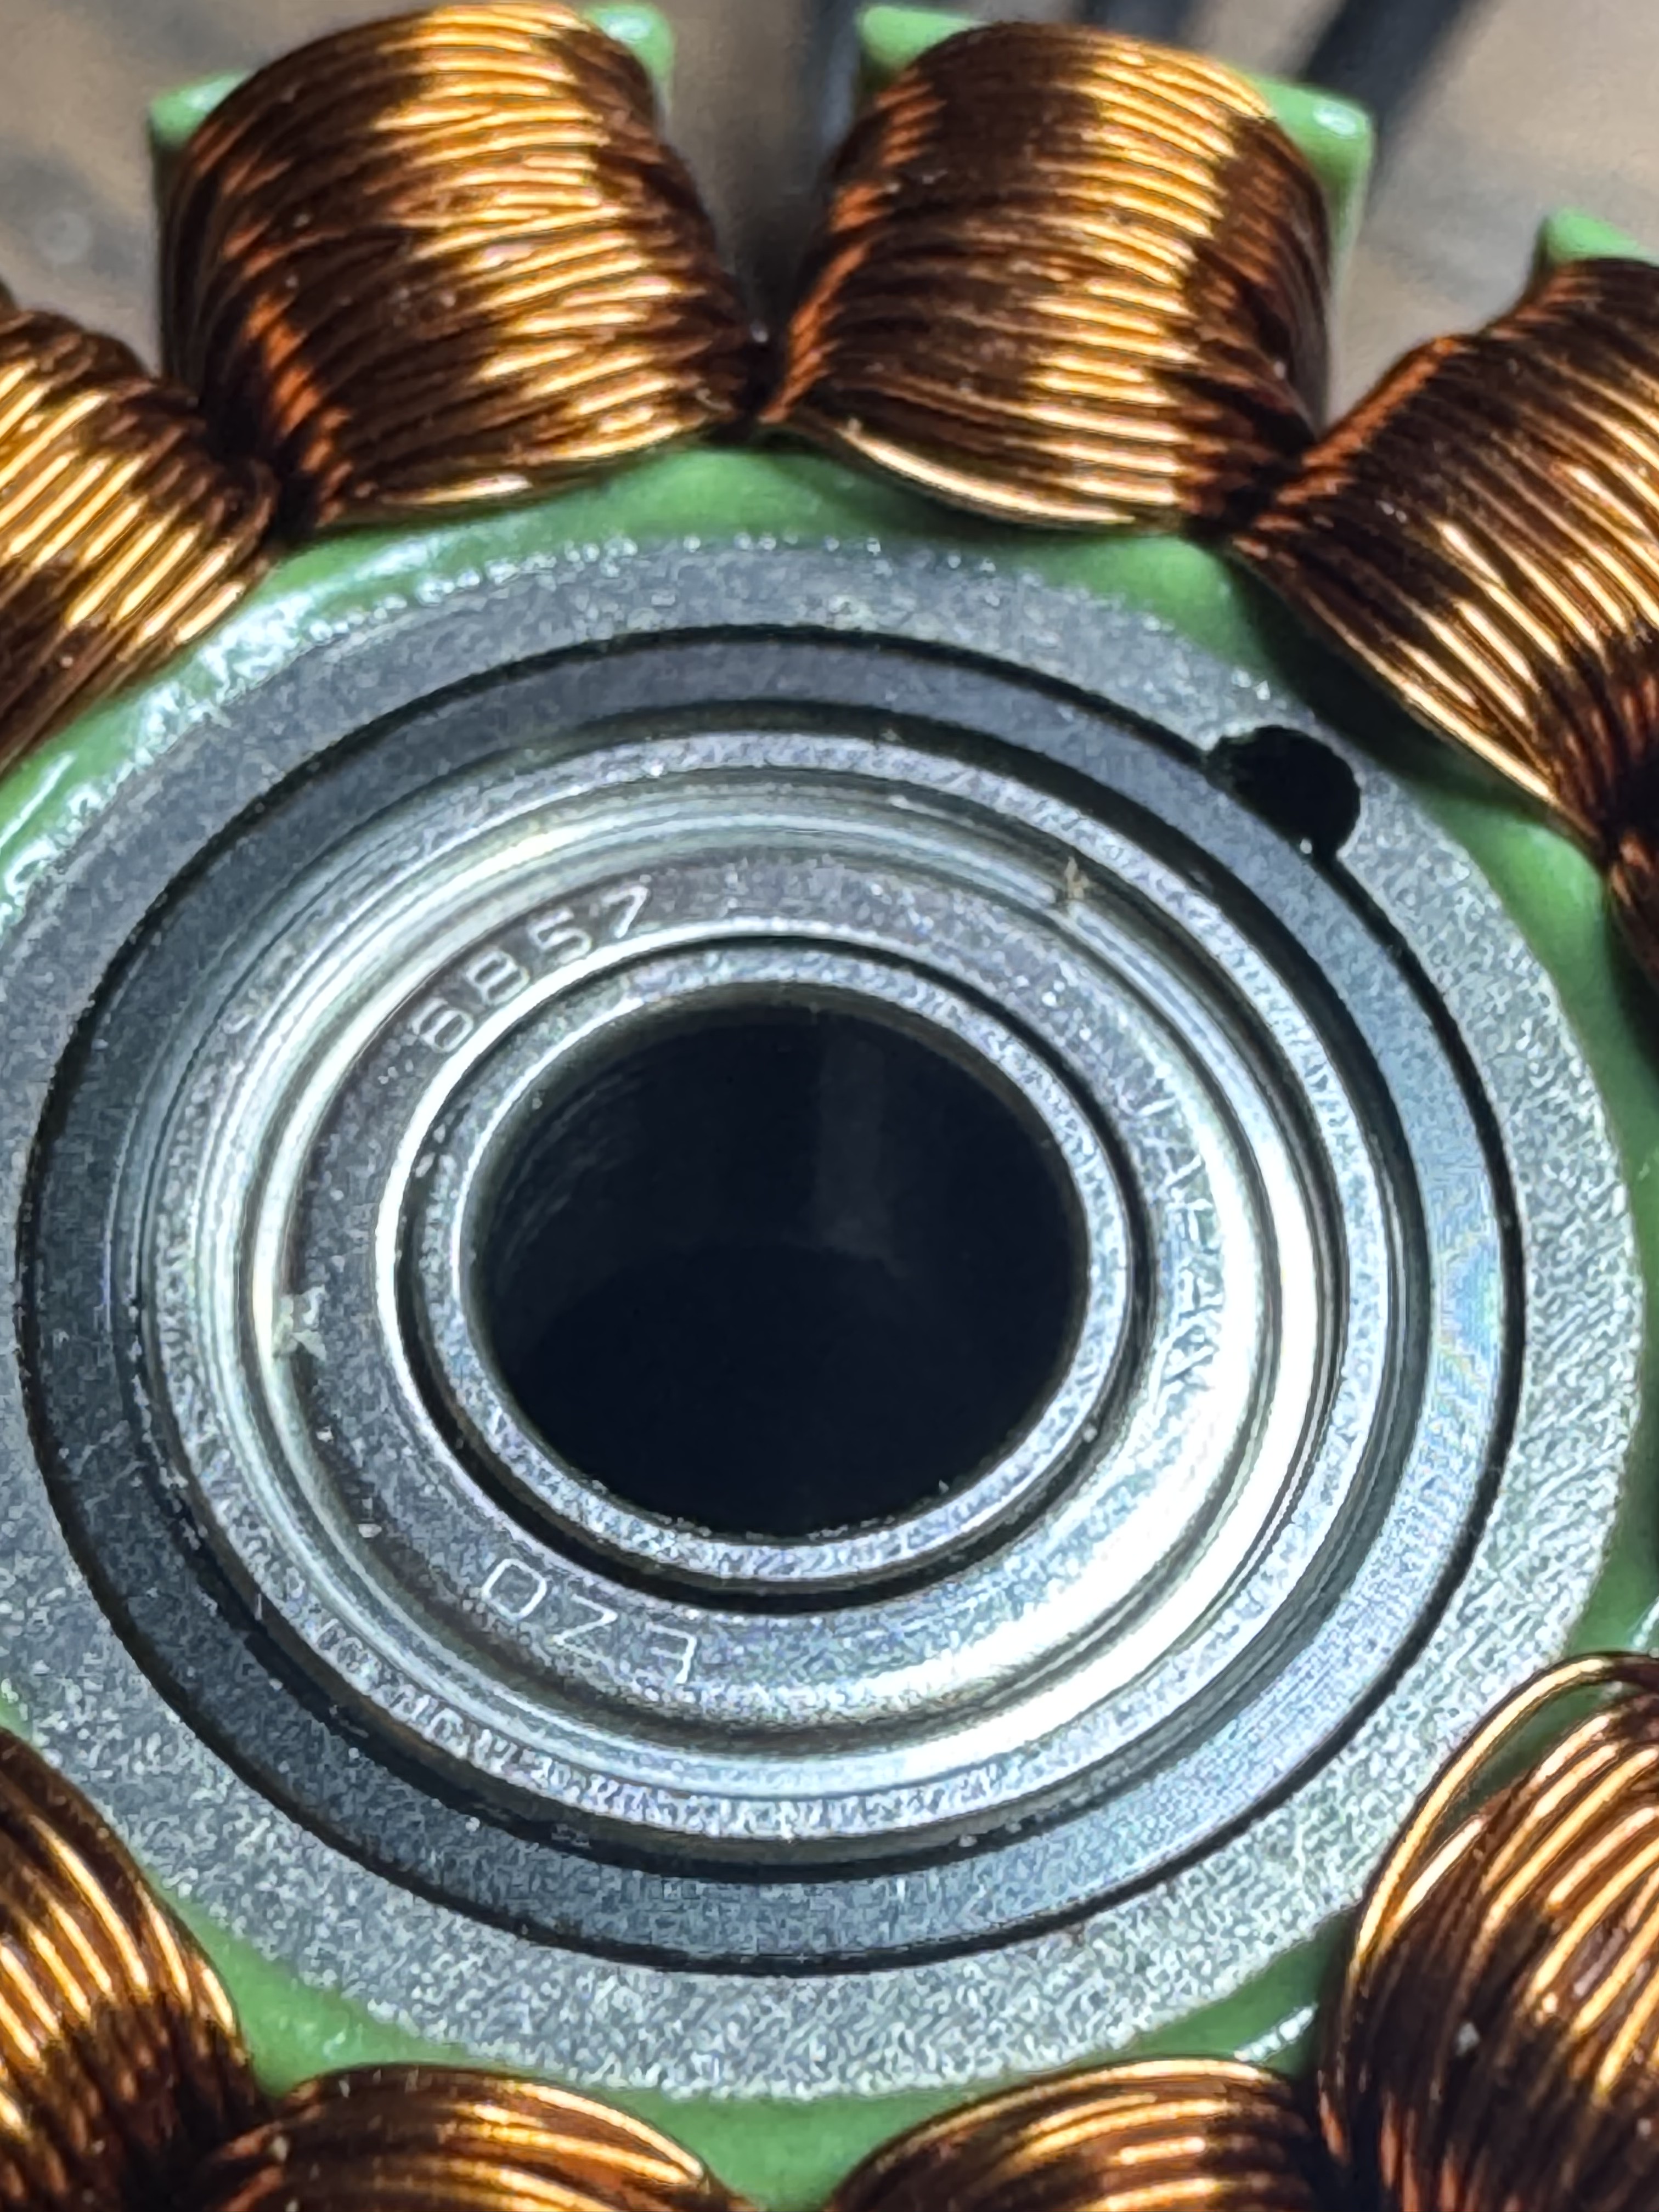
¶ T-motor: AT2826 Long Shaft KV880
Seems to use 3x "EZO 685Z Japan" bearings, all the same.
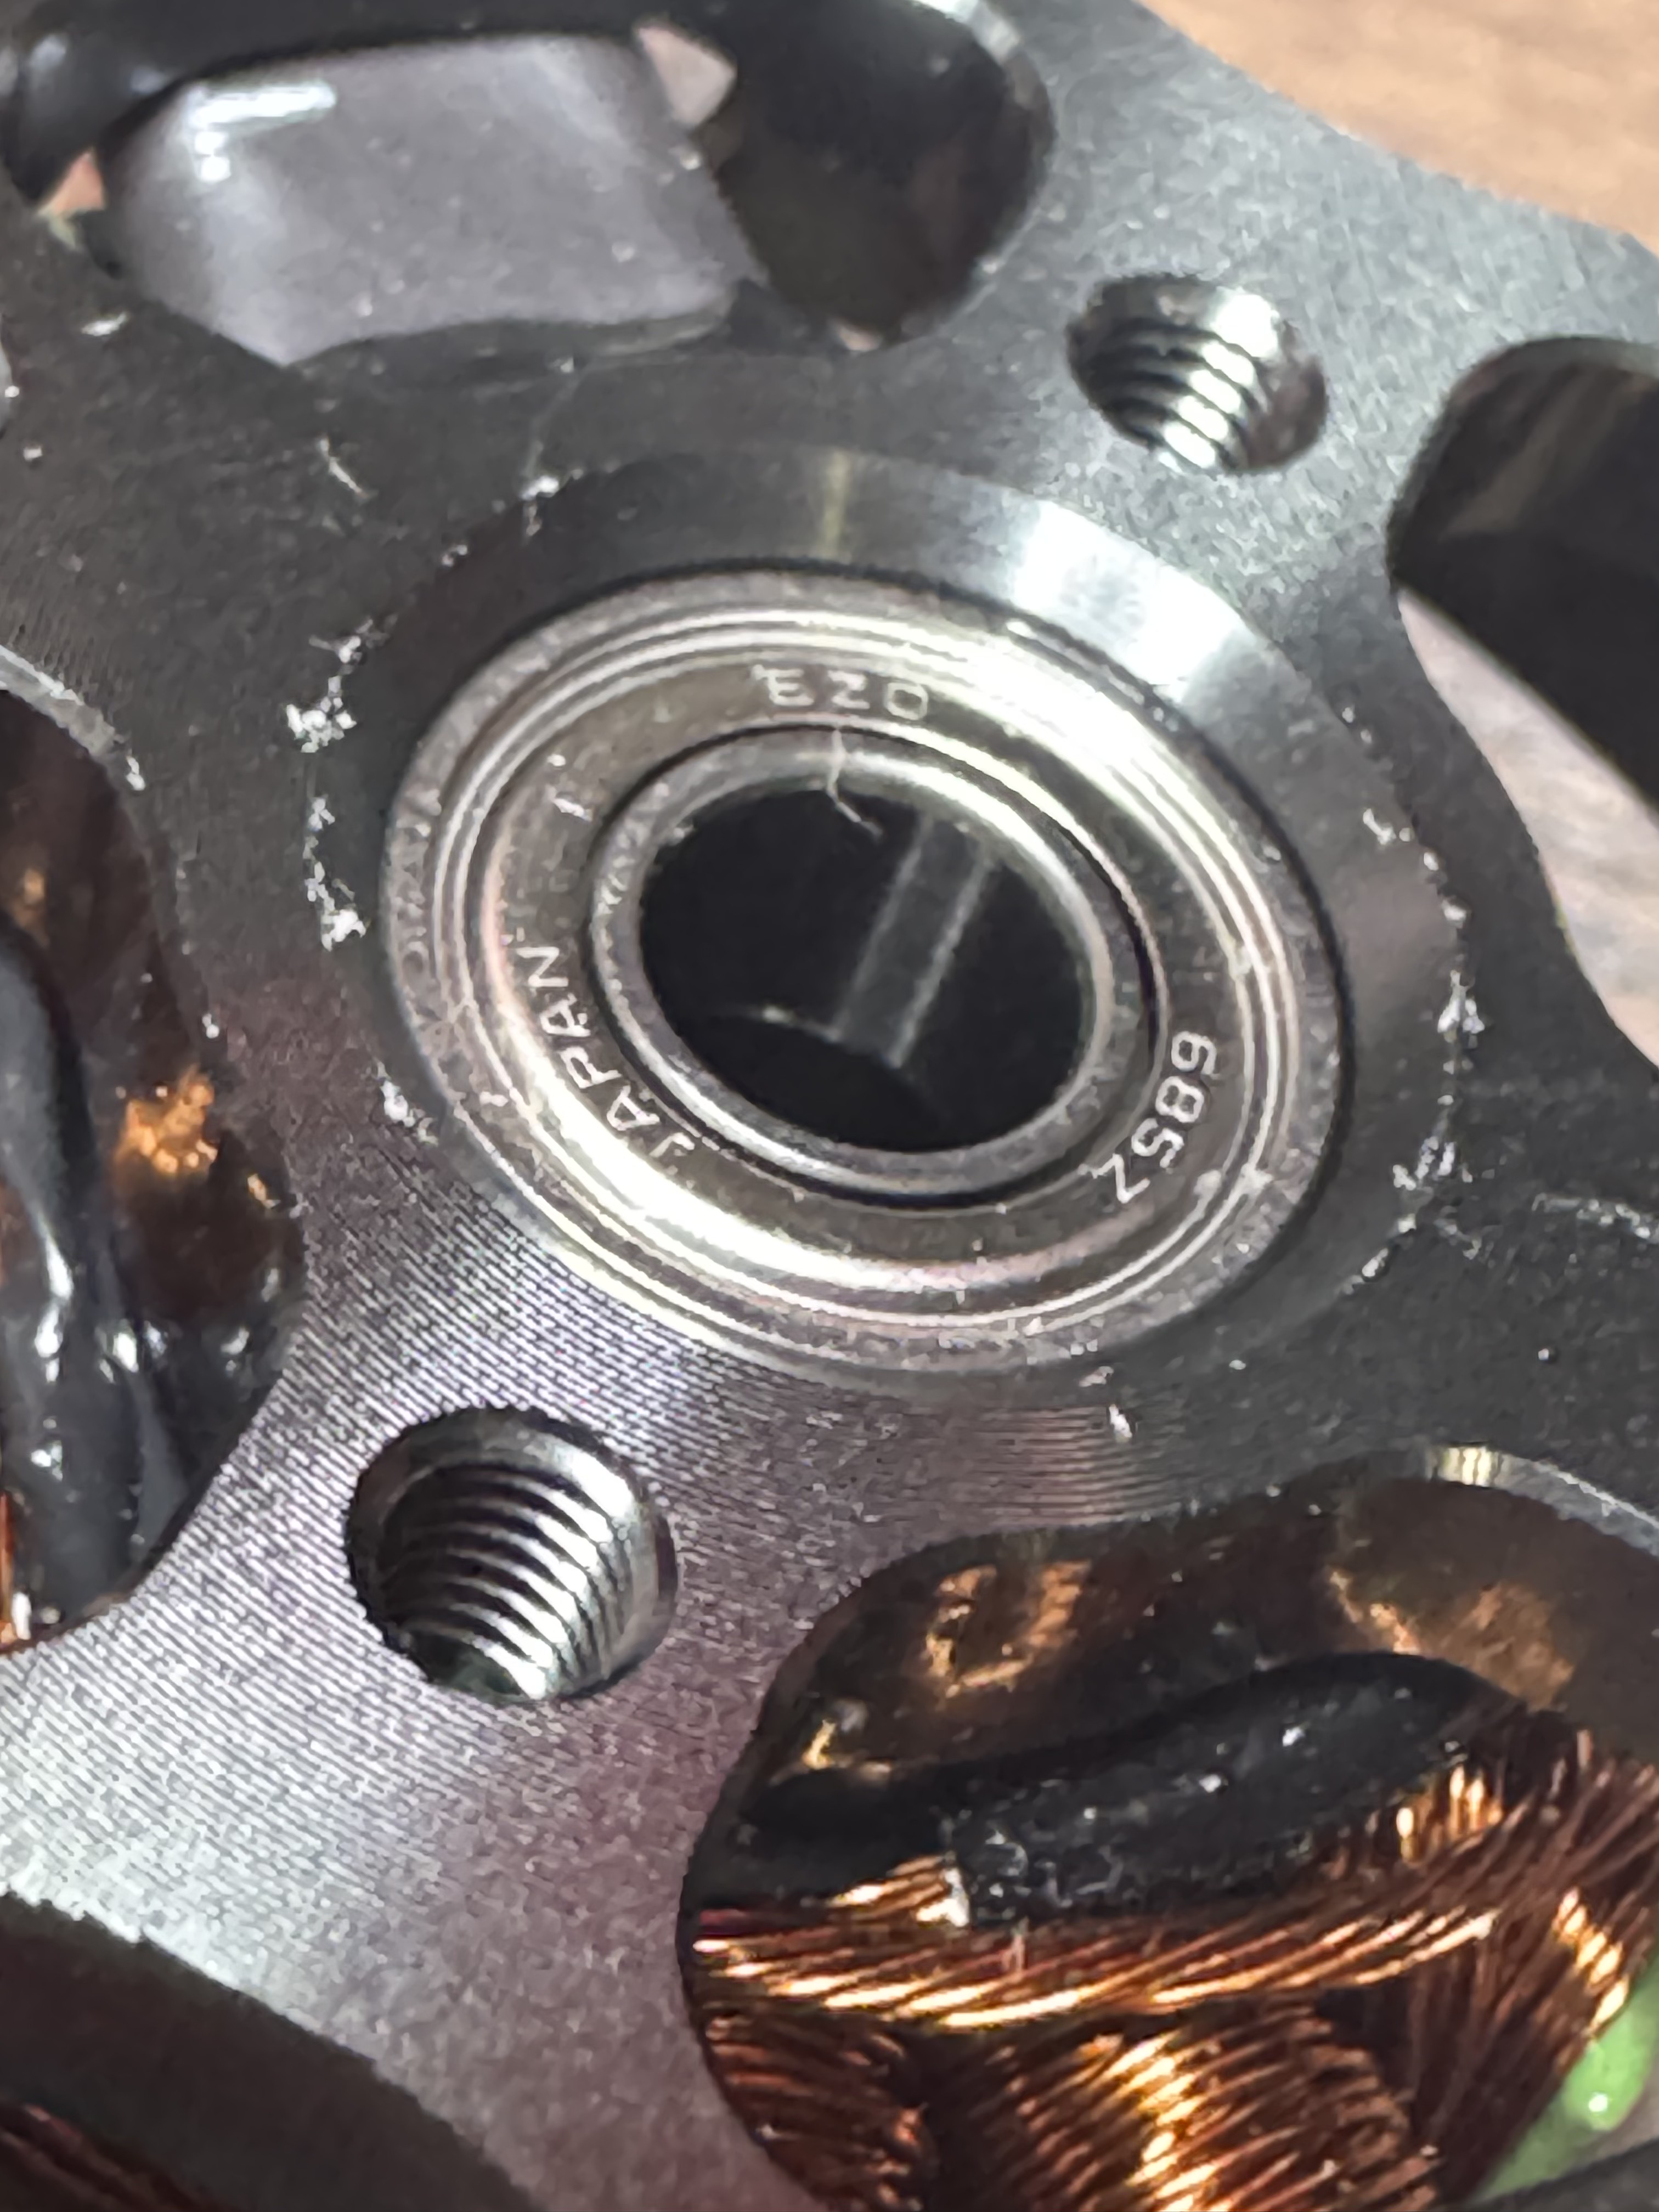
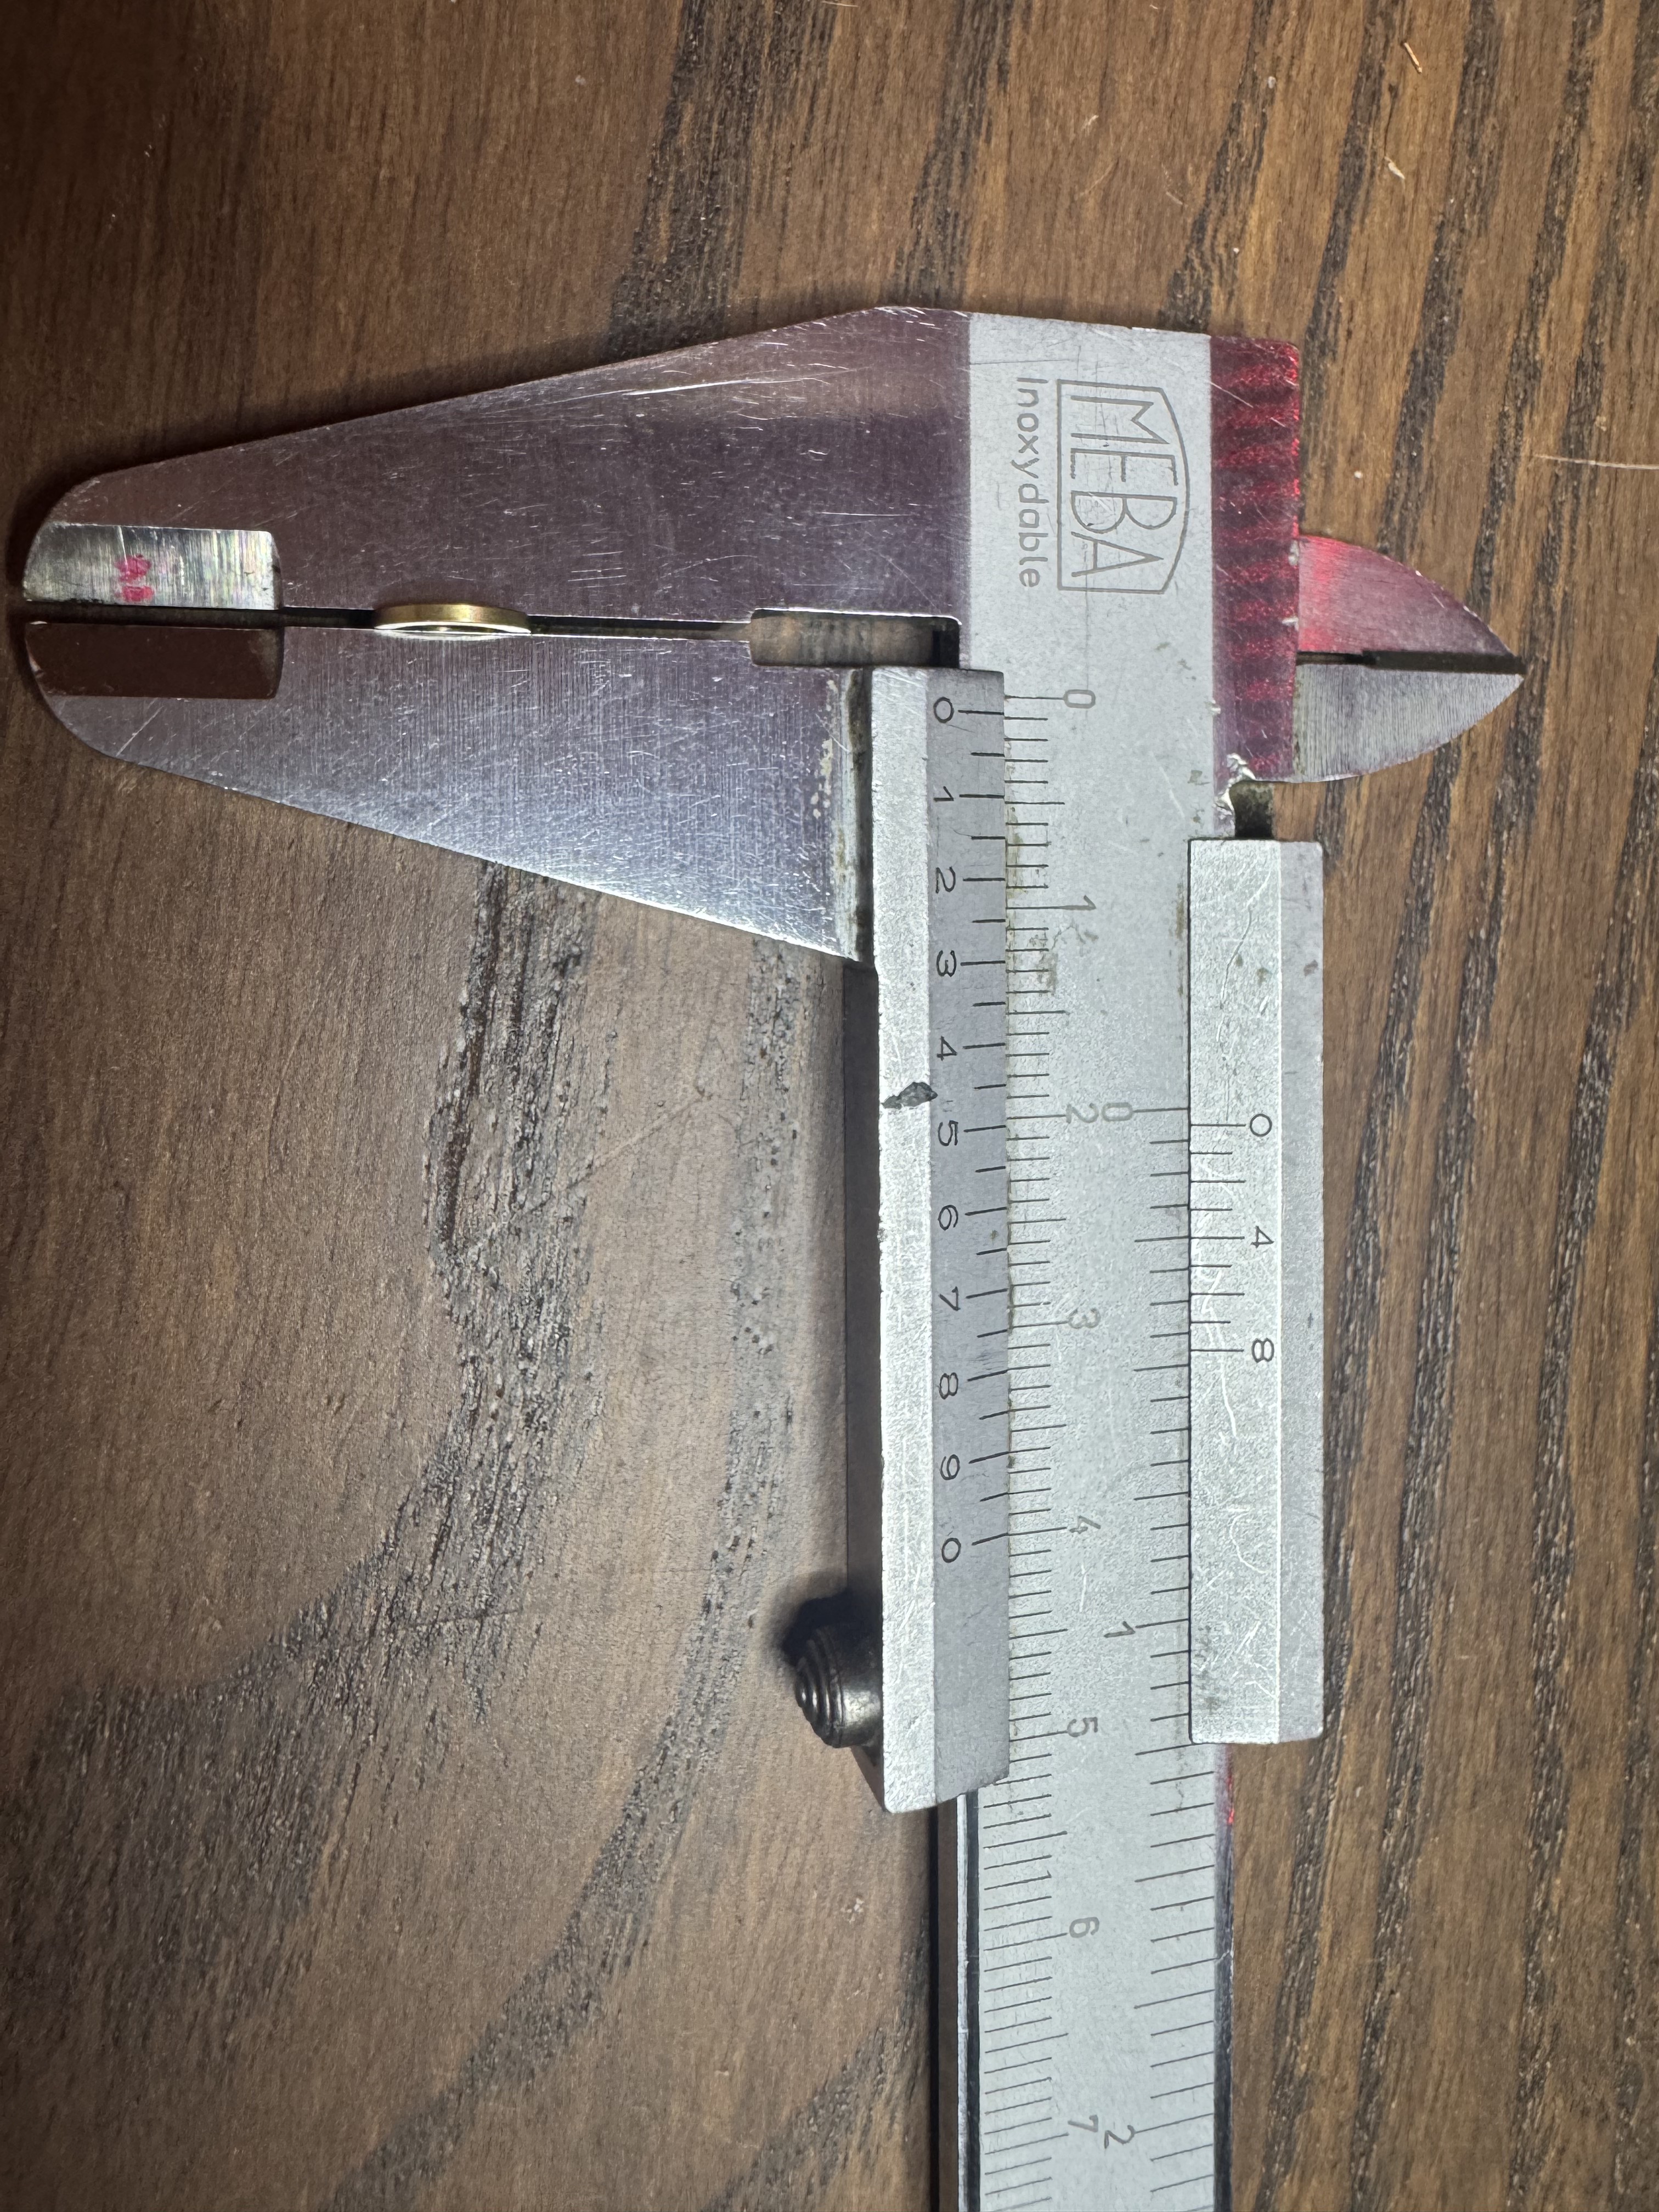
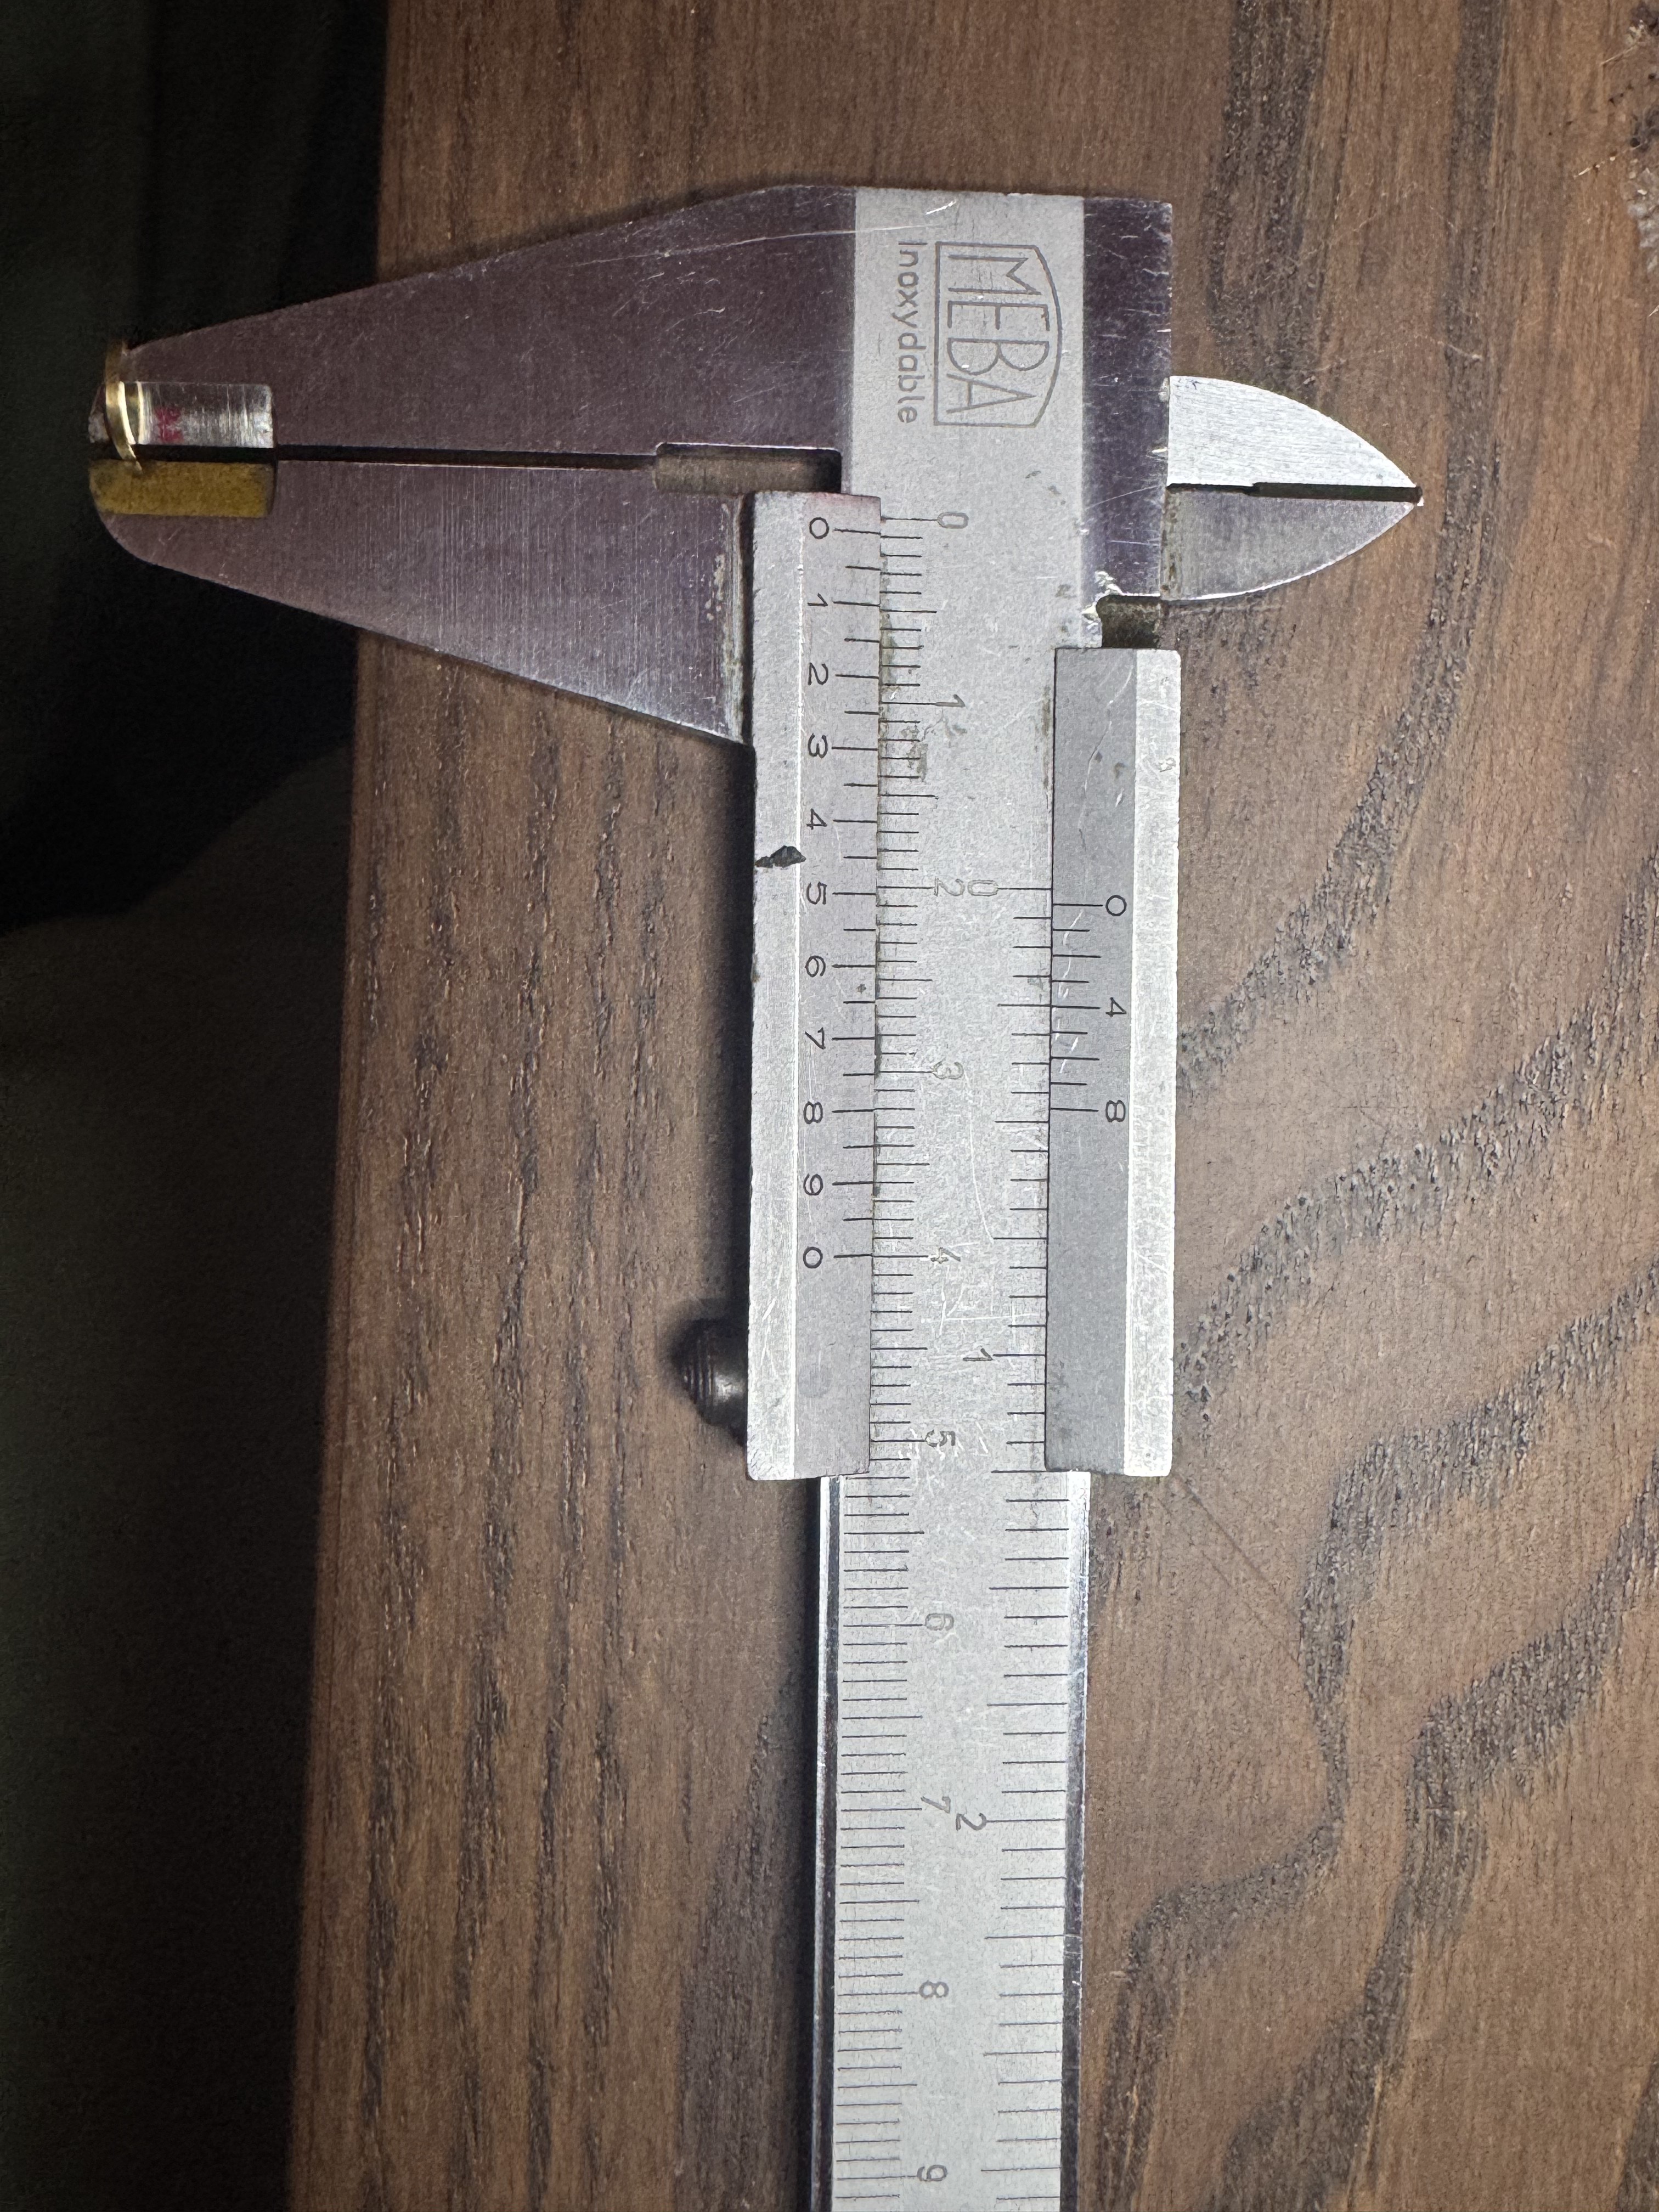
Seems to use a brass bearing that will rust out. Height: 0.7mm, Outer diameter: 6.9mm, Thickness: 0.9mm