¶ install-motor-in-fuselage
Finally we need to install the motor in the fuselage.
¶ Cut fuselage for motor
- Use a fitting plastic cup to draw the cutting line: 2cm distance to the border on the top and bottom
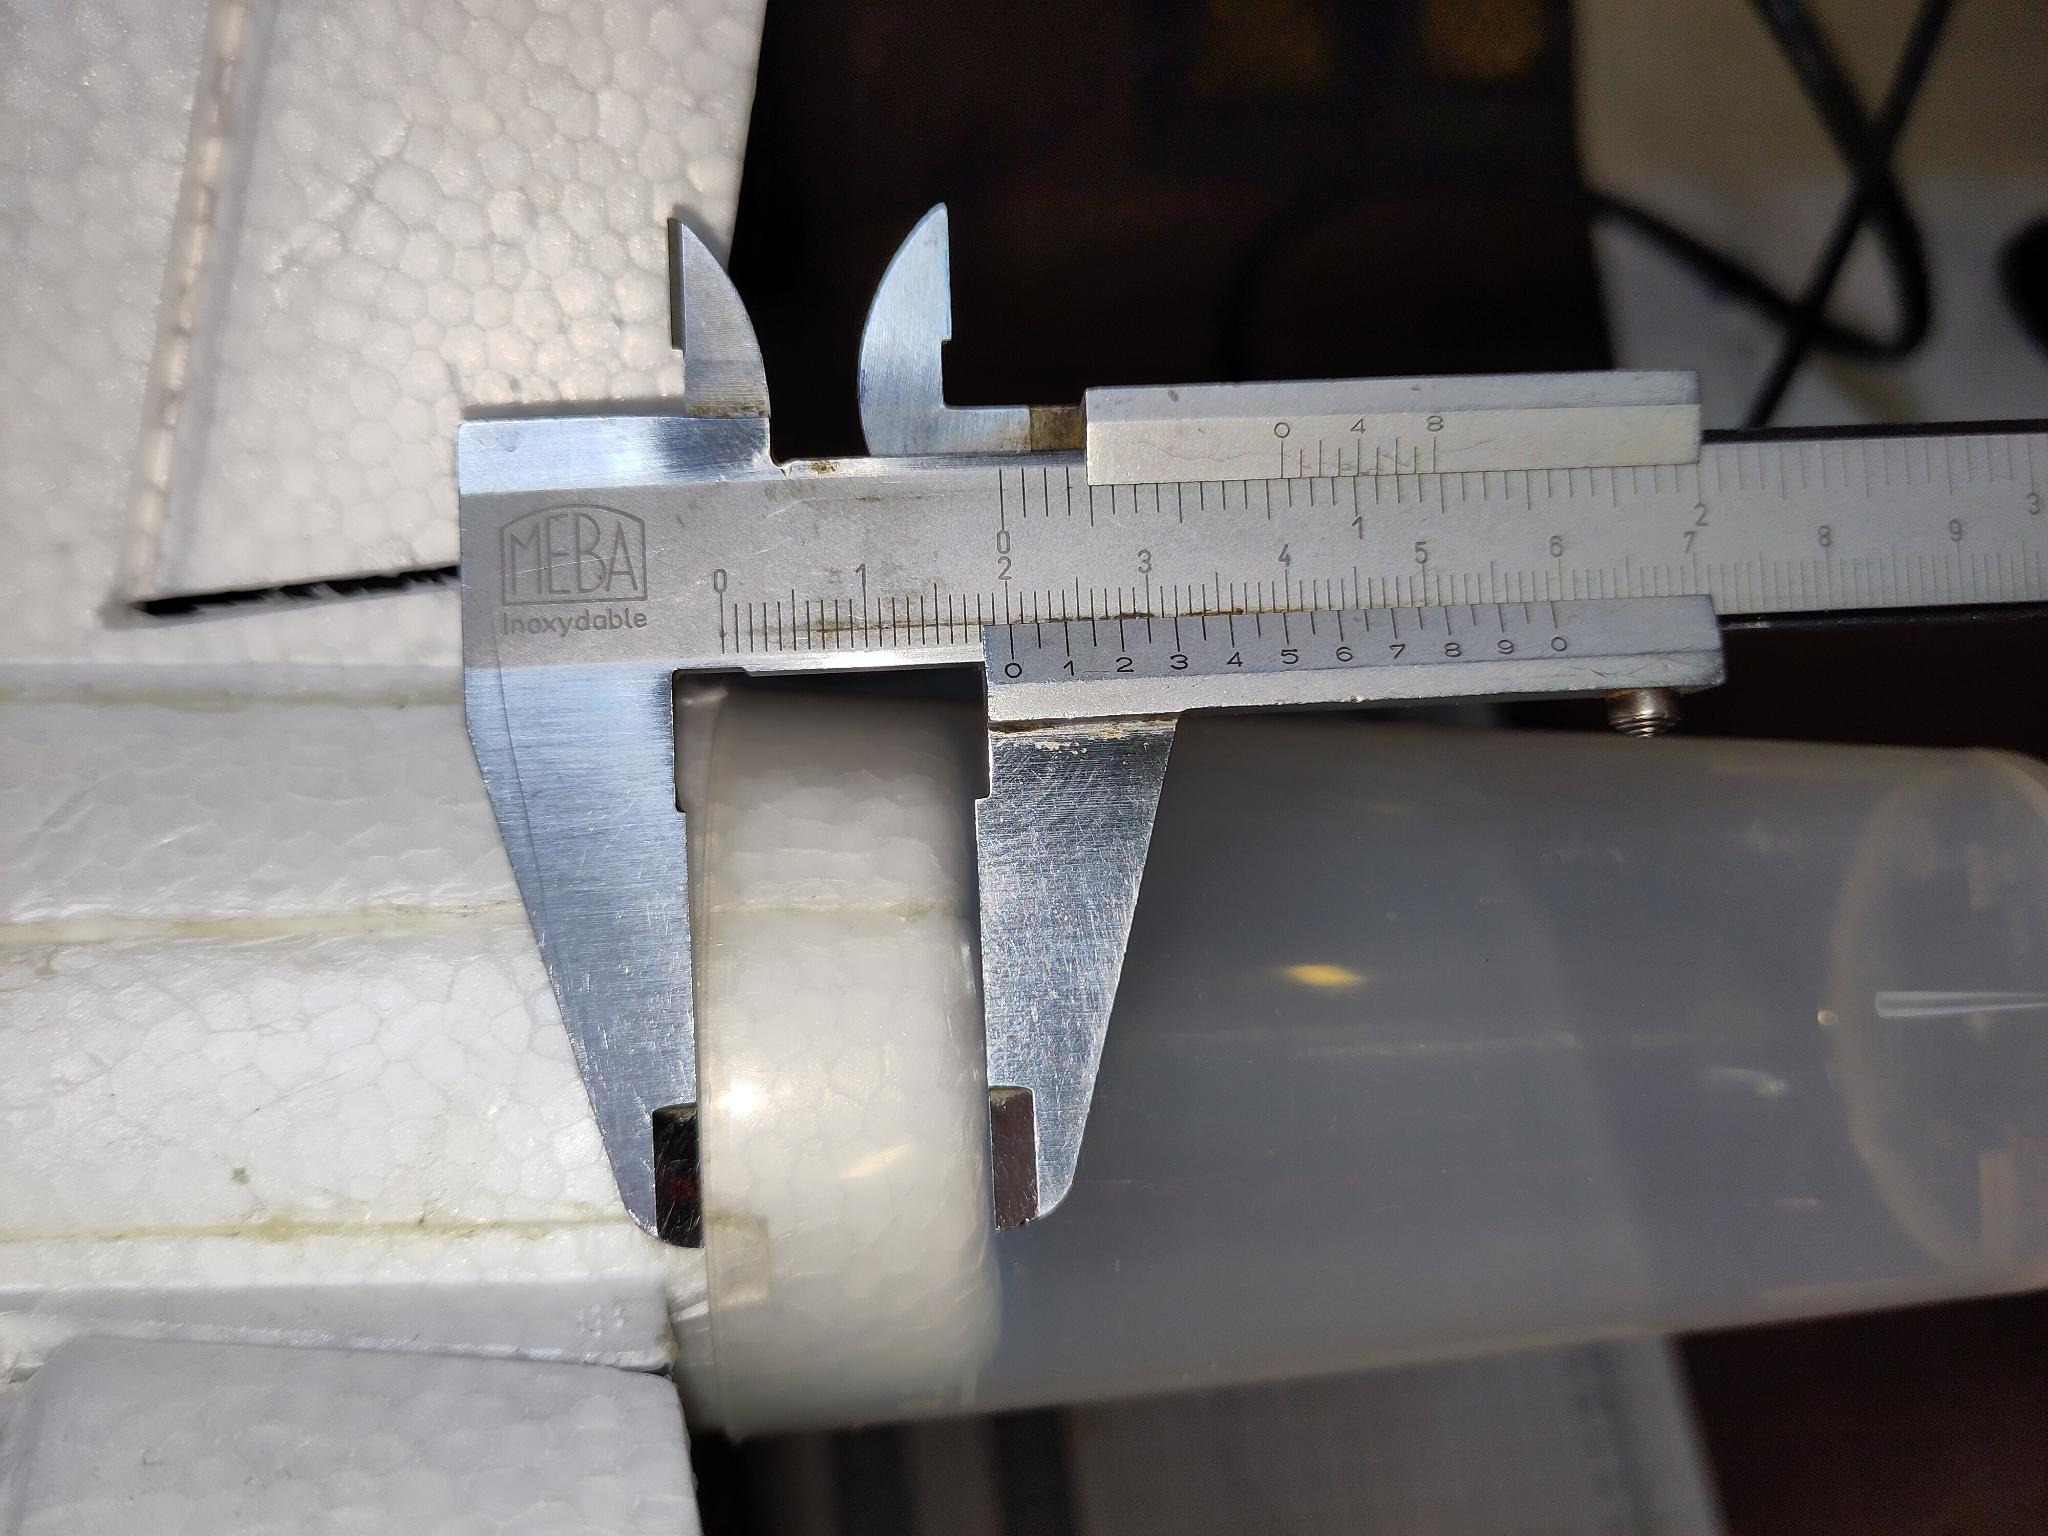
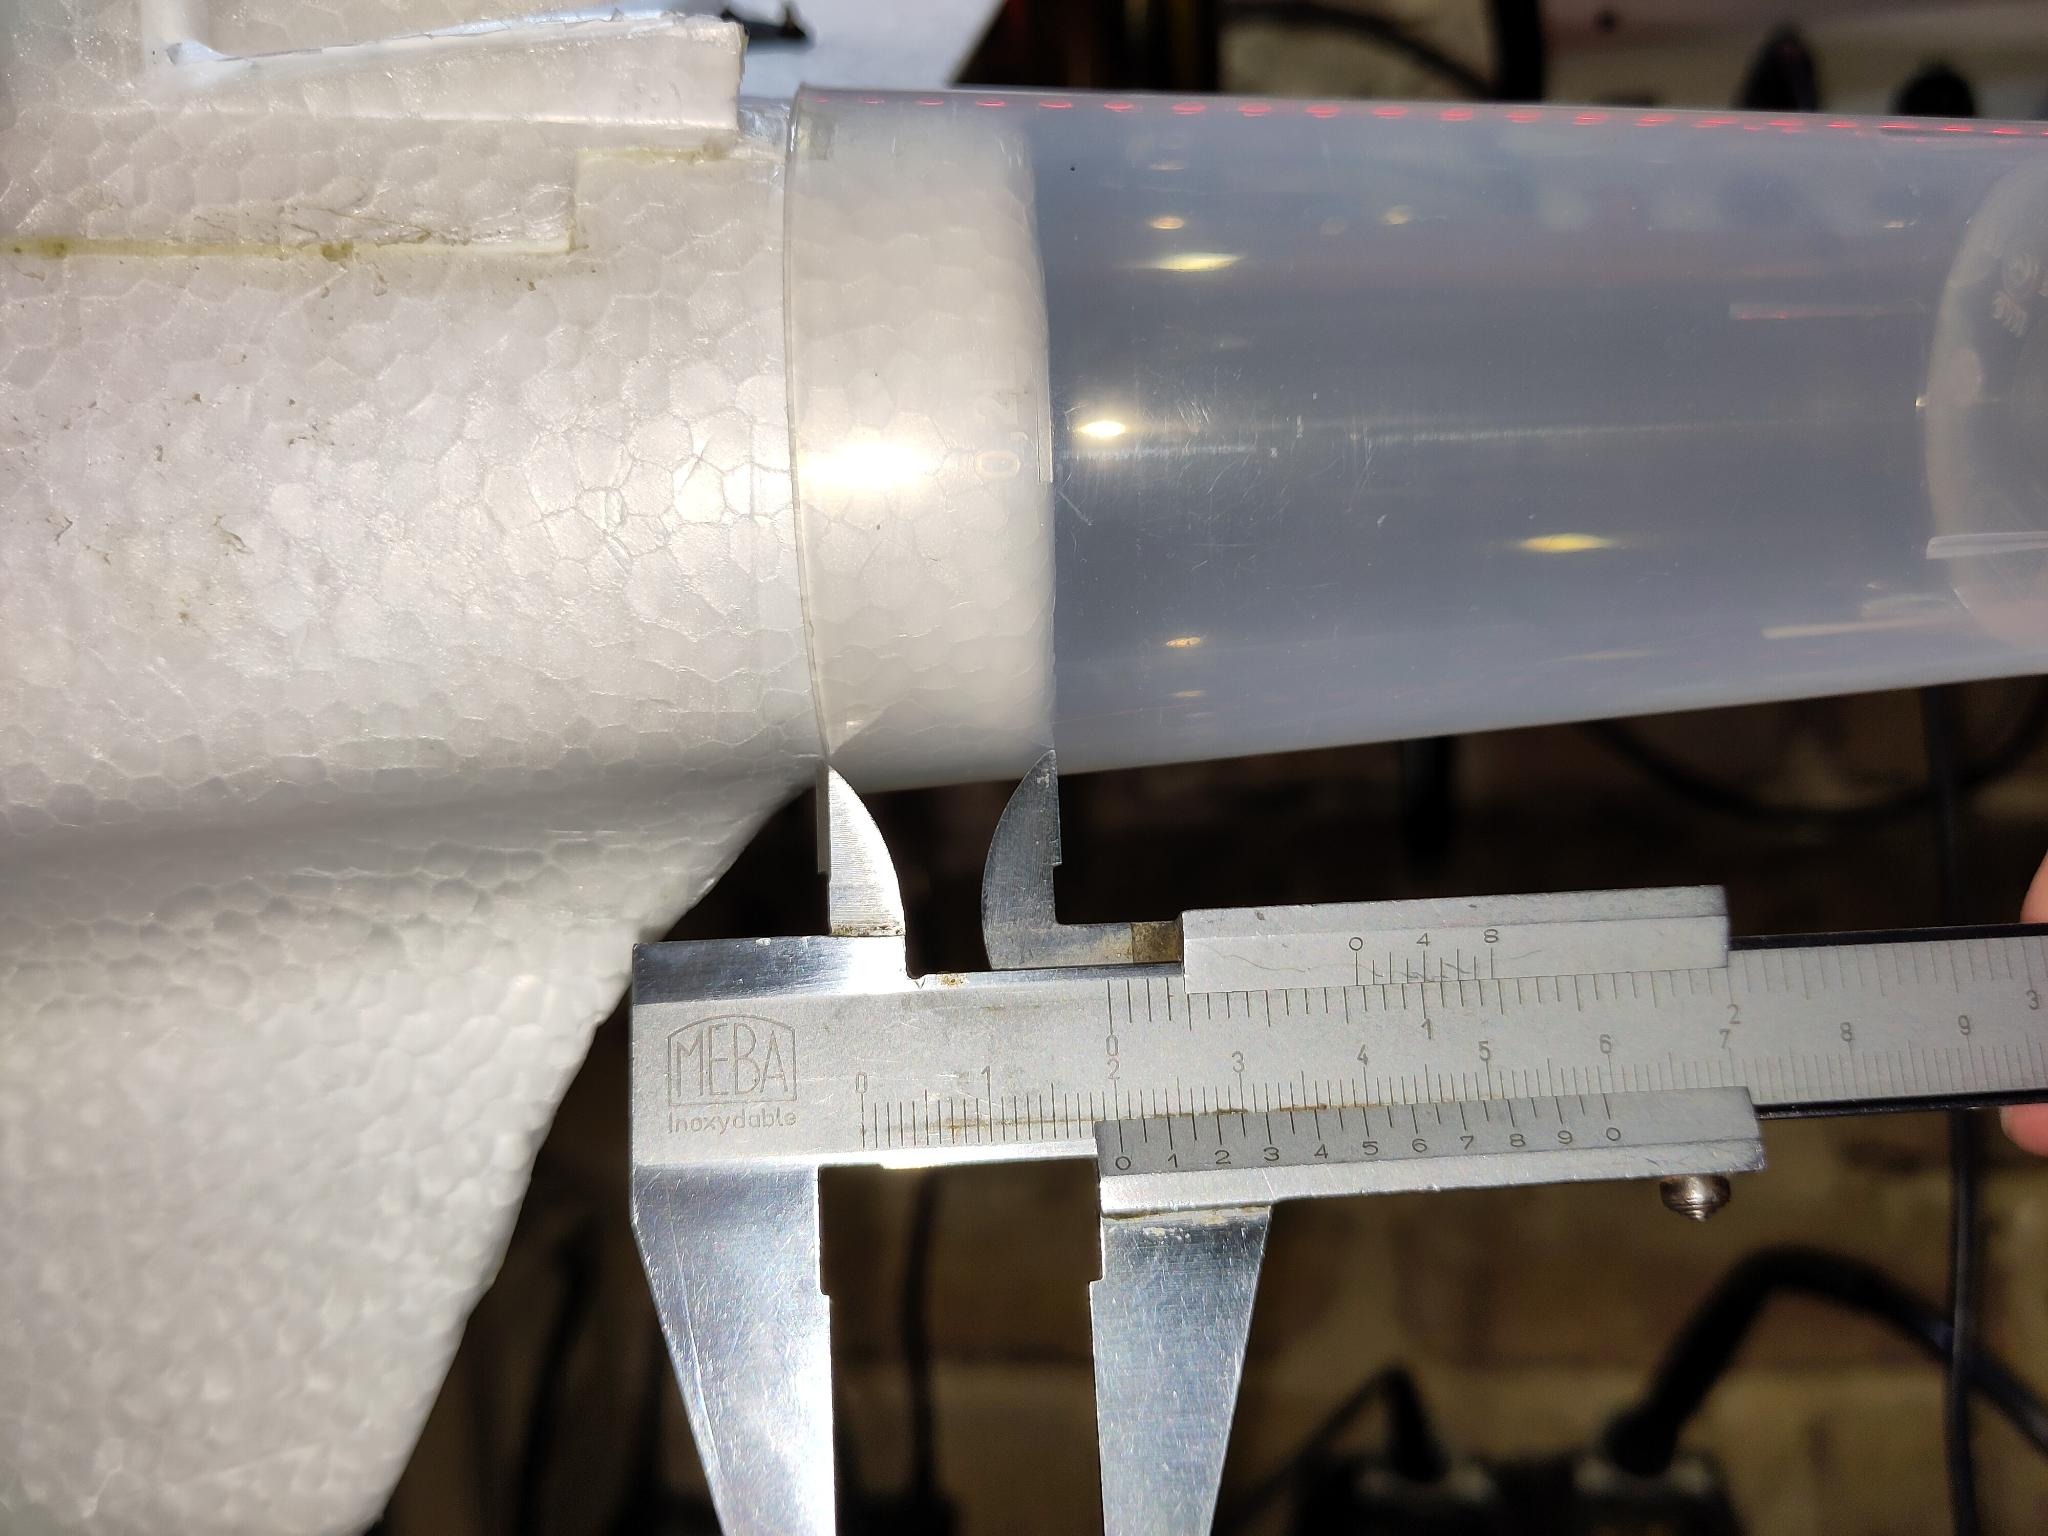
- Draw line using the cup
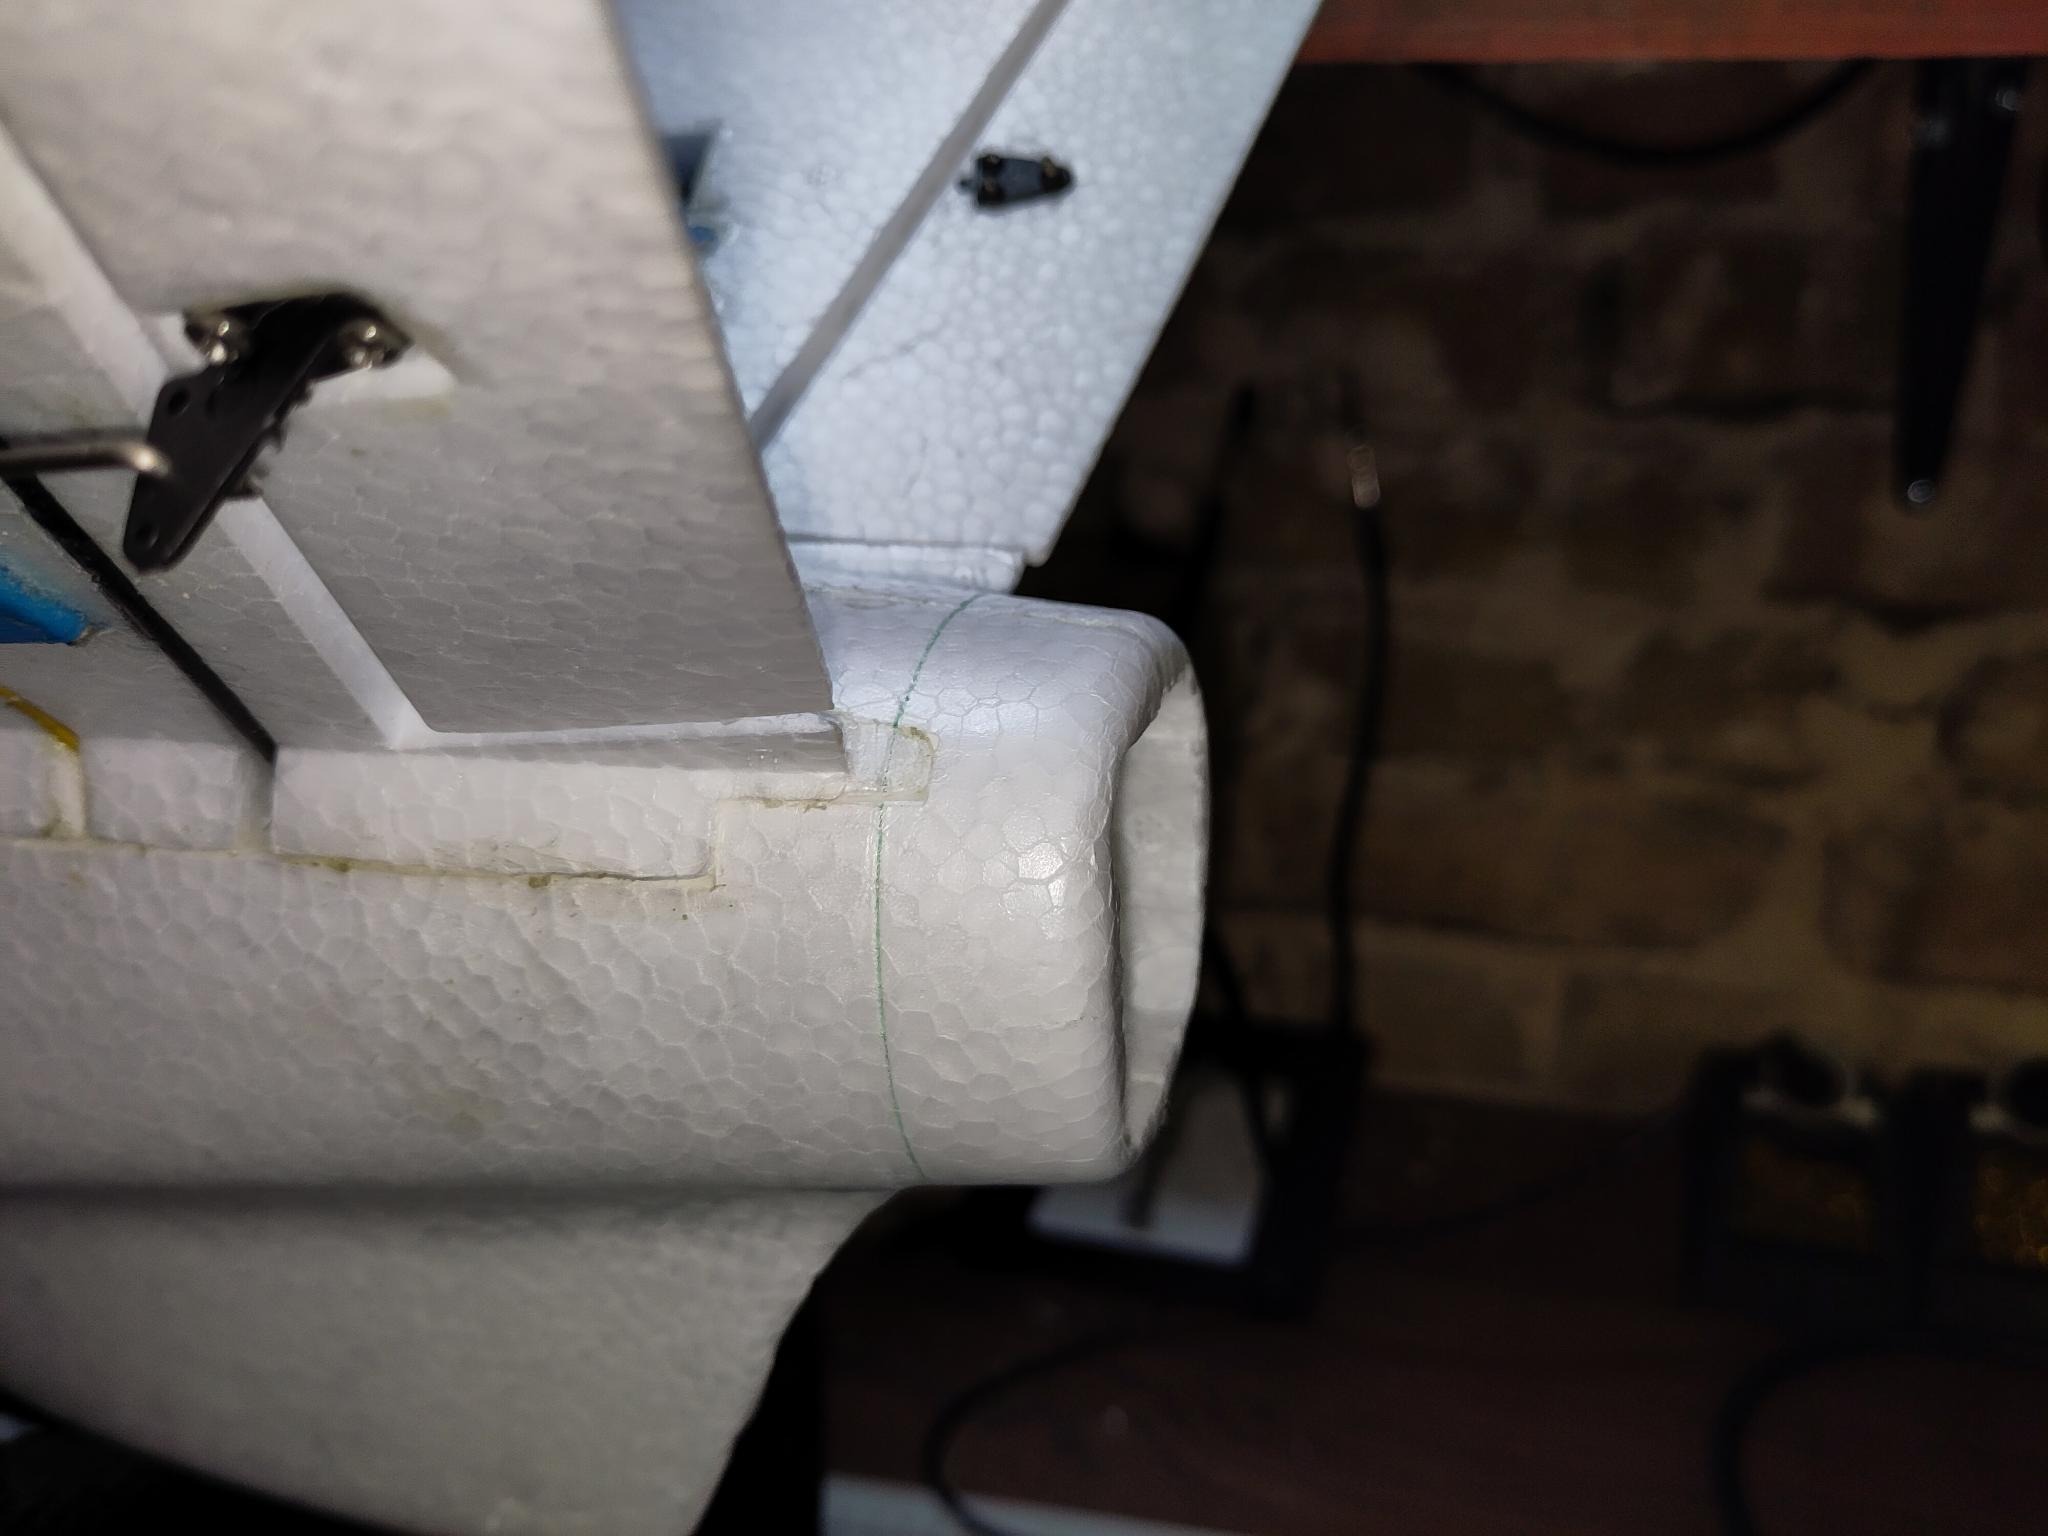
- Cut along the line using a cutter knife

¶ Get motor cables from inside the fuselage
The motor cables should be long enough to get them outside of the fuselage to connect the motor.
See Motor-Cable-Instructions for details.
¶ Test connect motor to get rotatation direction correct
Connect the 3 wires to the motor and give a bit of throttle to see if the motor rotates into the correct direction. If you look to the plane from the back, the motor should rotate clockwise.
If it rotates the wrong direction swap one cable pair.
¶ Connect the motor to the cables
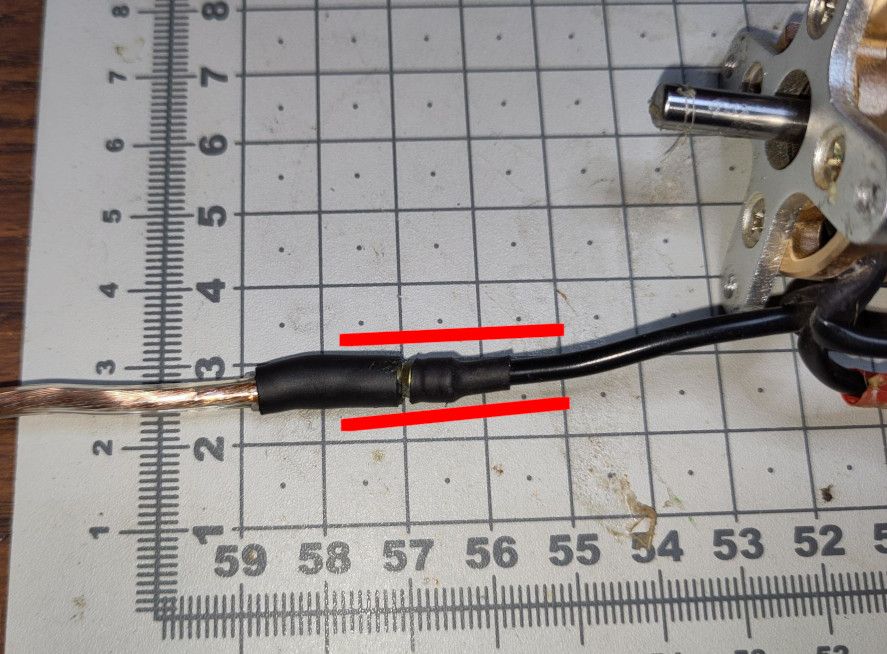
- The Female side should have a ~2cm glue shrinking tube (left connector side in image)
- The Male side should have a short stock shrinking tube on the motor cable (right connector side in image)
- Put a ~3cm long glue shrinking tube around both cables ( in the area marked RED in the image) - it shouldnt be too long that its later still possible to remove it when the motor needs to be swapped
¶ Mount the motor to the motor mount
Follow image instructions from the motor-mount-installation to see how the motor is mounted to the fuselage.